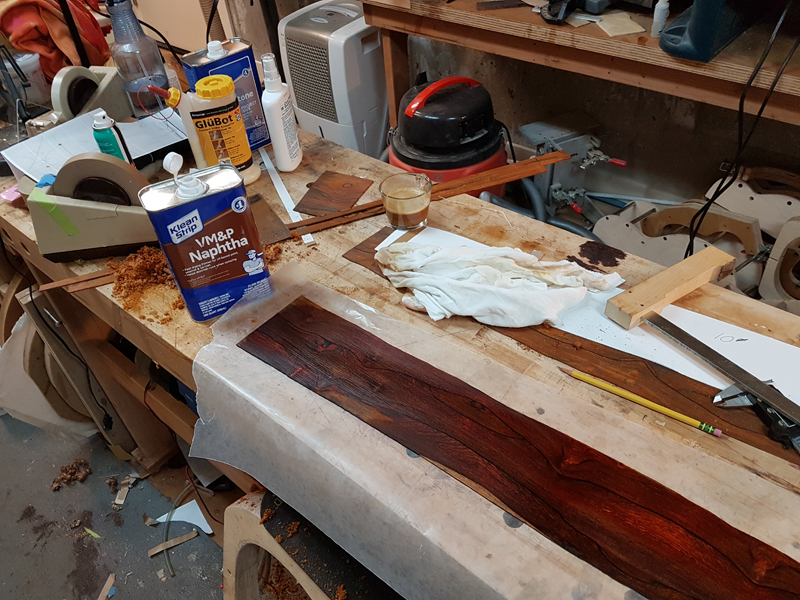
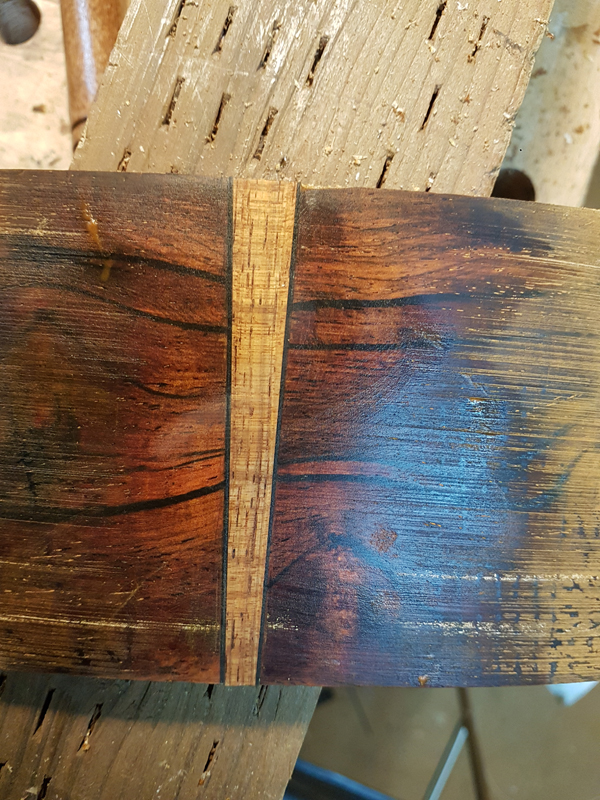
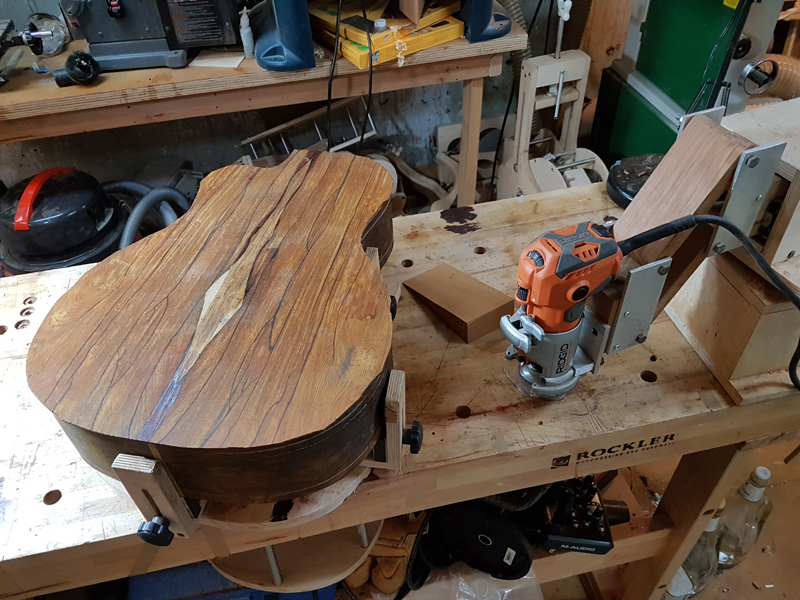
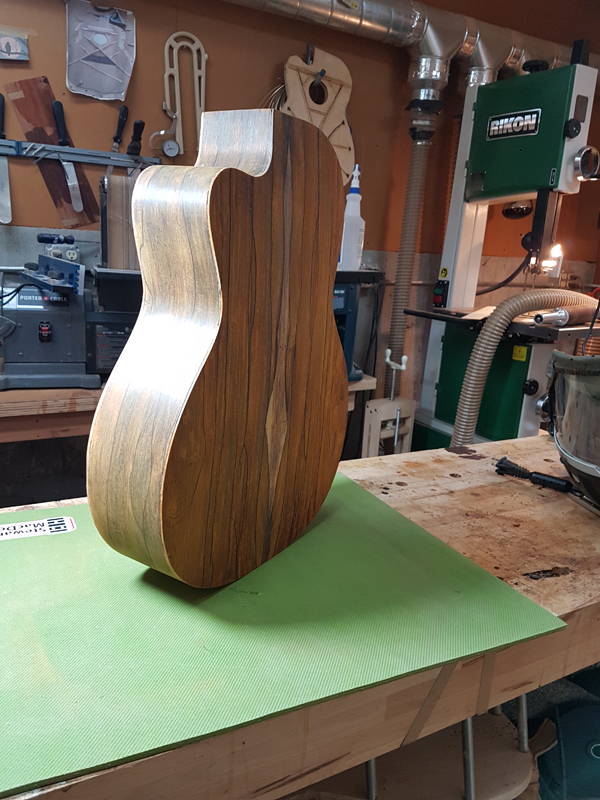
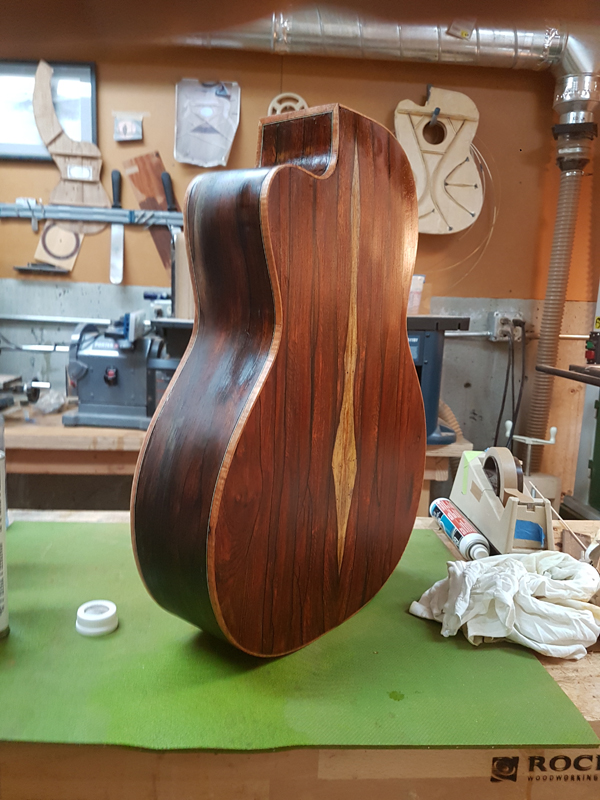
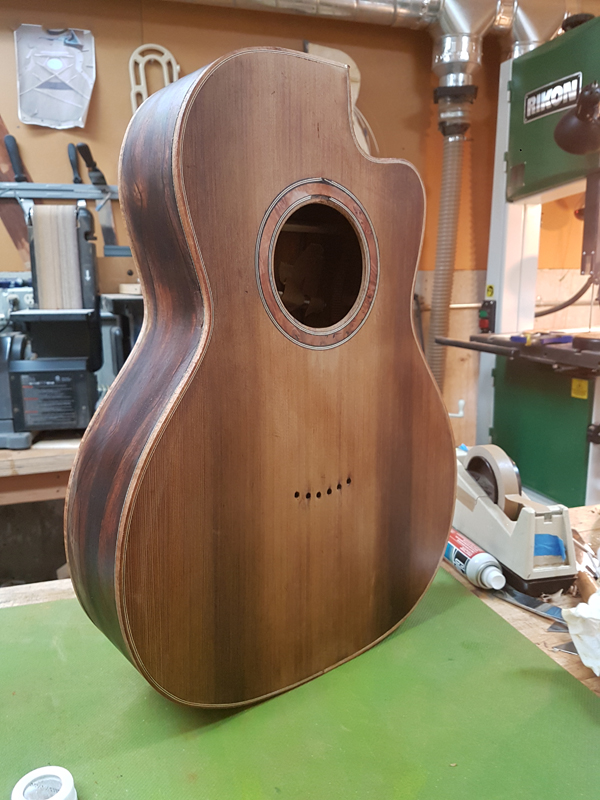
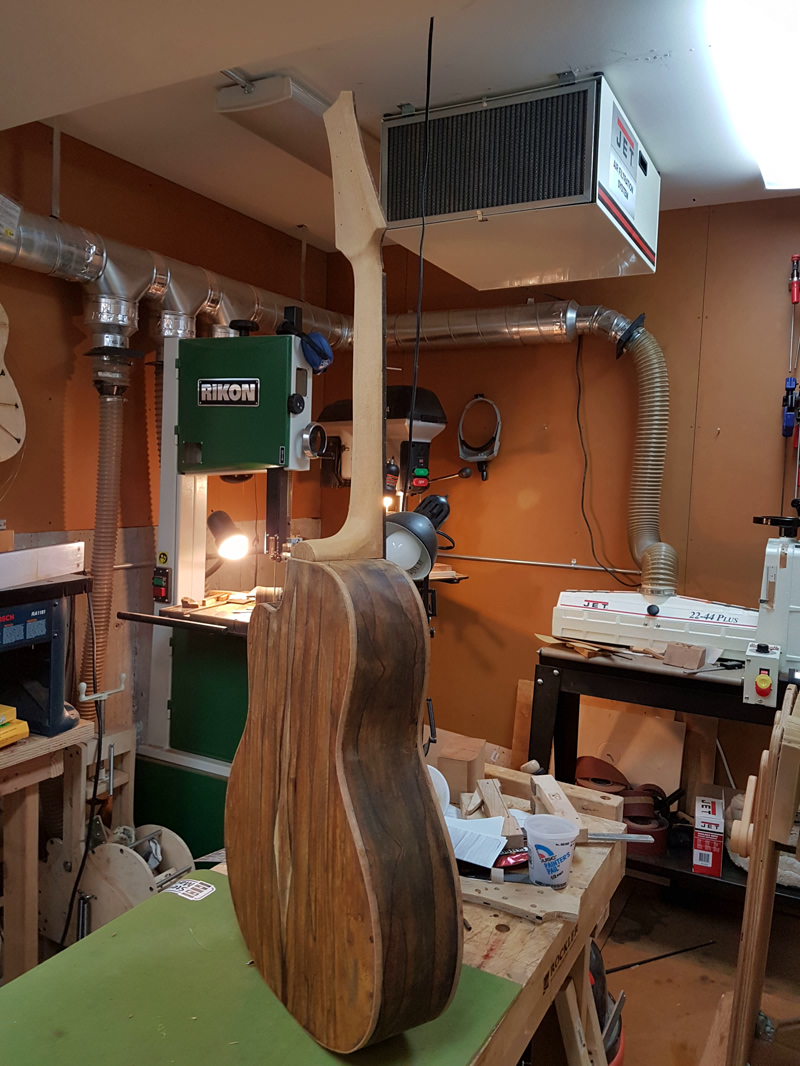
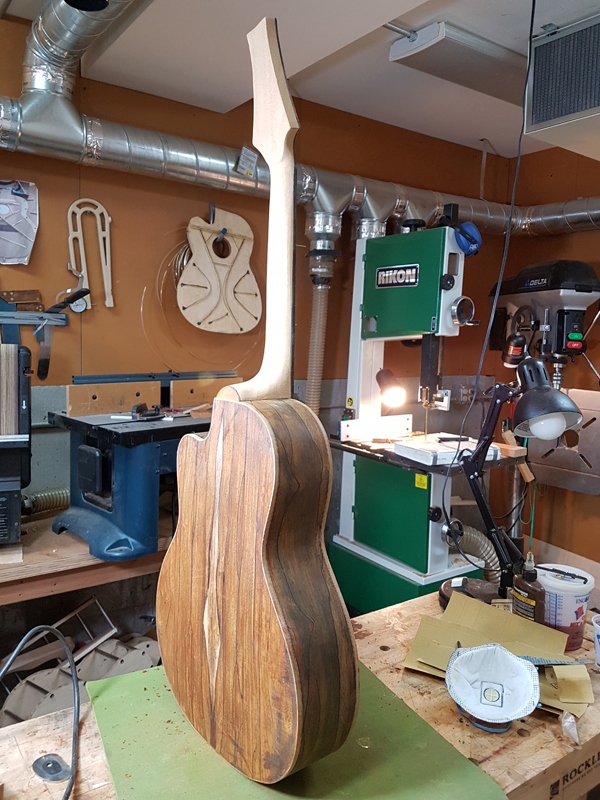
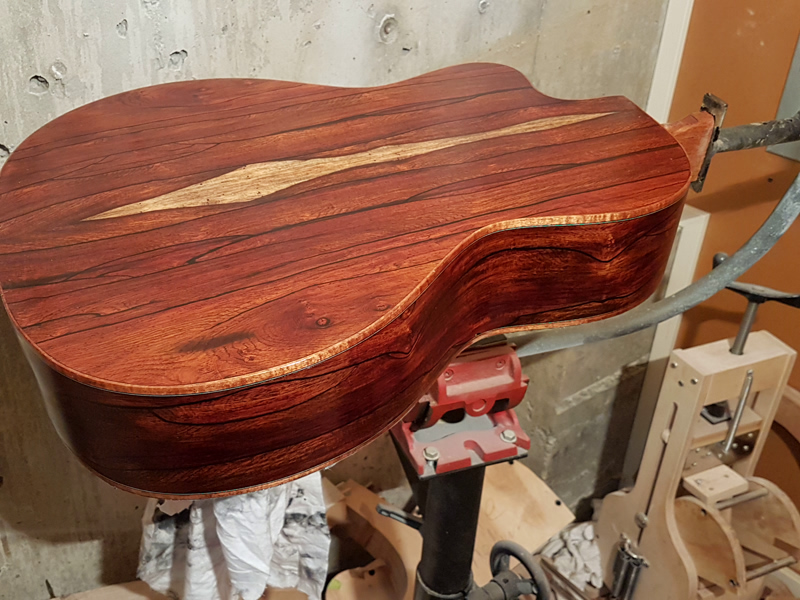
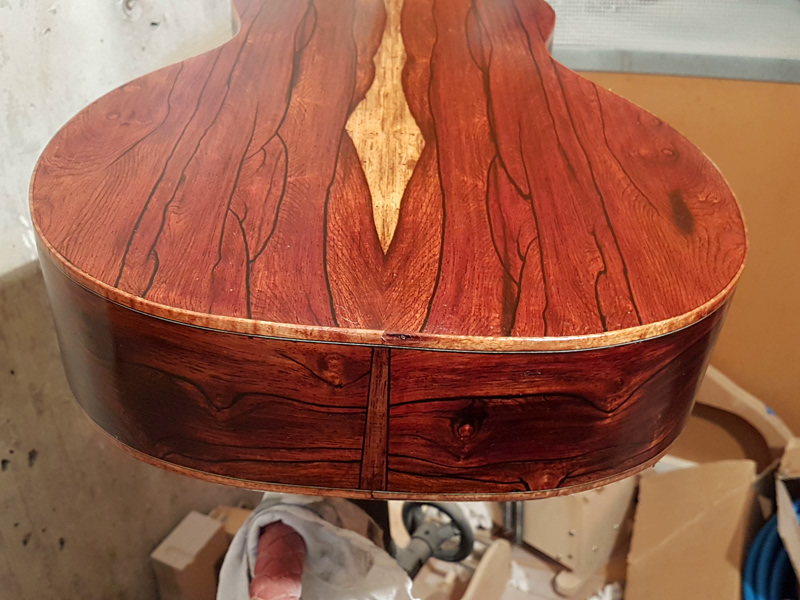
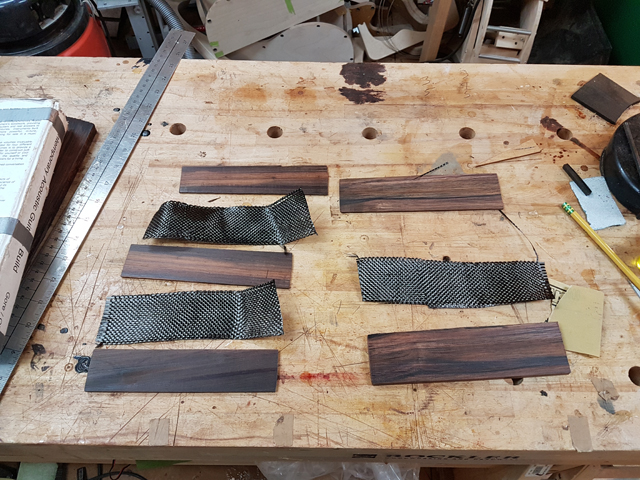
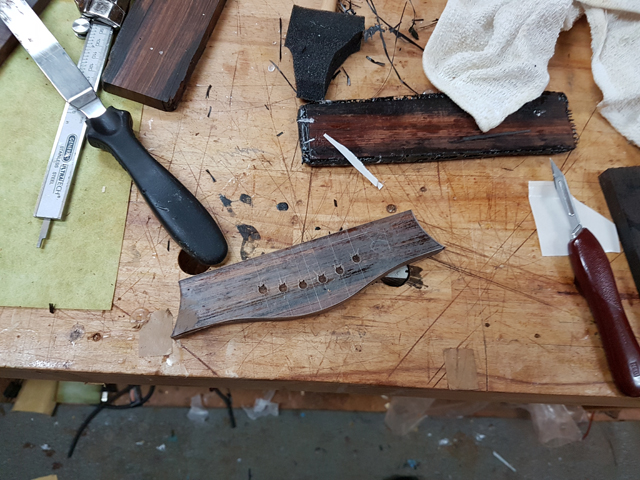
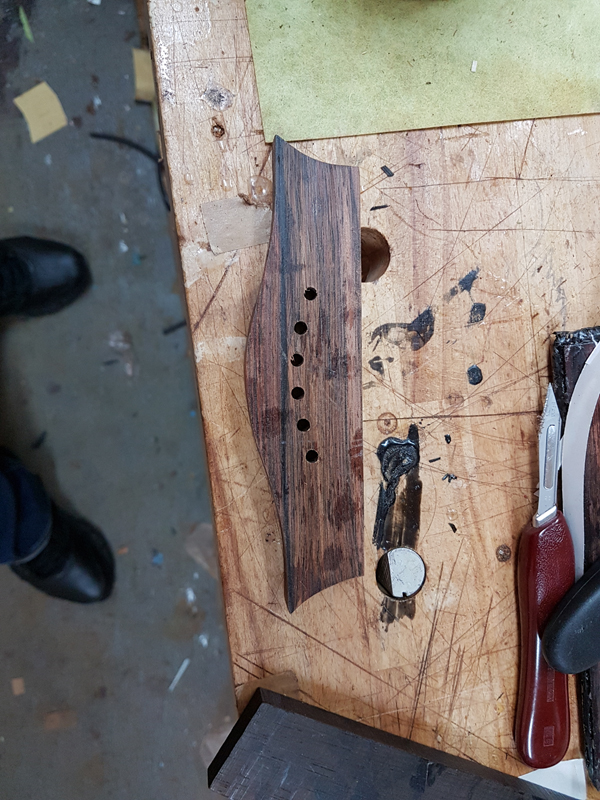
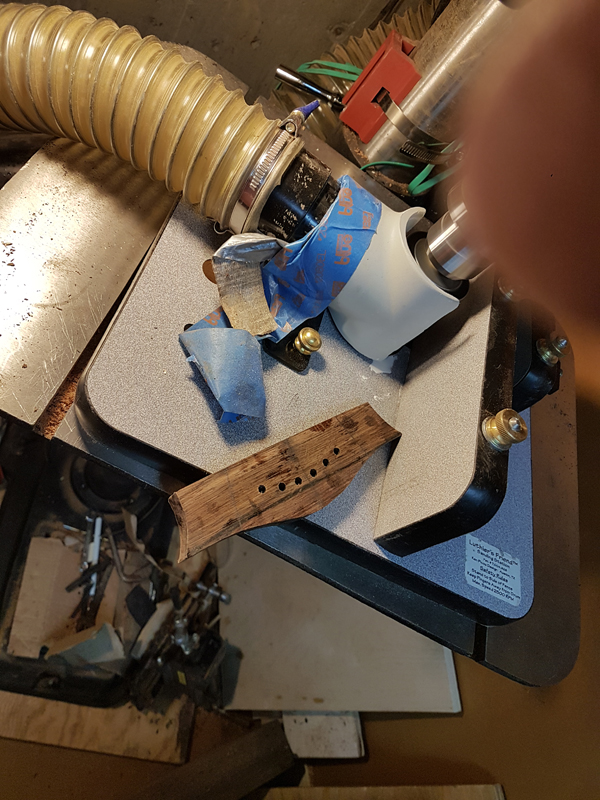
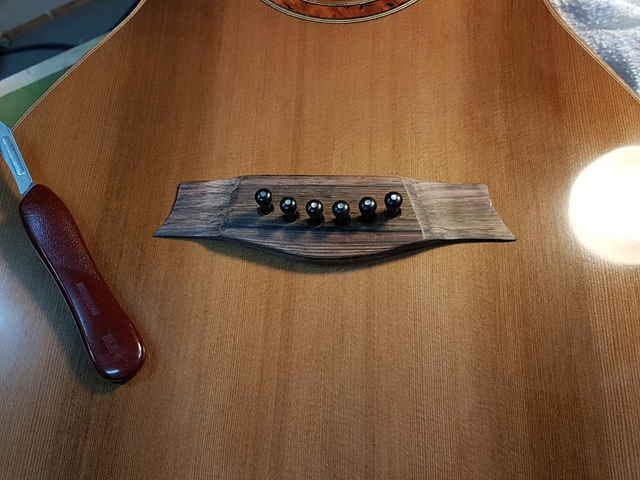
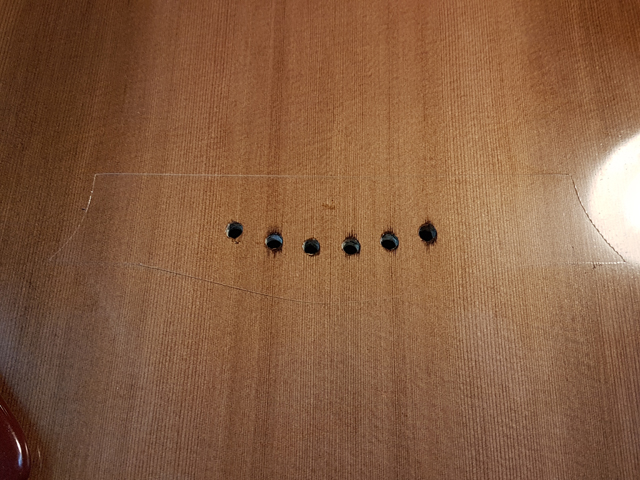
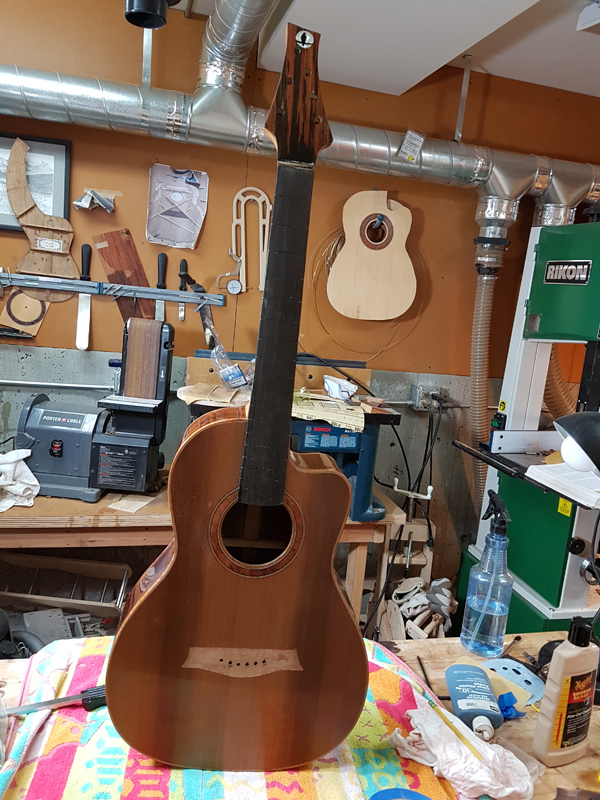
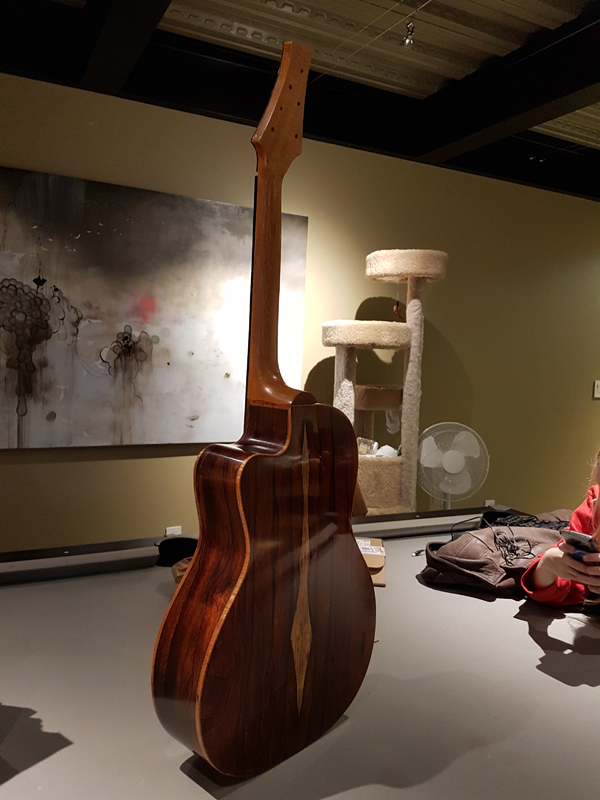
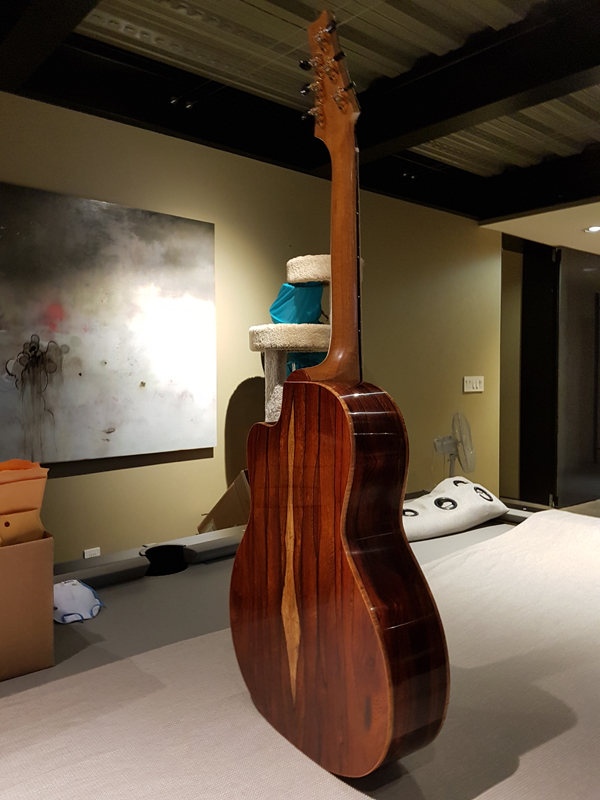
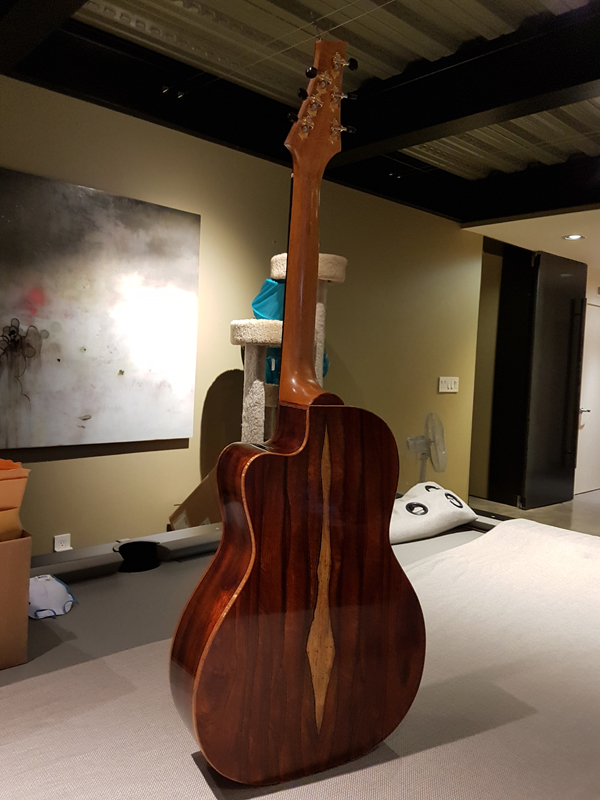
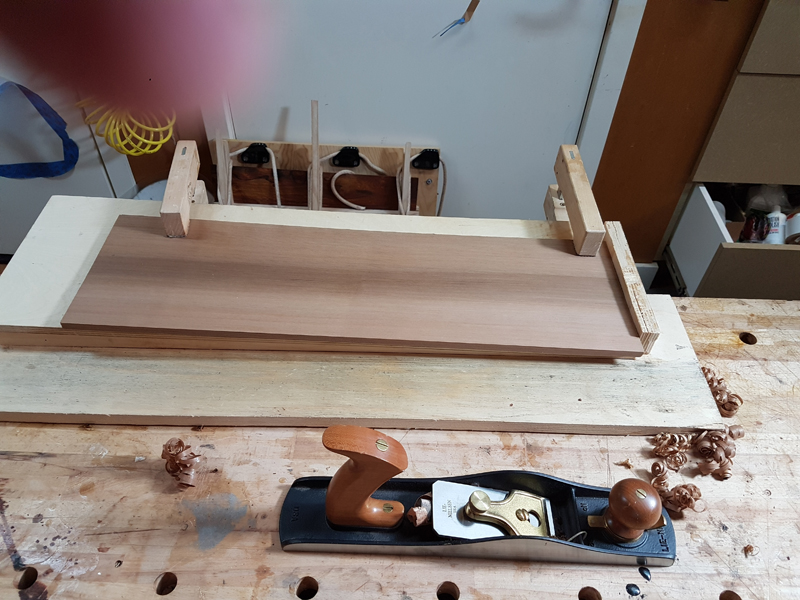
I picked up the ziricote awhile ago from another luthier. A great looking set I liked how the sircote 12 string I built sounded and looked so I decided to use this set for a stock build.
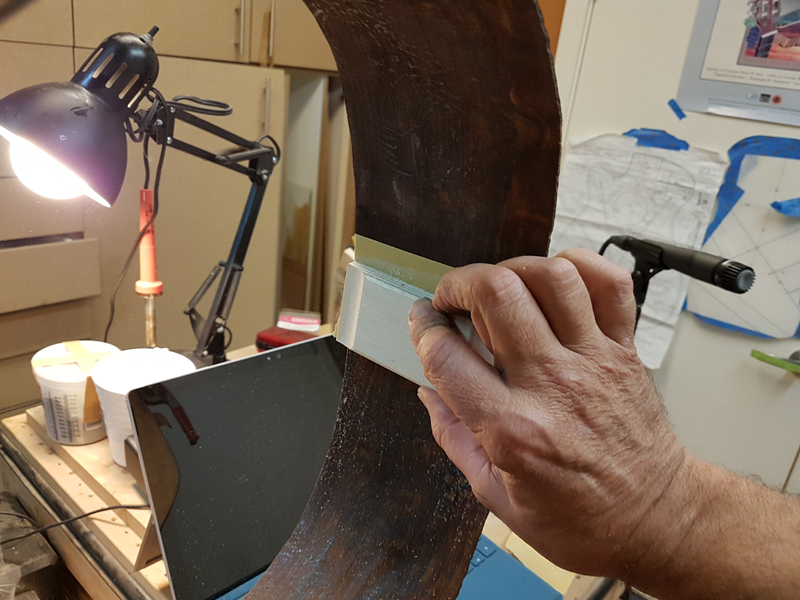
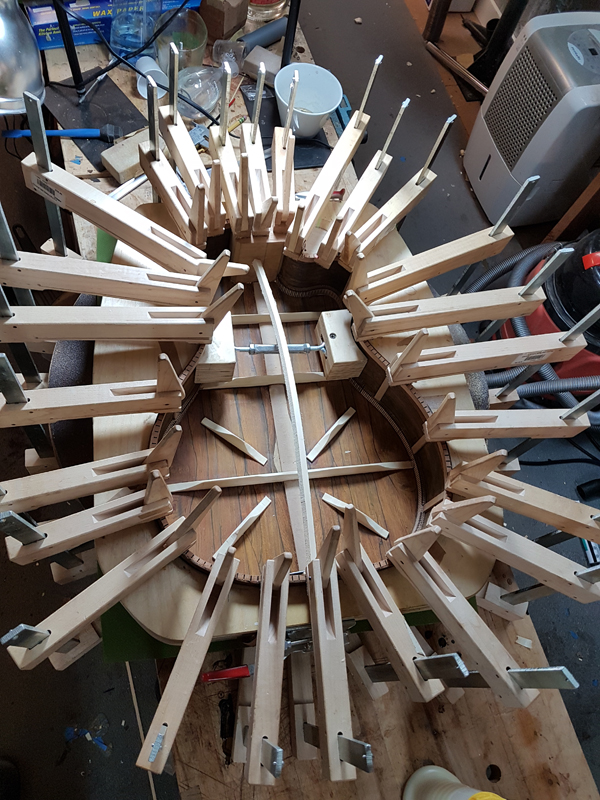
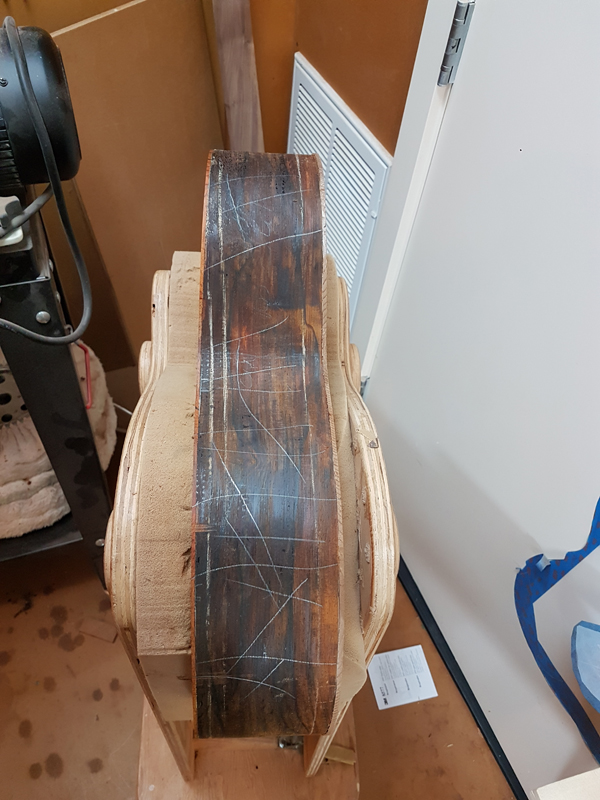
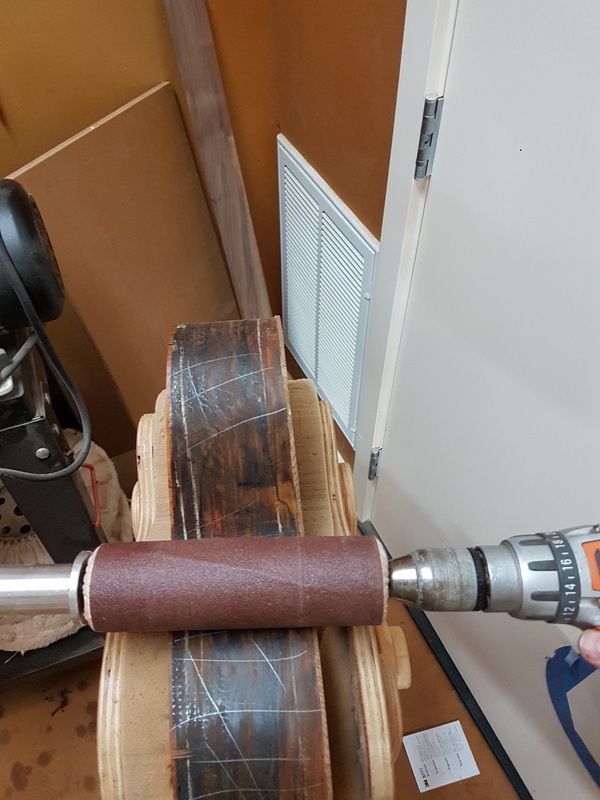
Zircote is a dense wood. Luckily it is also very stiff so I can sand this set down enough to build an active back.
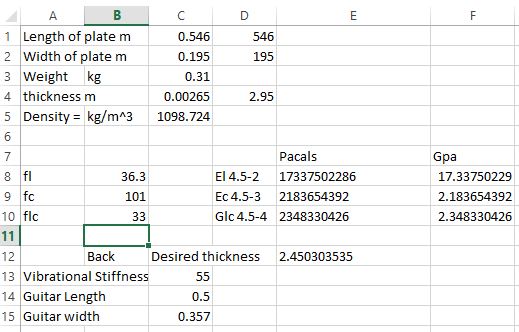
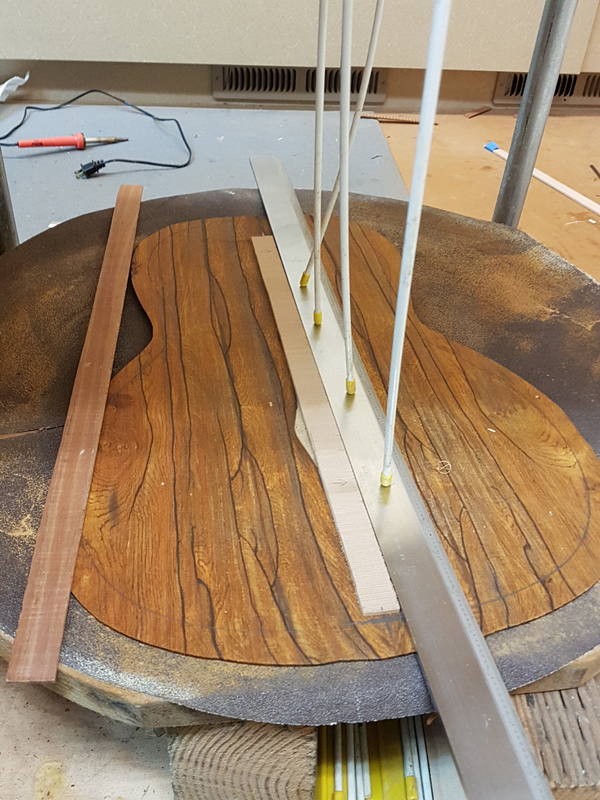
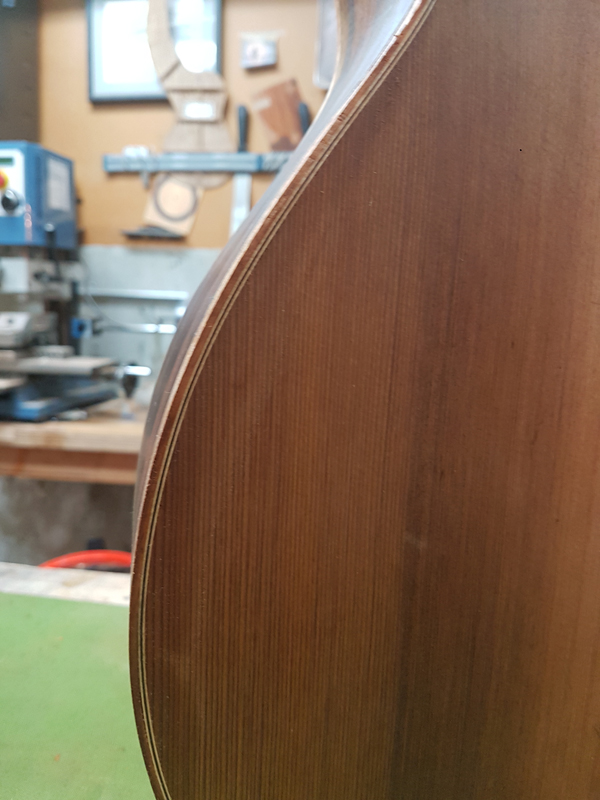
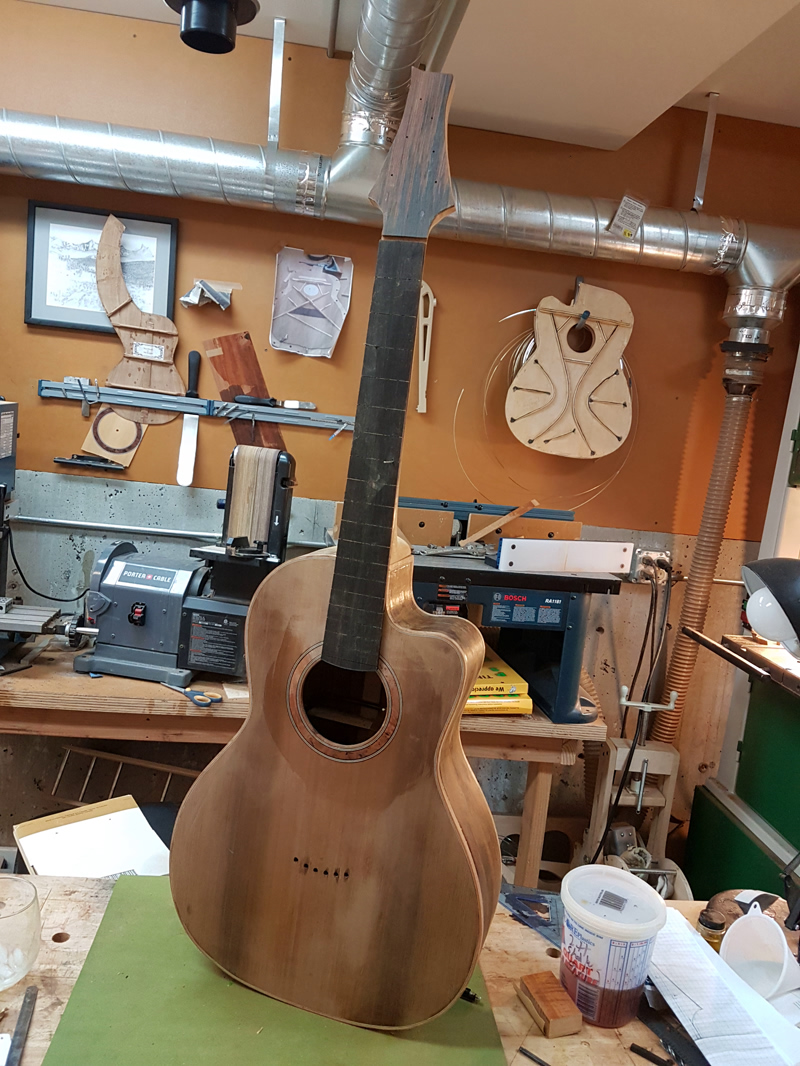
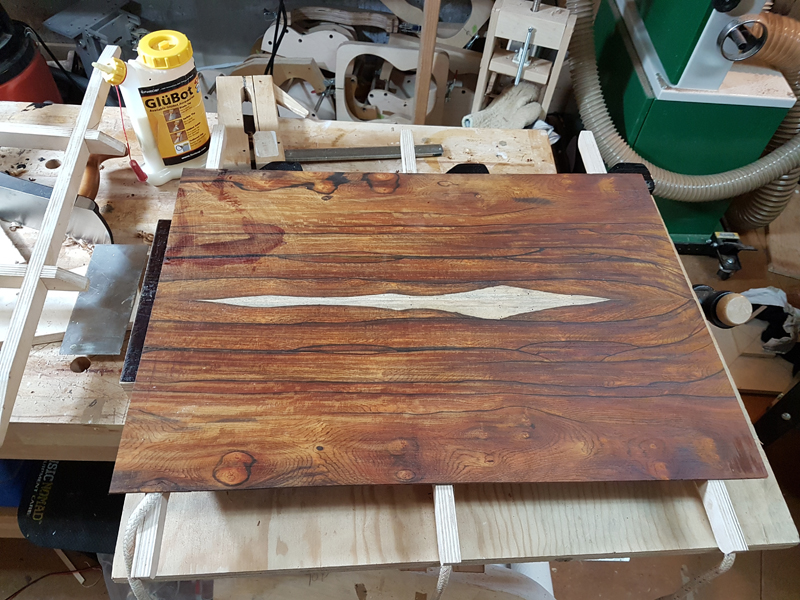
I have had the Western Red Cedar for awhile. I liked how one of my smaller earlier WRC guitars sounded so I decided to hear how it worked with falcate bracing. At 3 mm it ends up about 20% thicker than my spruce tops but it is not as dense as most of the spruce I use so its stiffness to density ratio is OK.
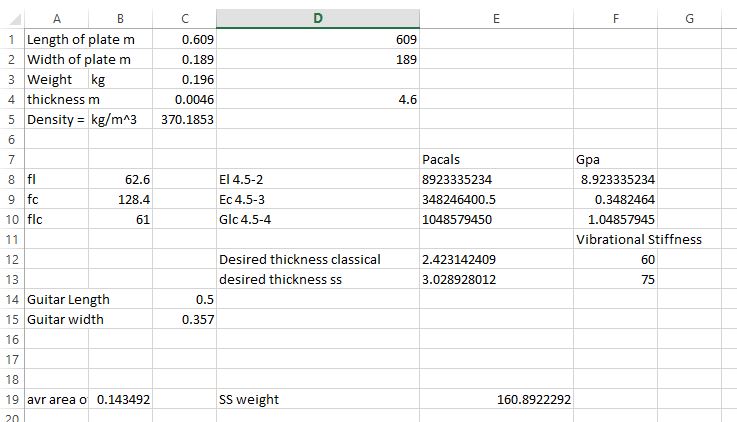
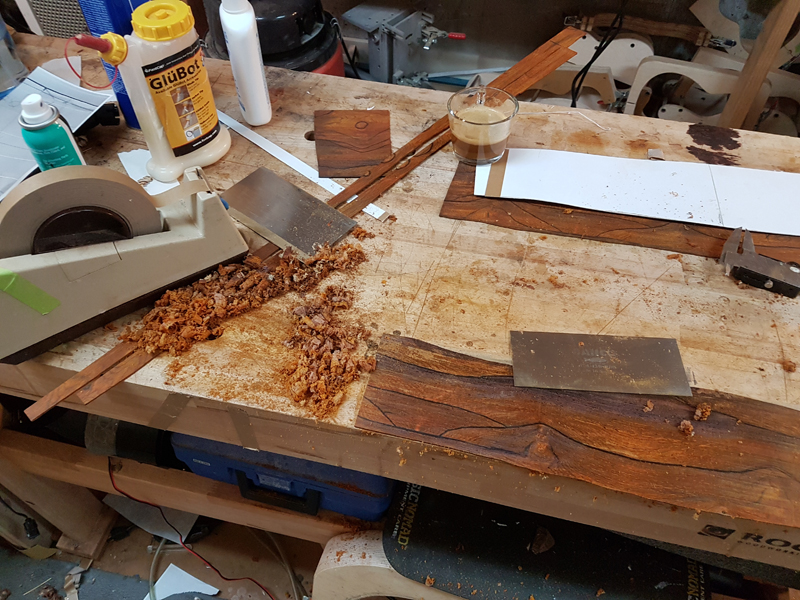
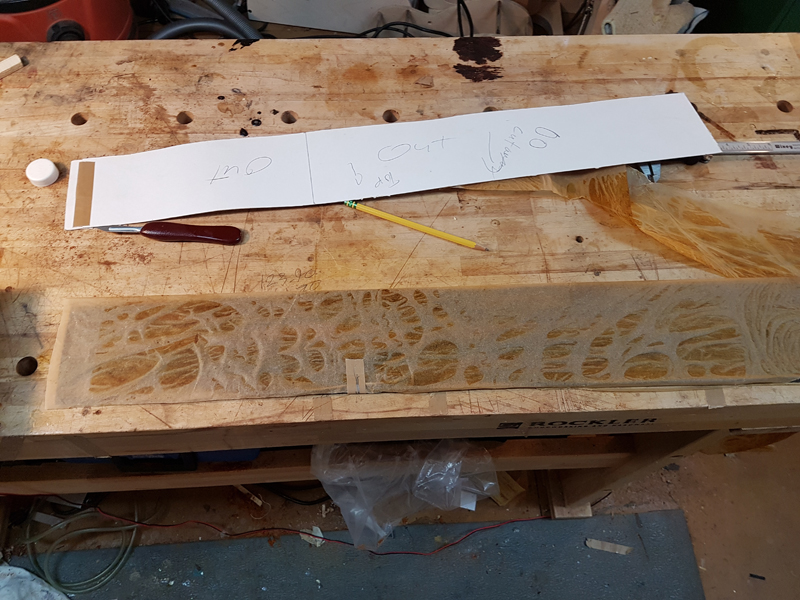
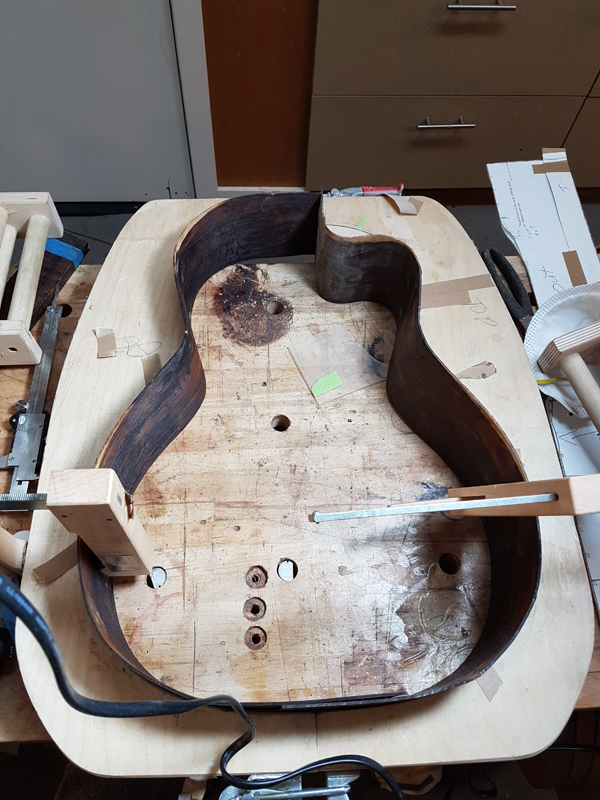
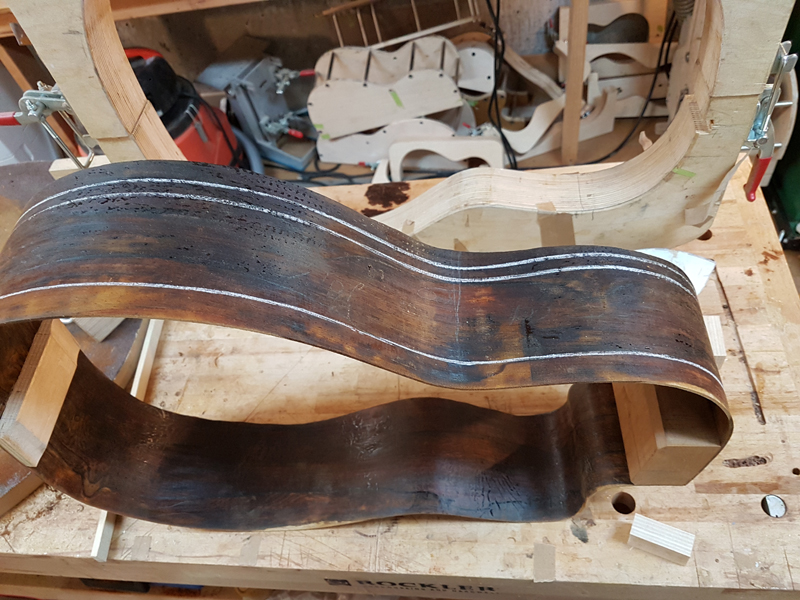
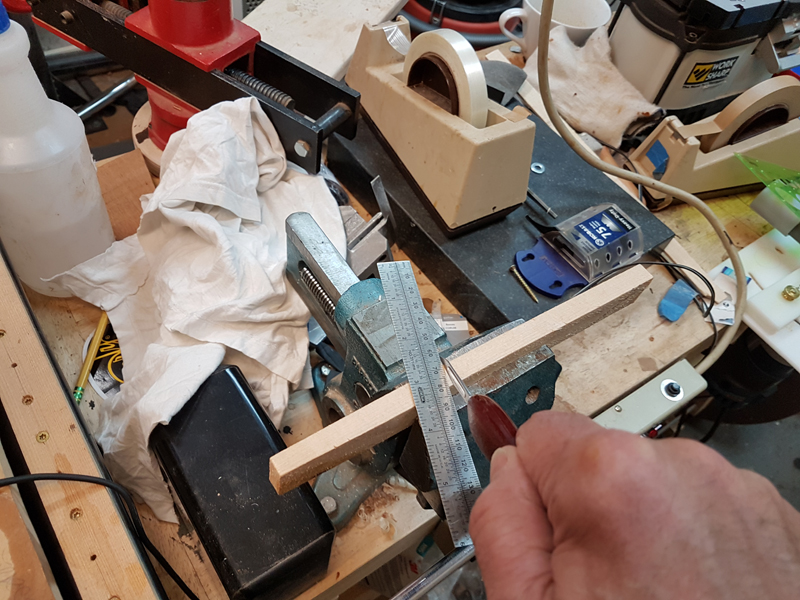
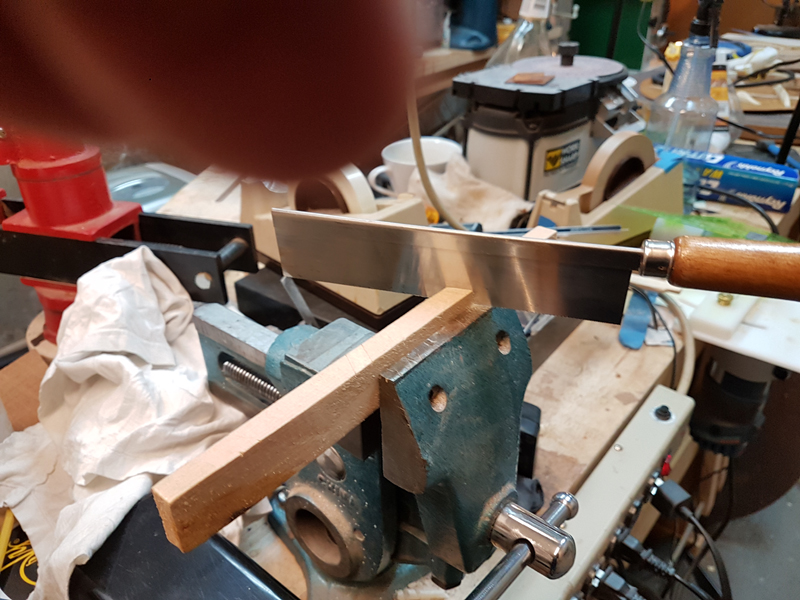
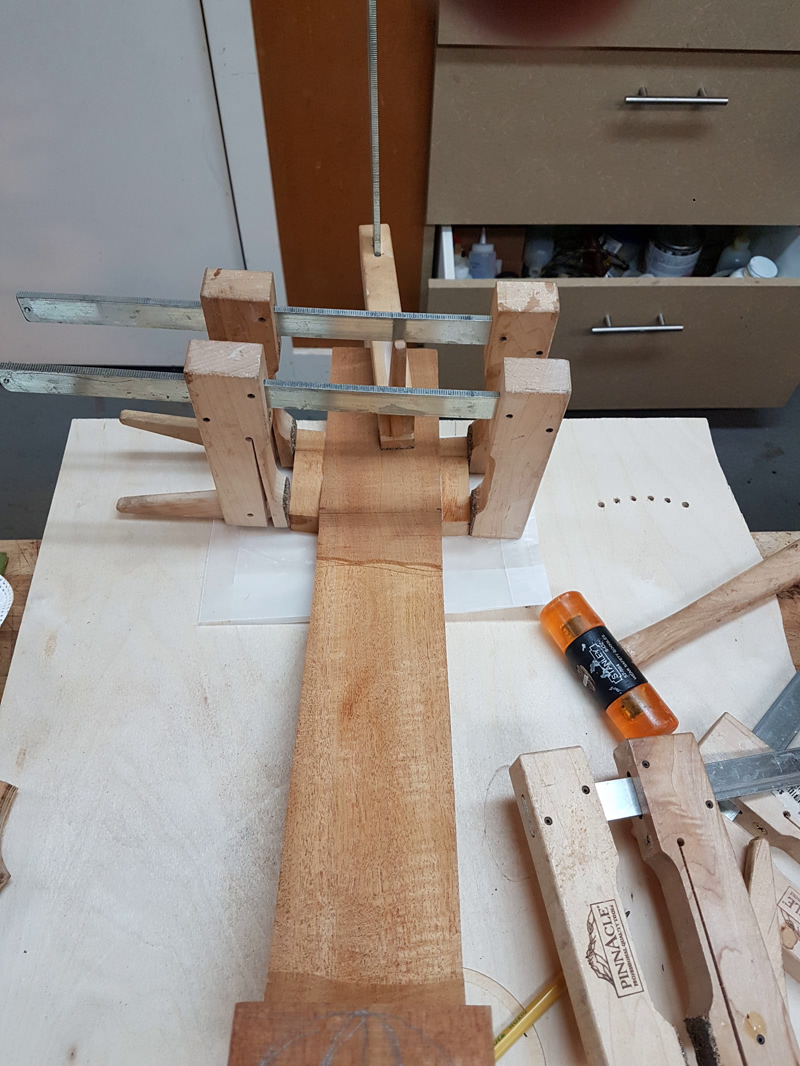
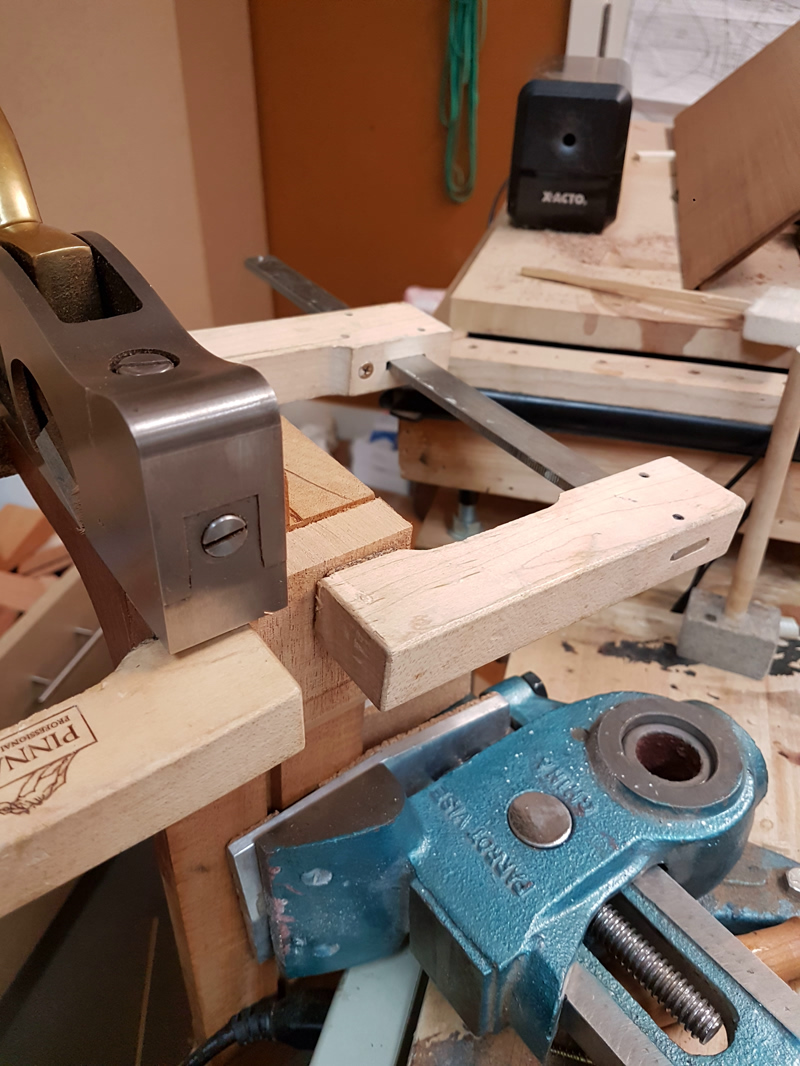
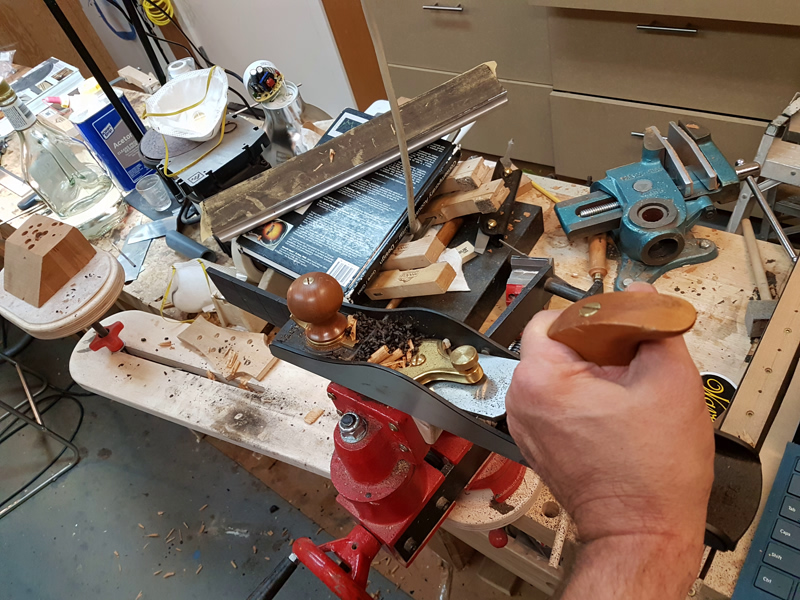
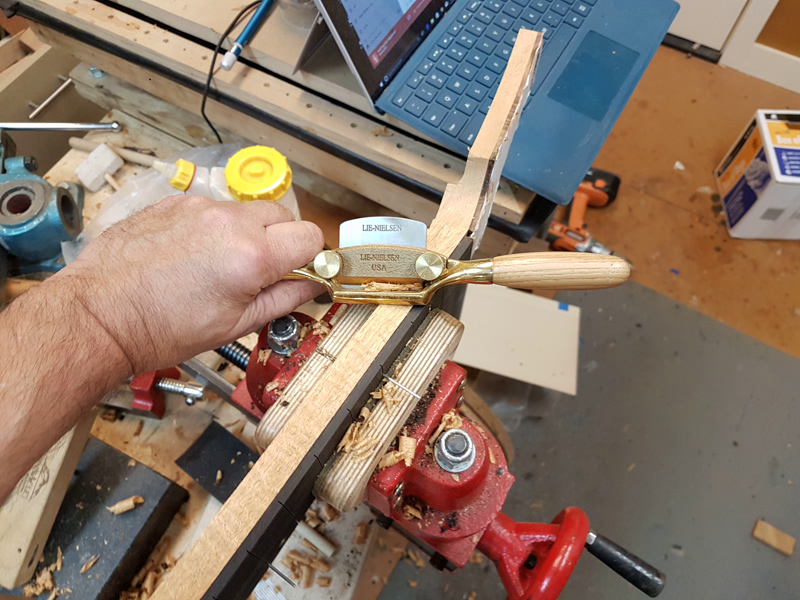
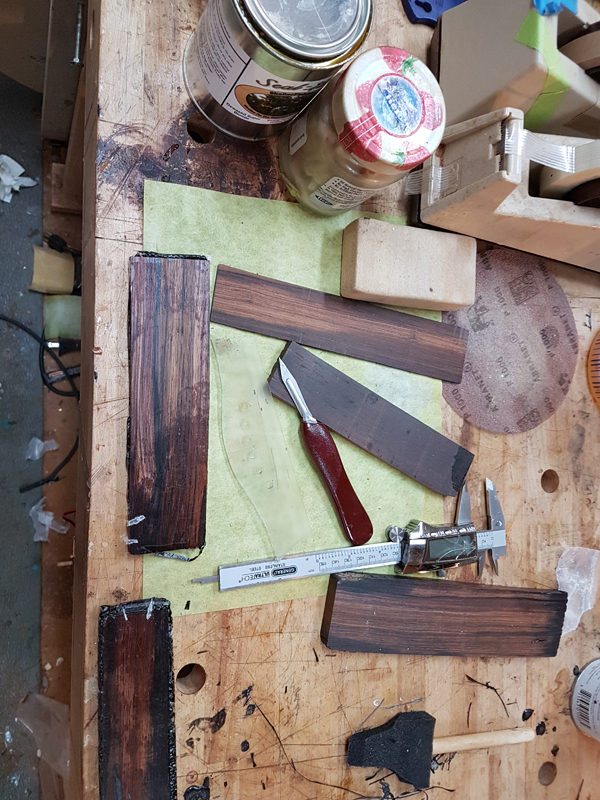
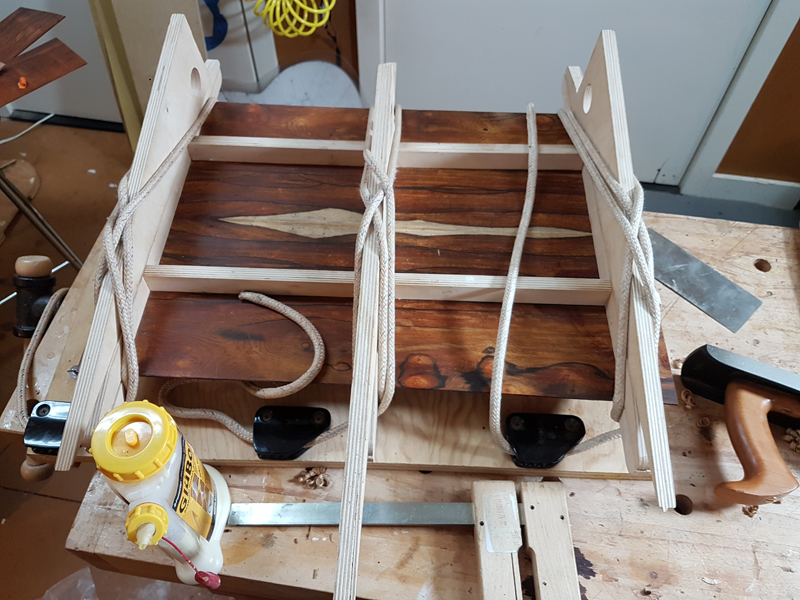
I jointed both sets of plates using my rope jig. I use a low angle plane and a shooting board to joint the sets of plates
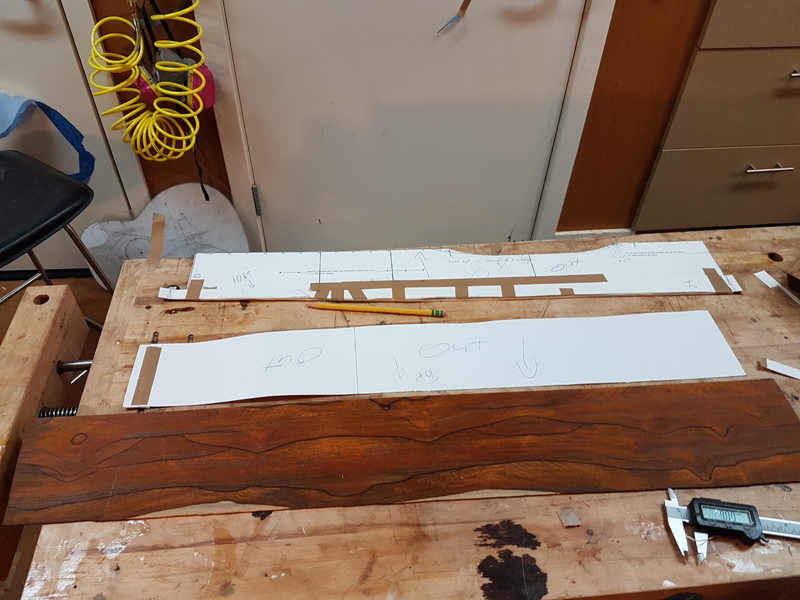
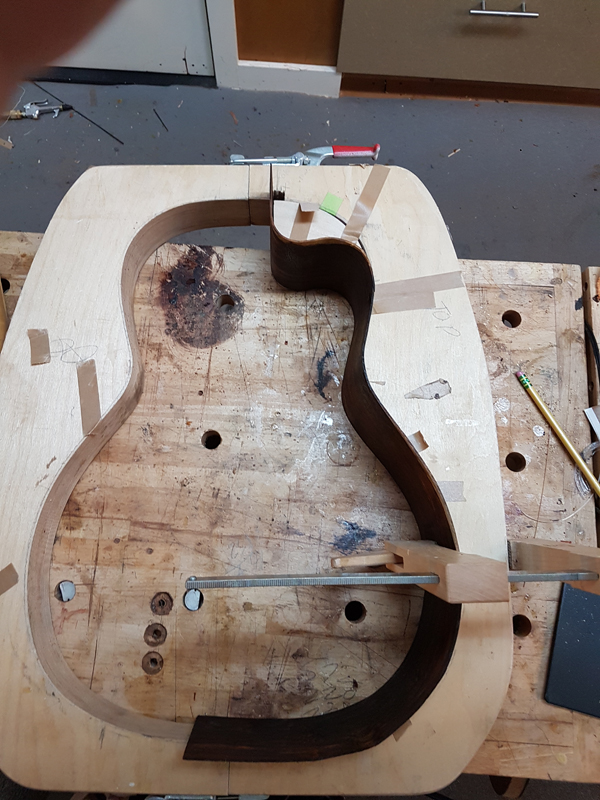
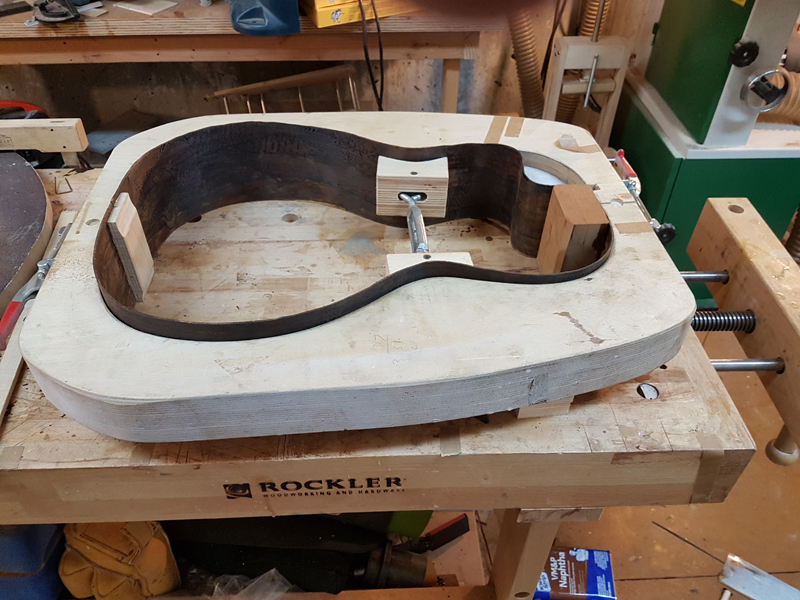
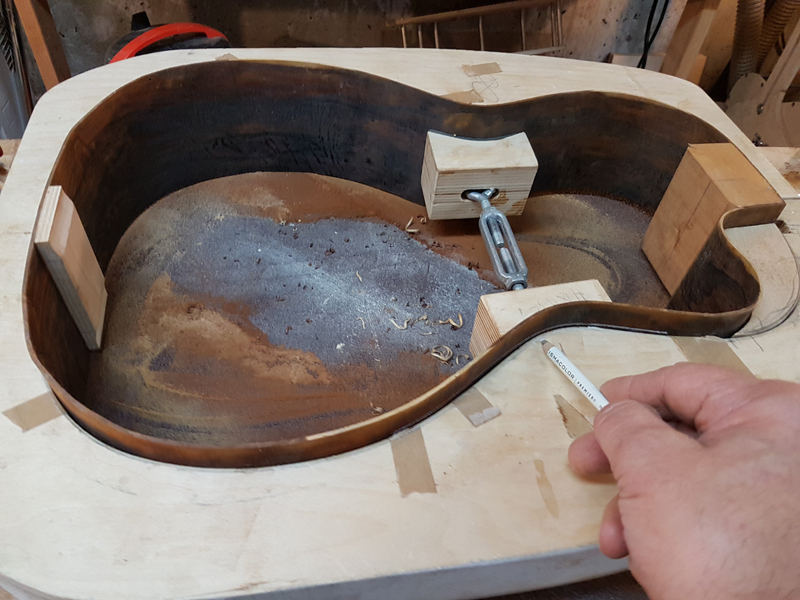
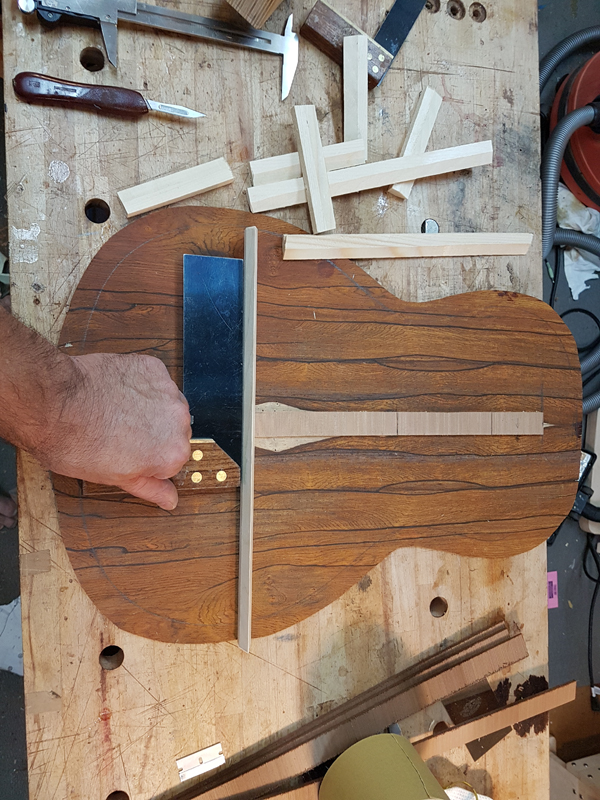
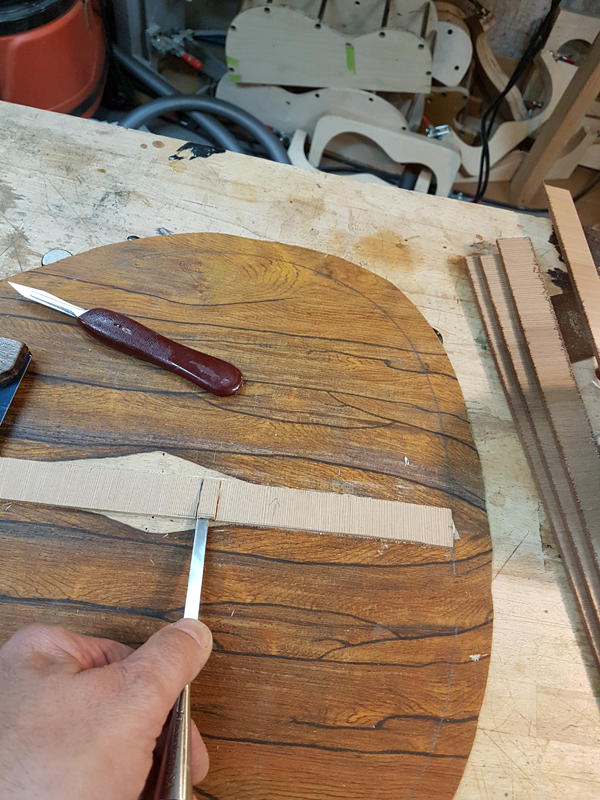
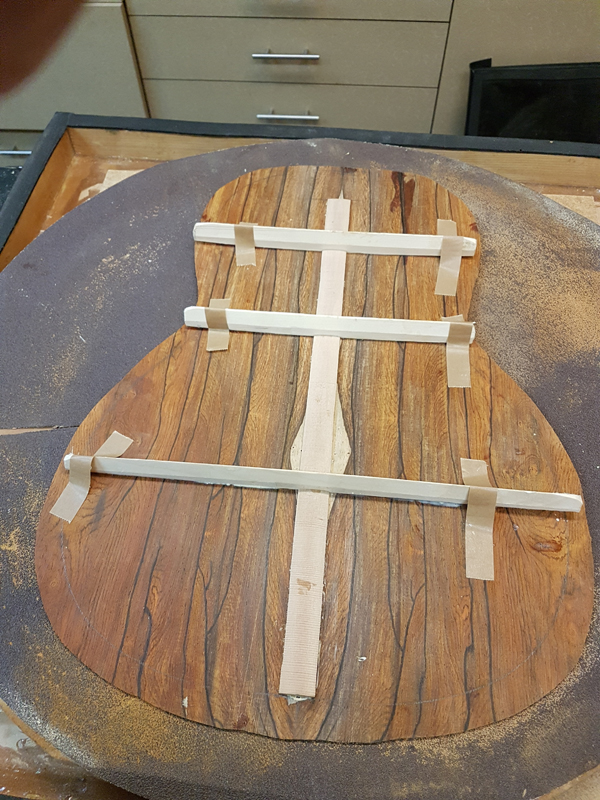
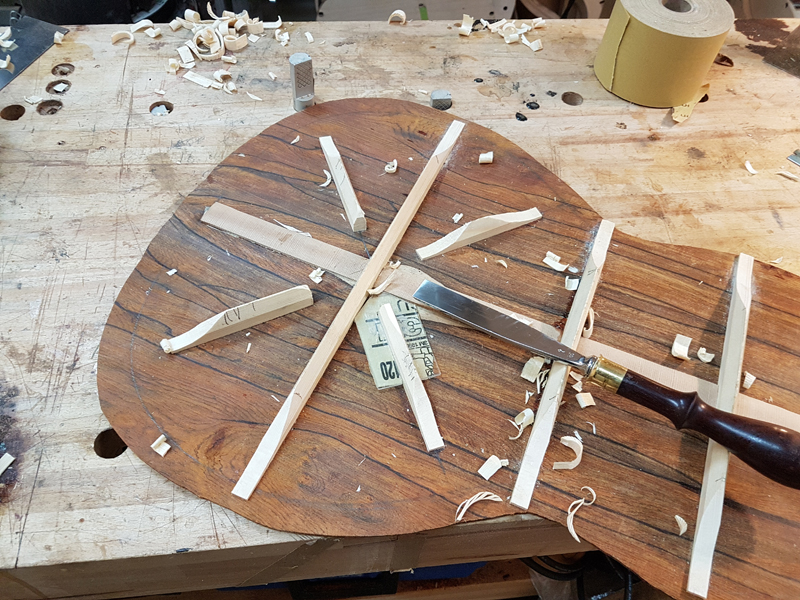
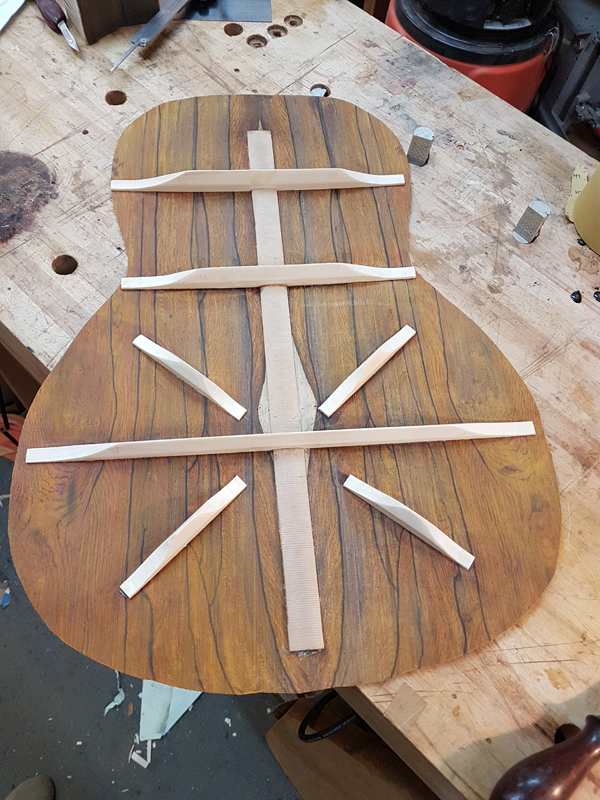
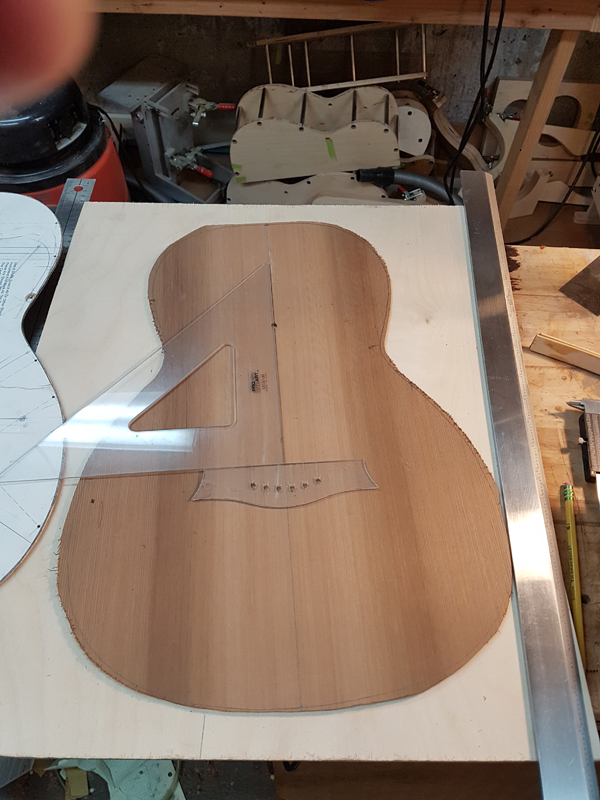
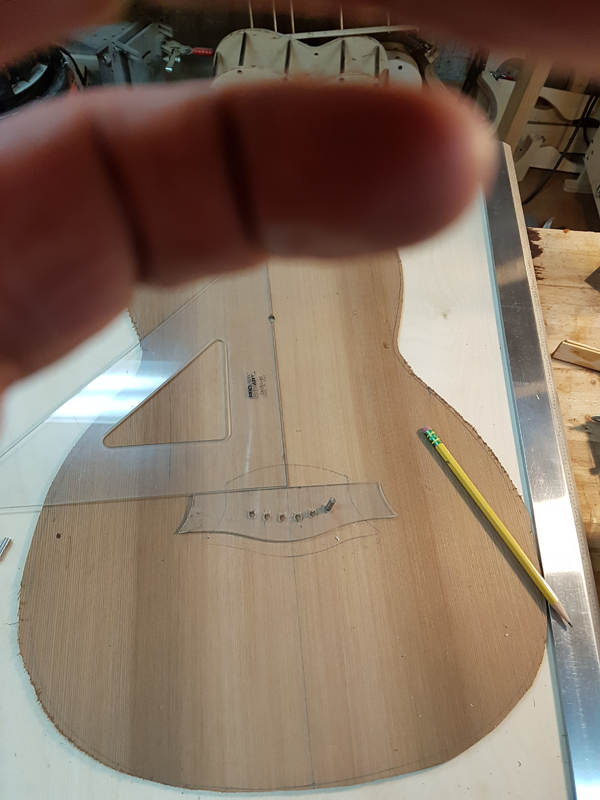
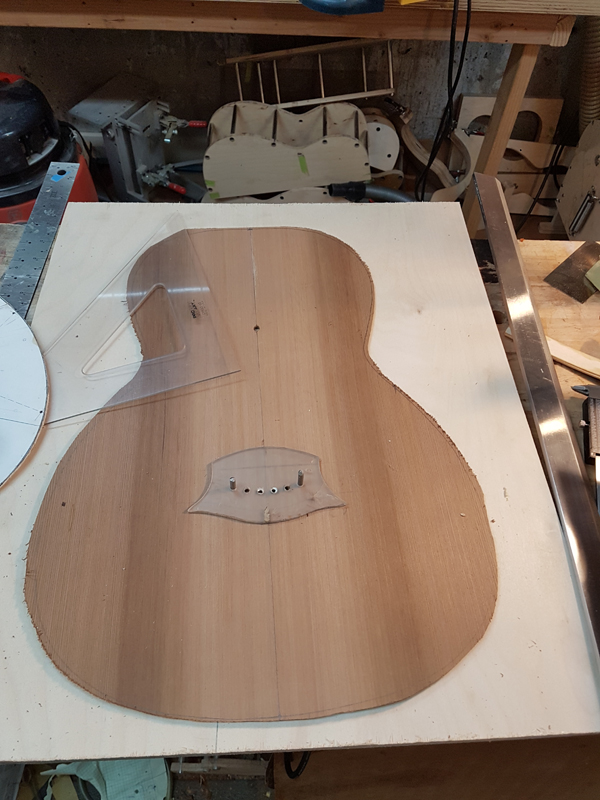
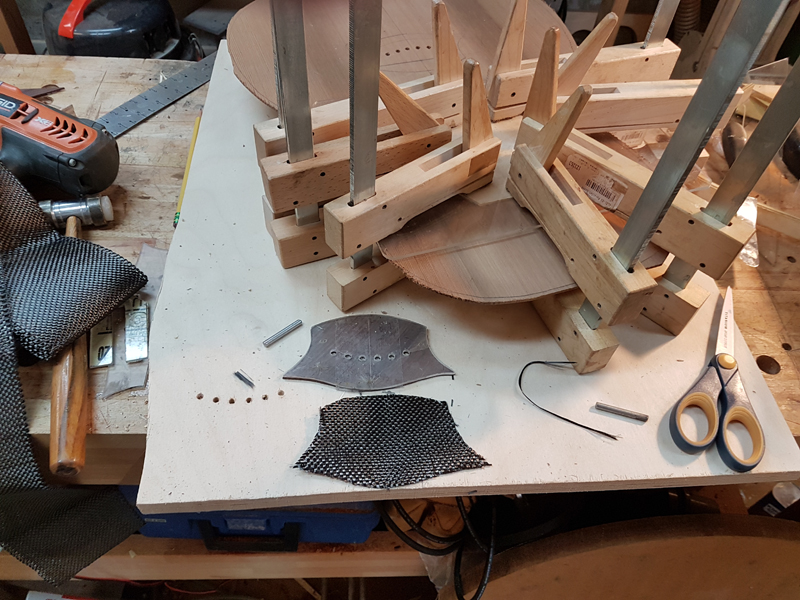
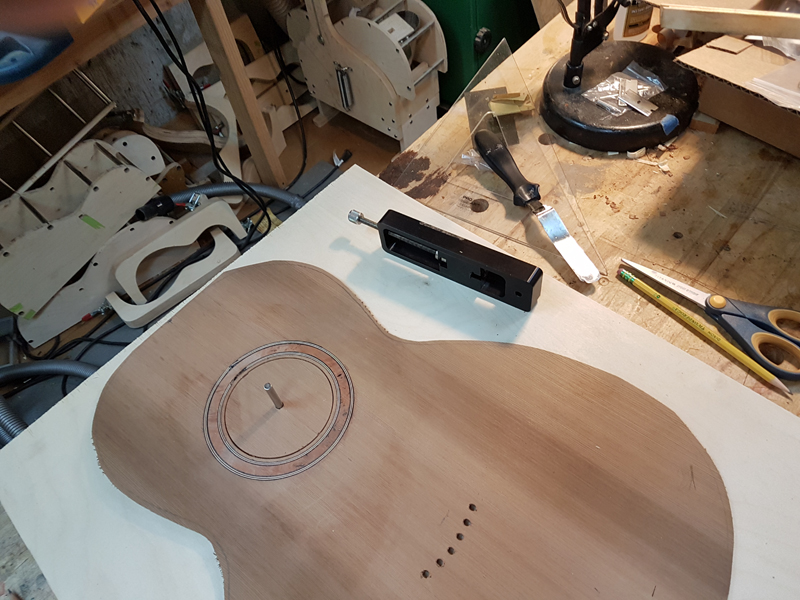
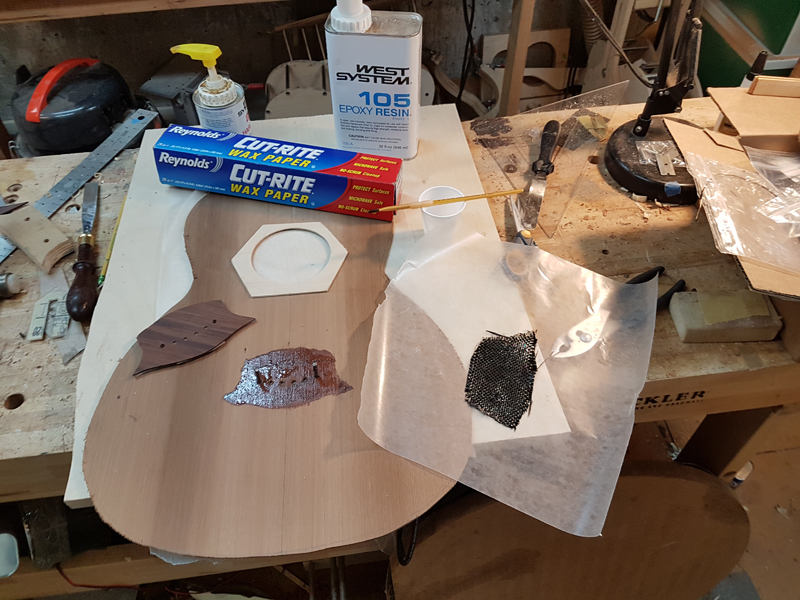
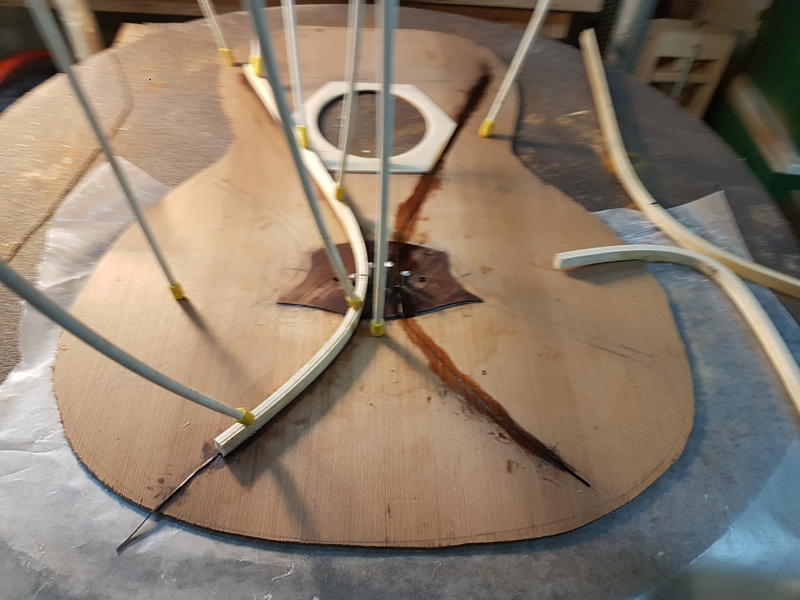
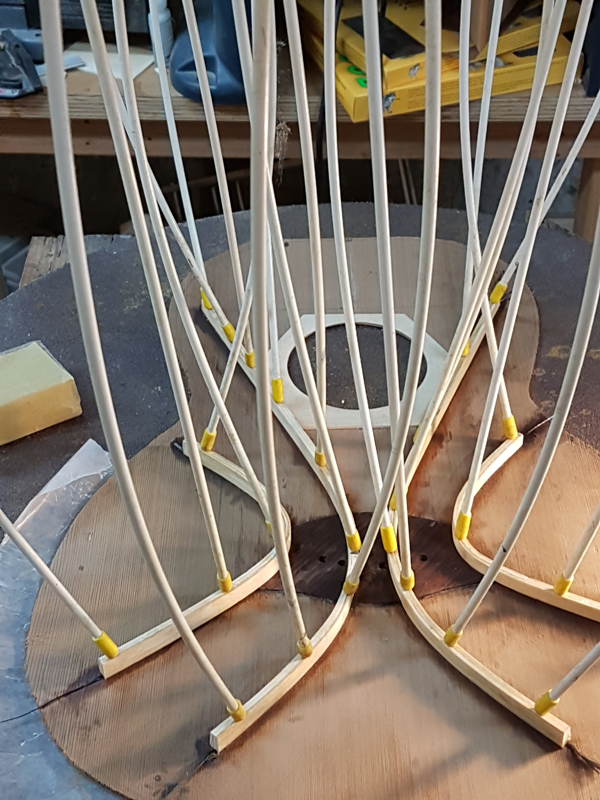
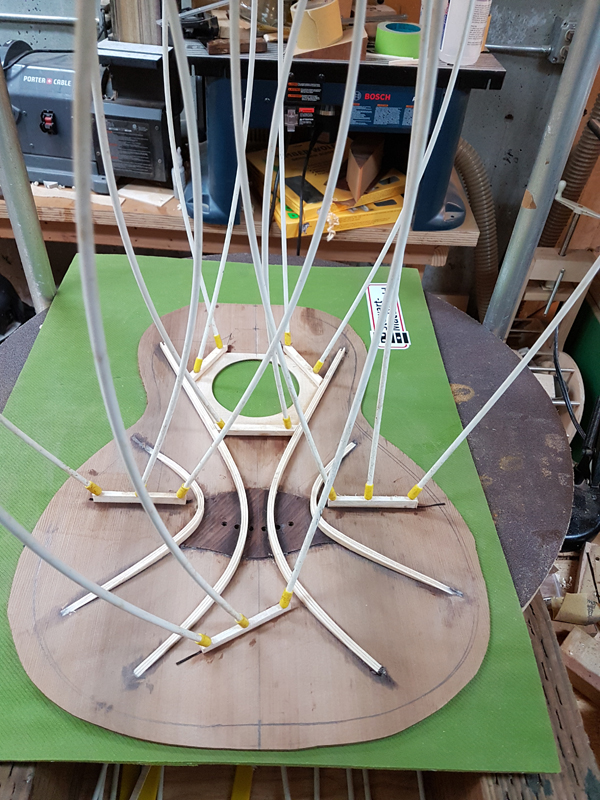
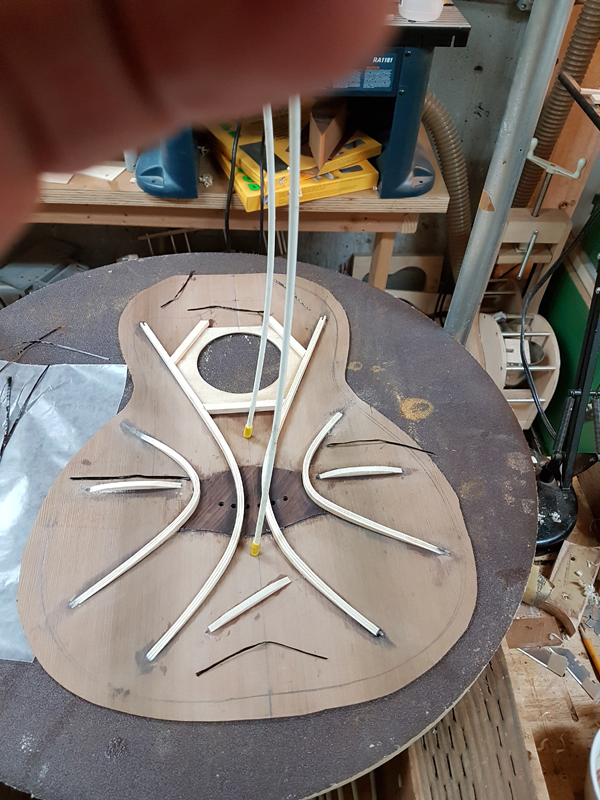
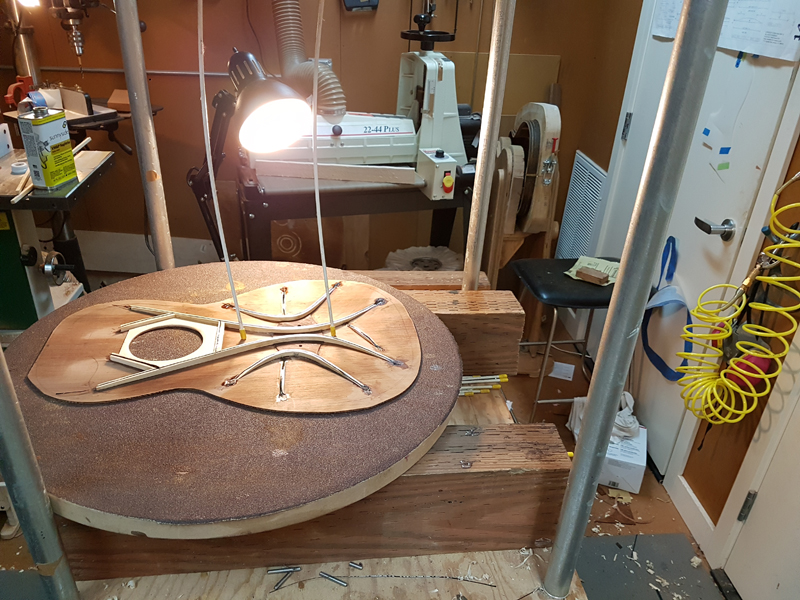
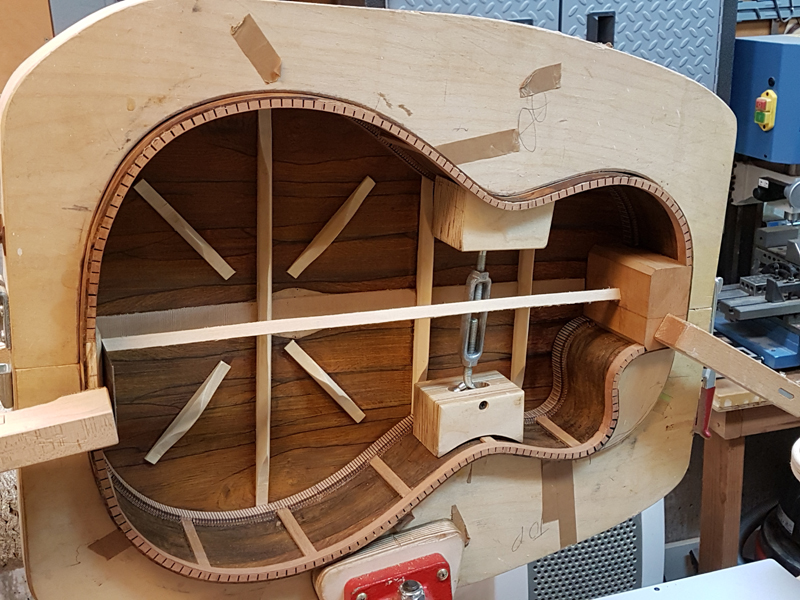
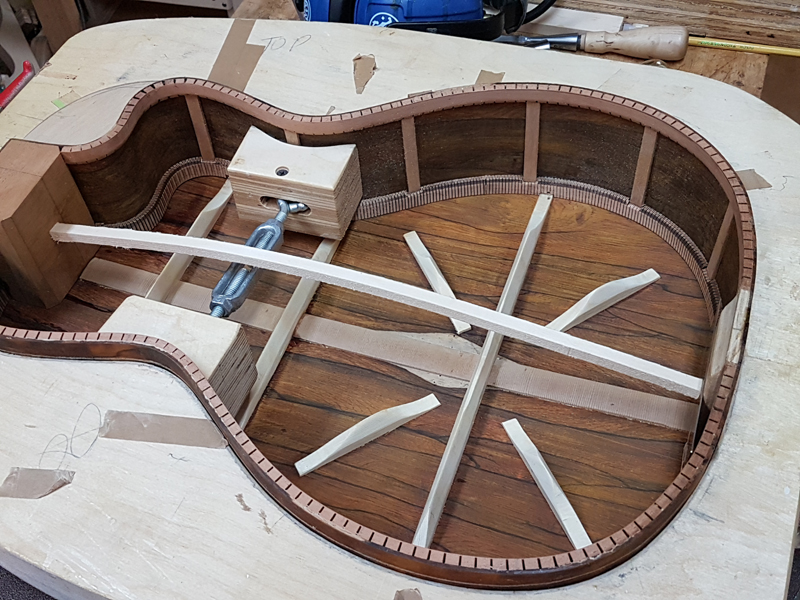
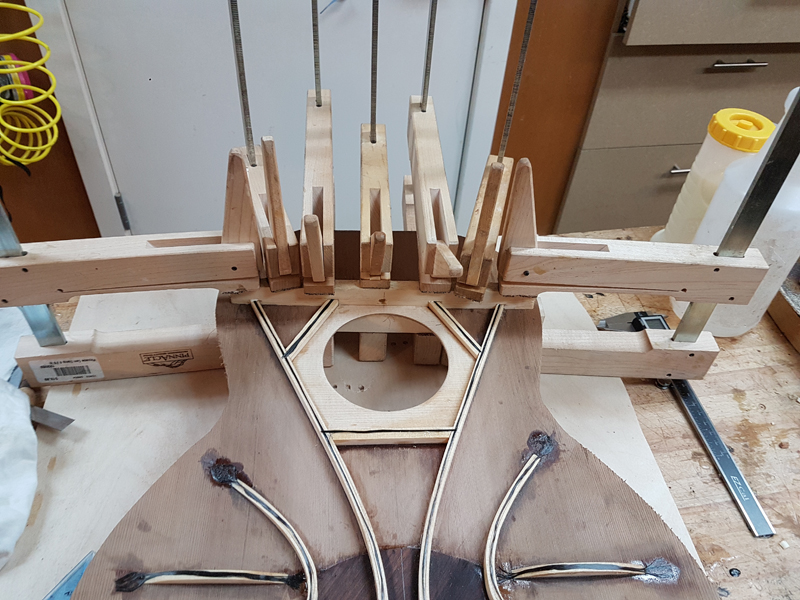
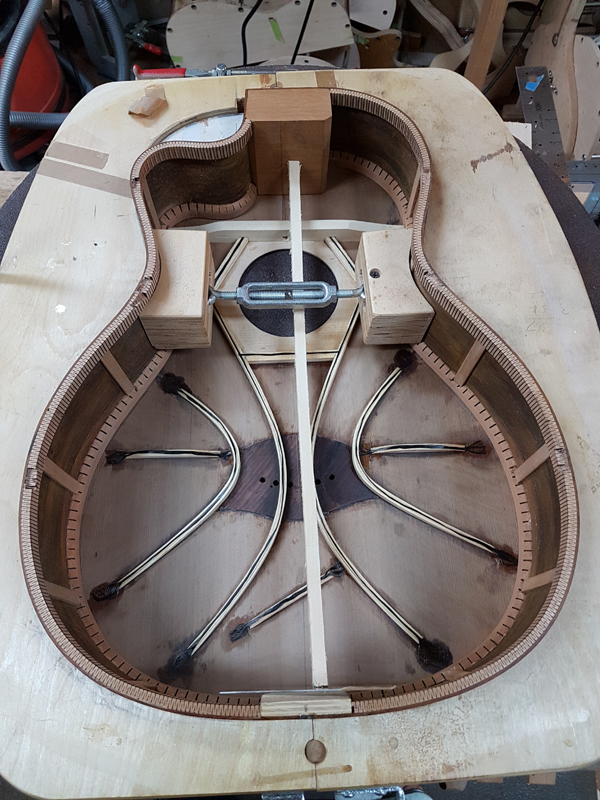
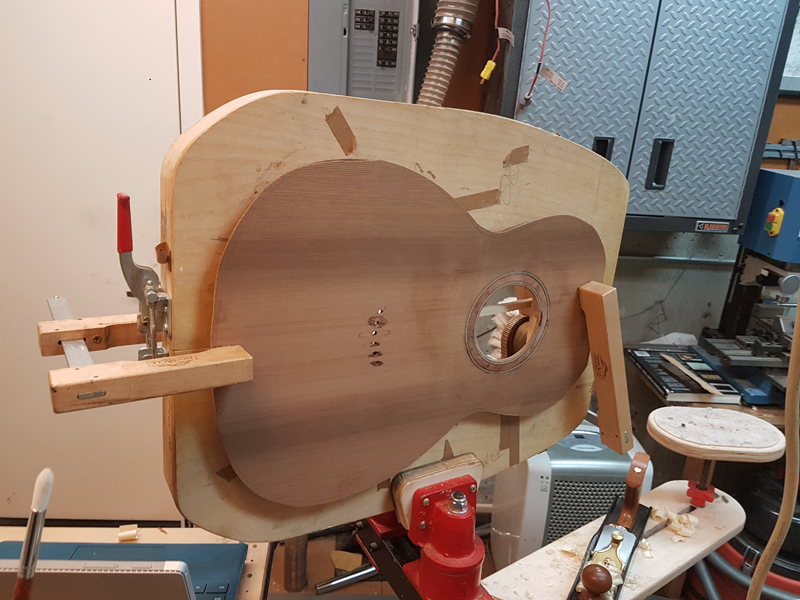
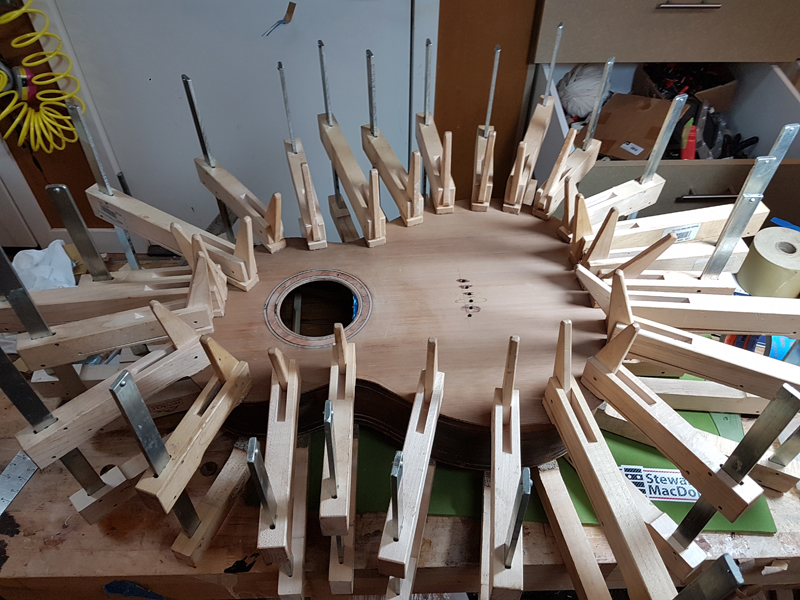
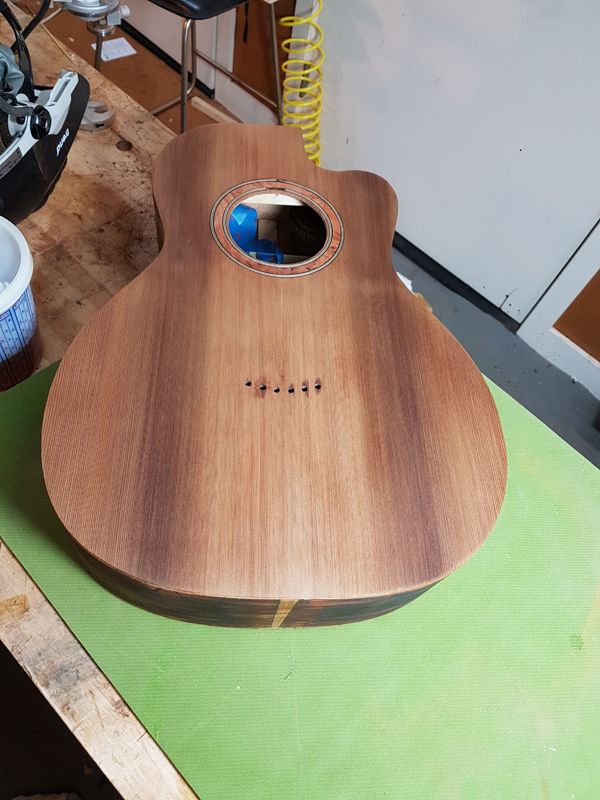
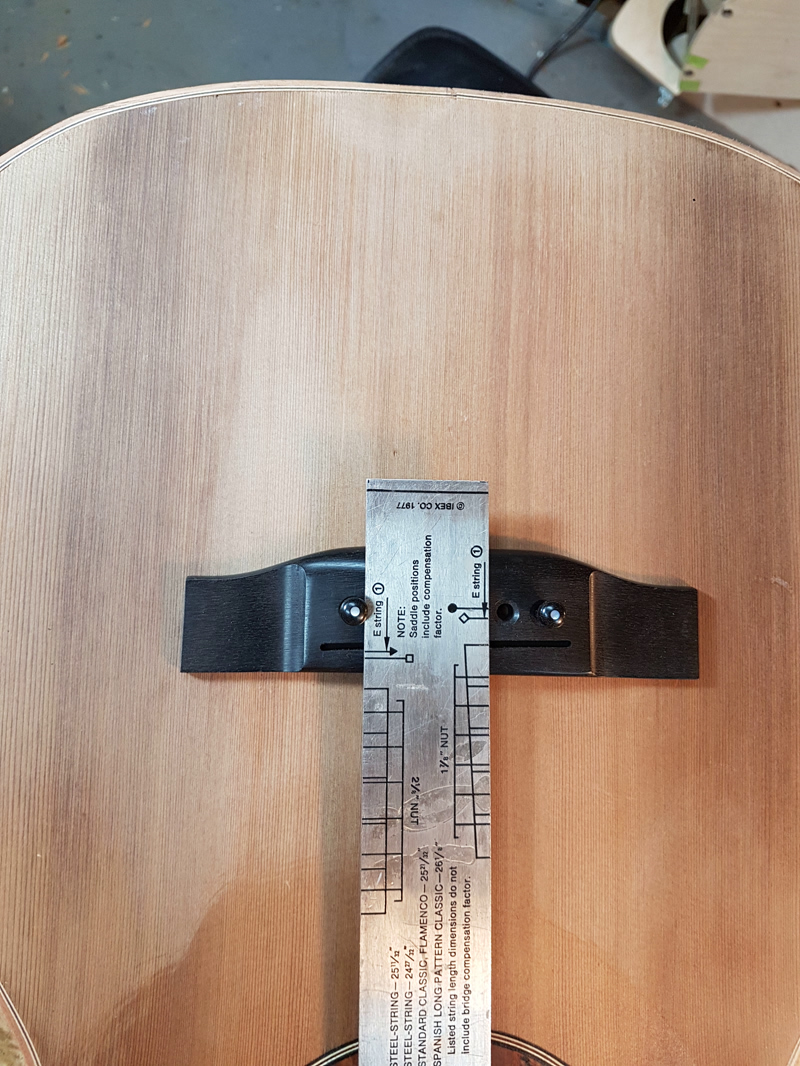
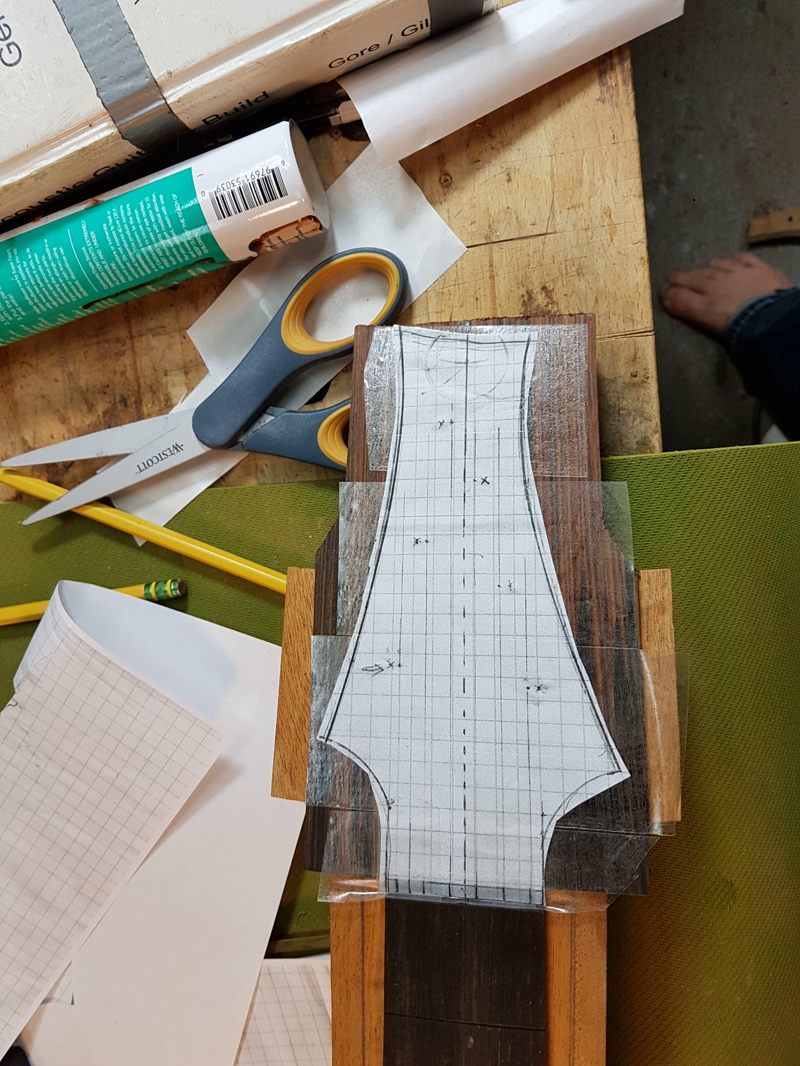
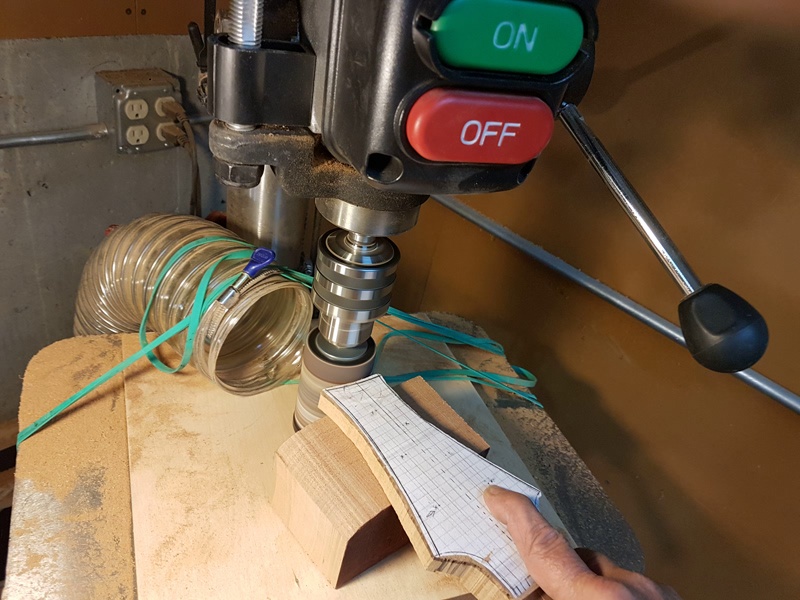
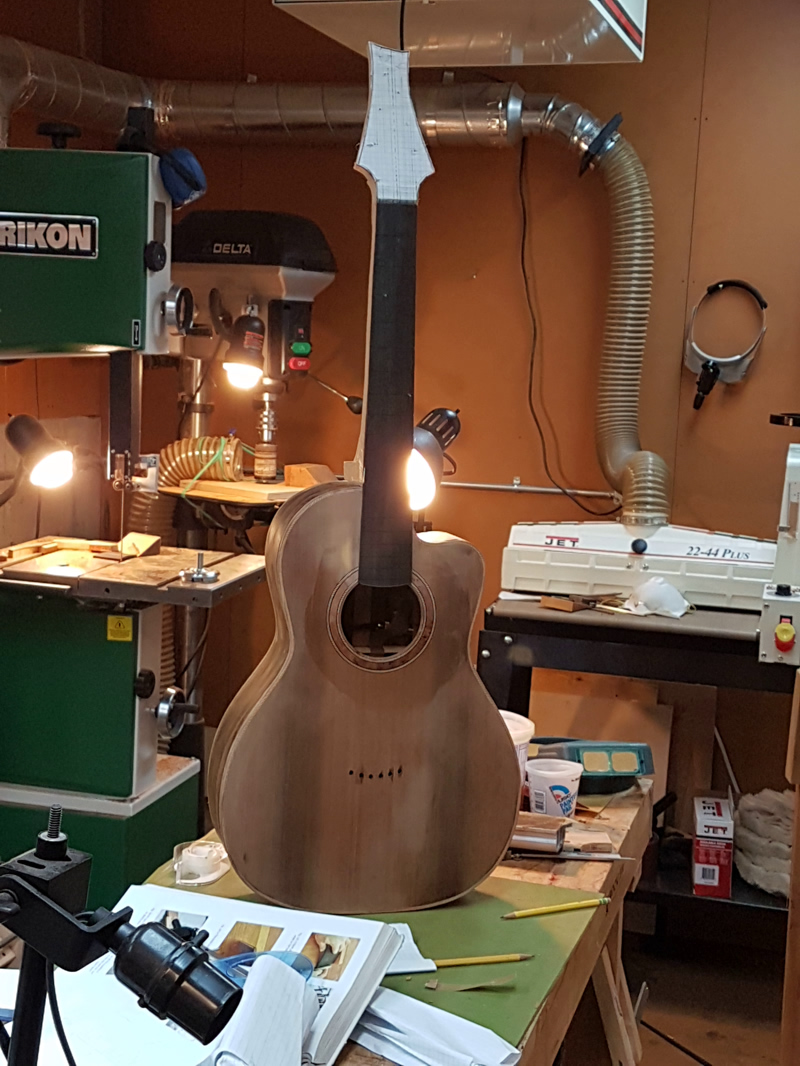
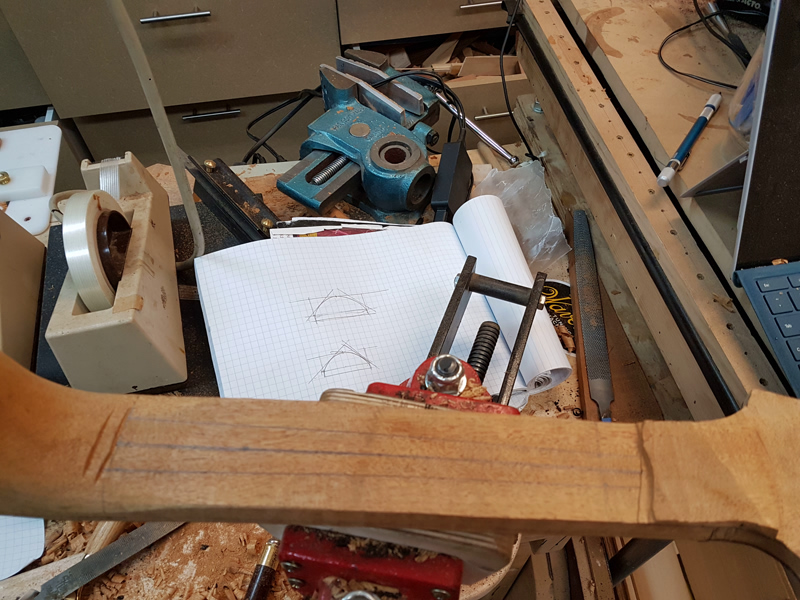
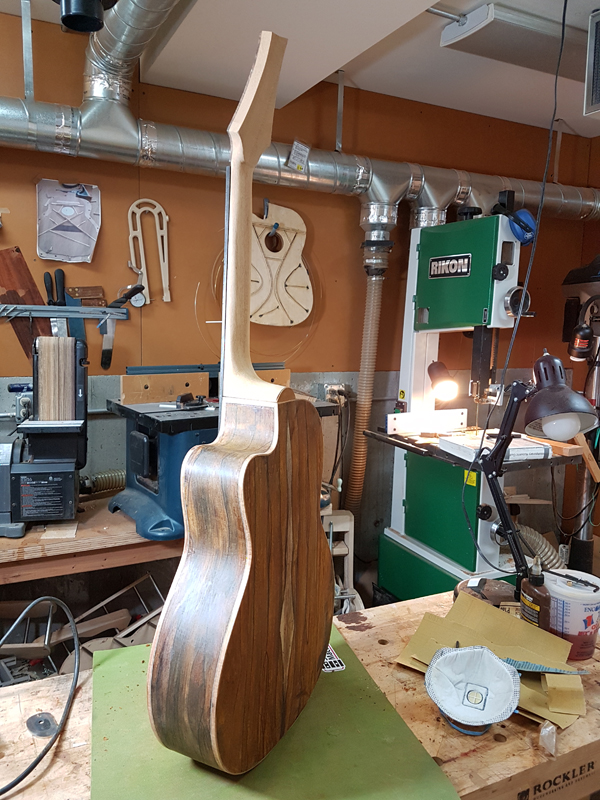
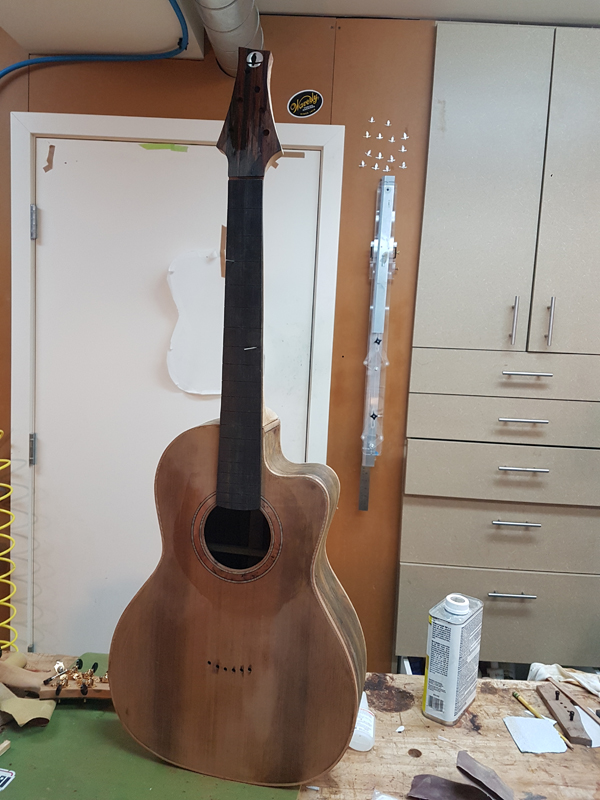
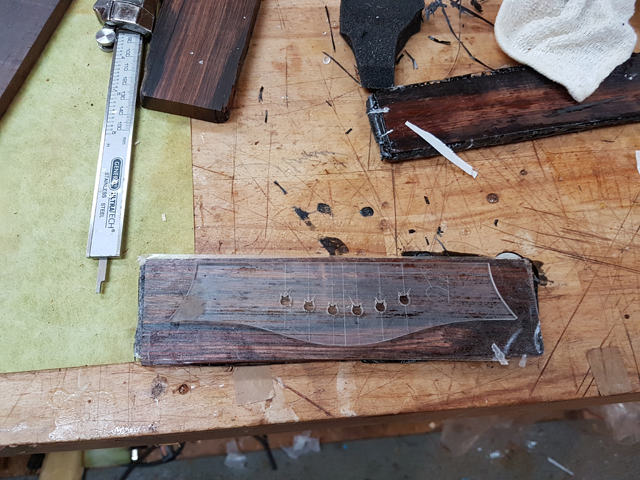
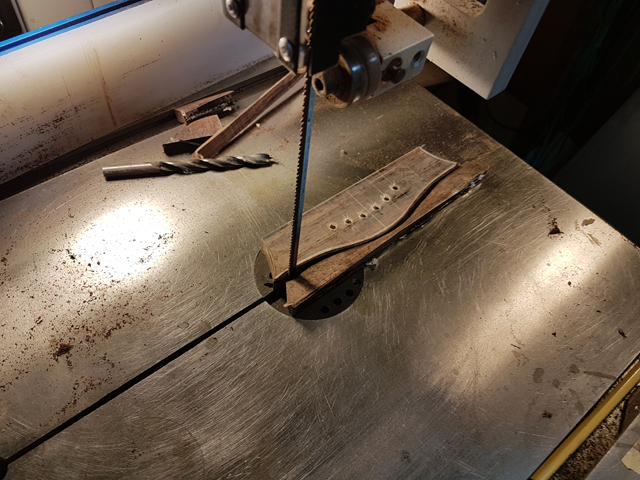
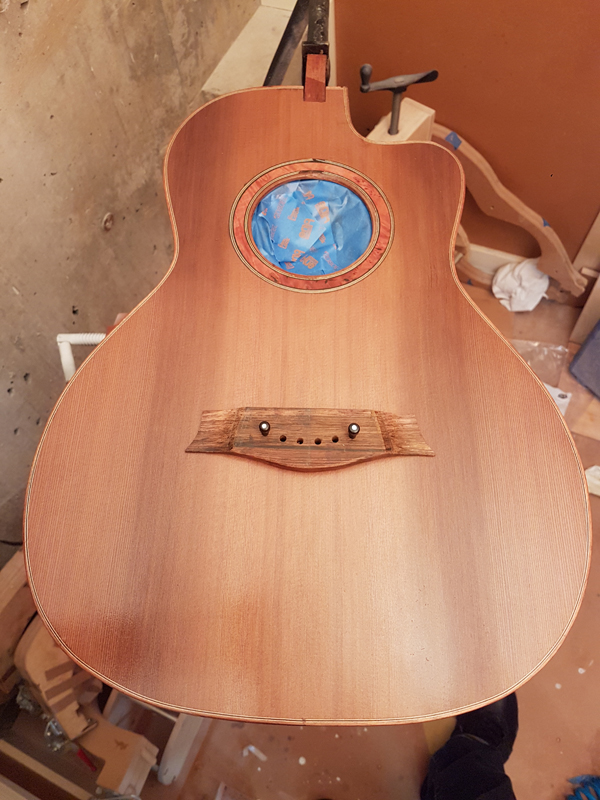
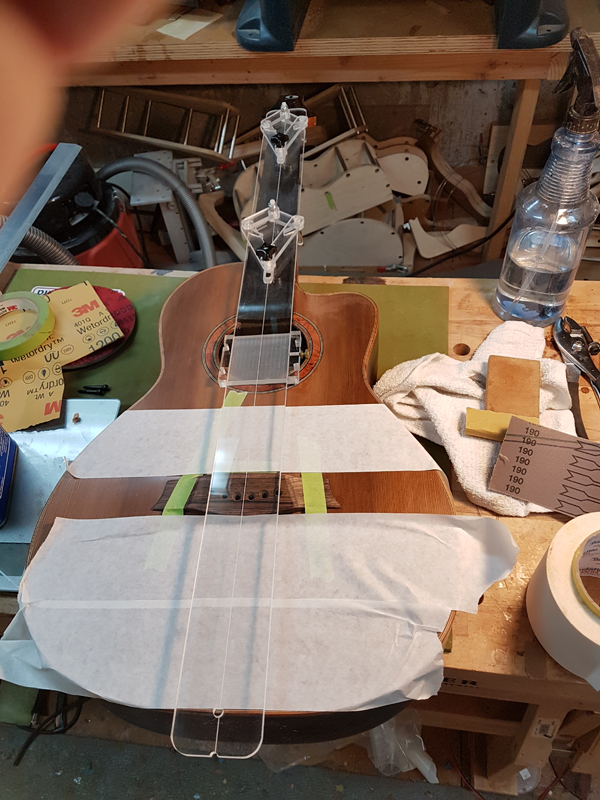
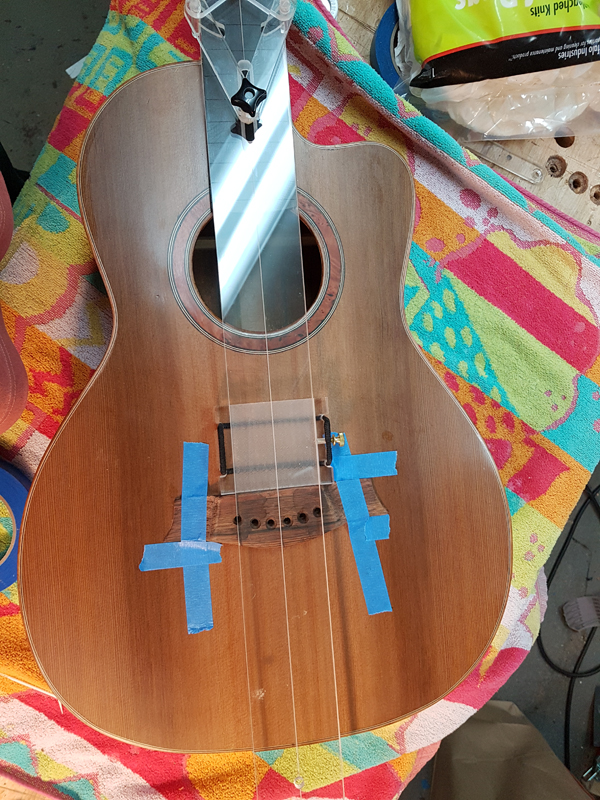
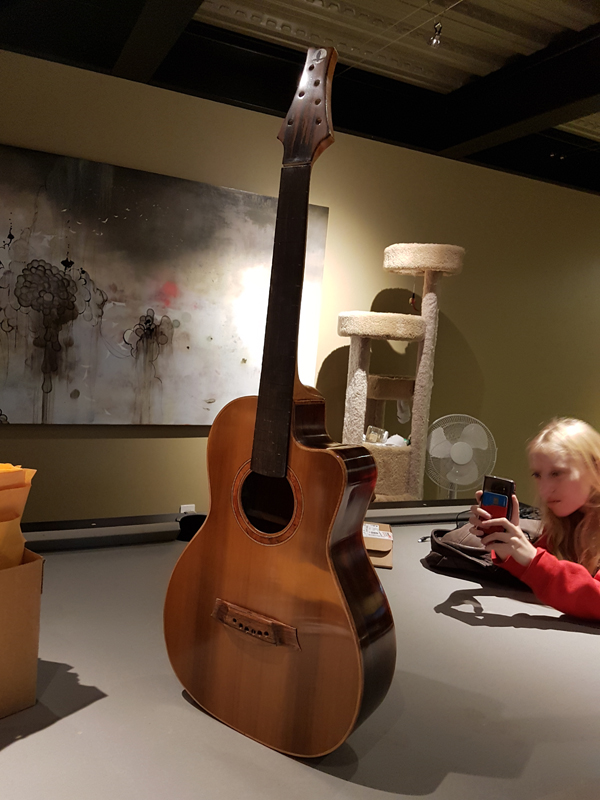
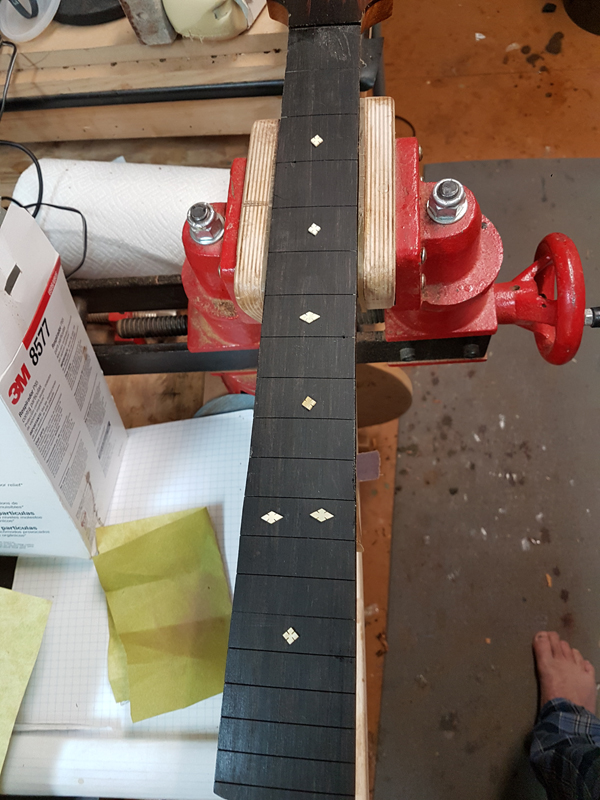
WIth the top and back joined I played around with a new layout for a 00. I moved the sound hole almost an inch closer to the neck (more like it would be found on a classical). With this change and using a 25.4 long scale, the fretboard will fall nearly in the center of the lower bout. You might be able to see the falcate bracing pattern and the new sound hole location penciled in on my old 12 fret SS 00 template.

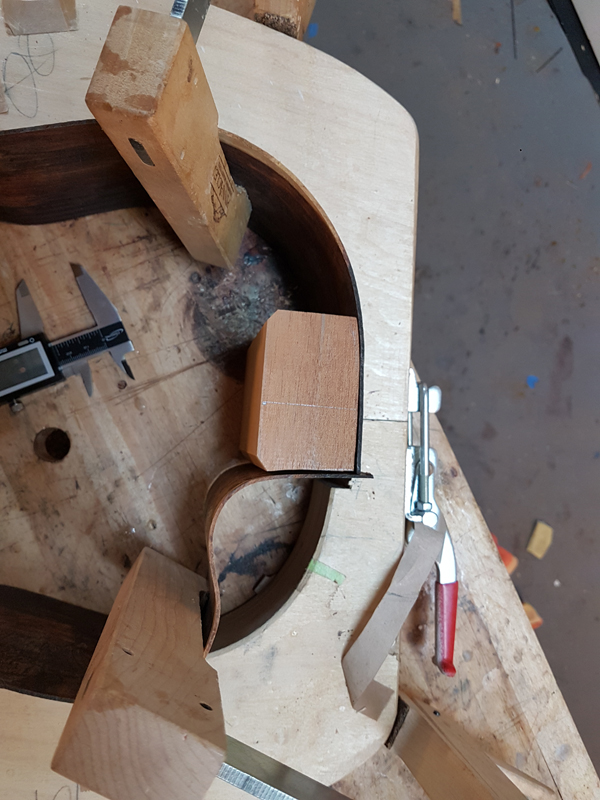
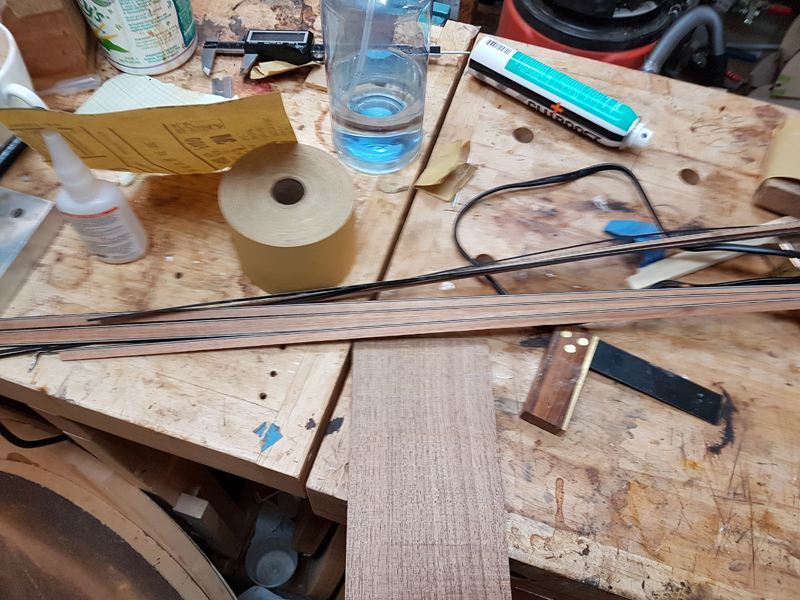
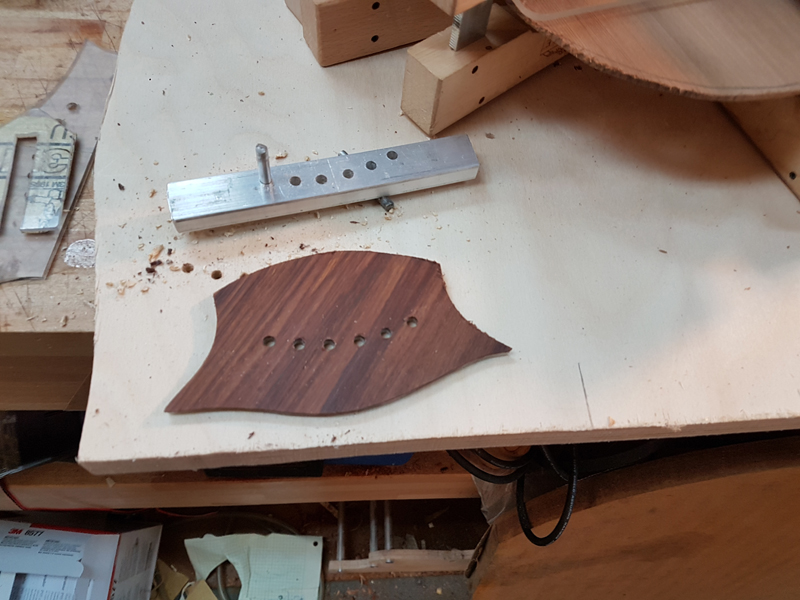
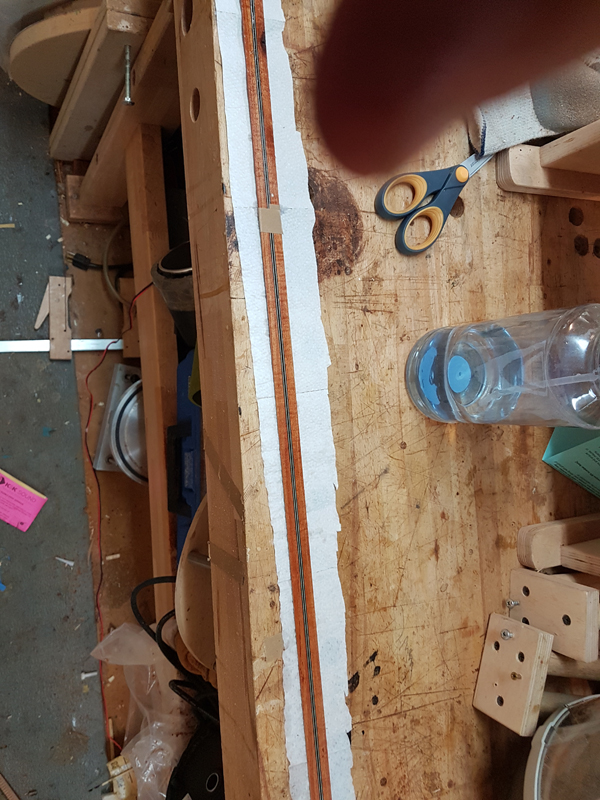
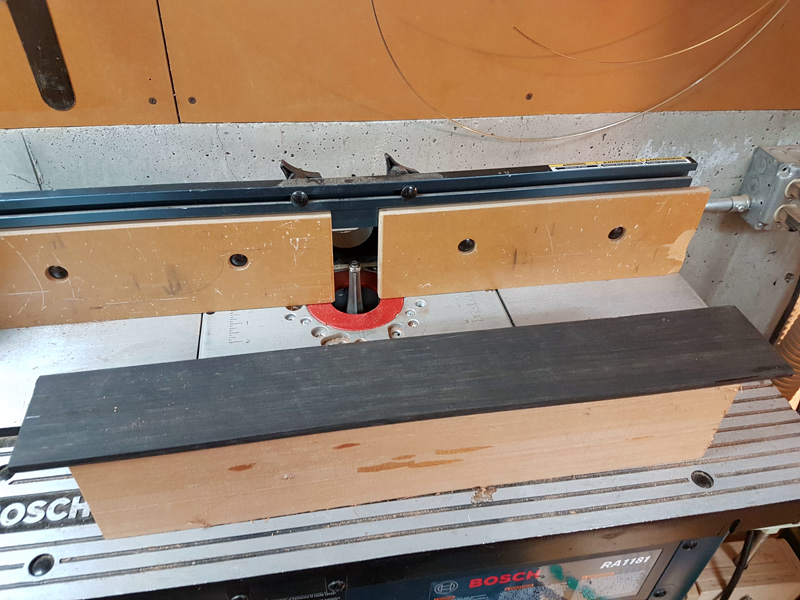
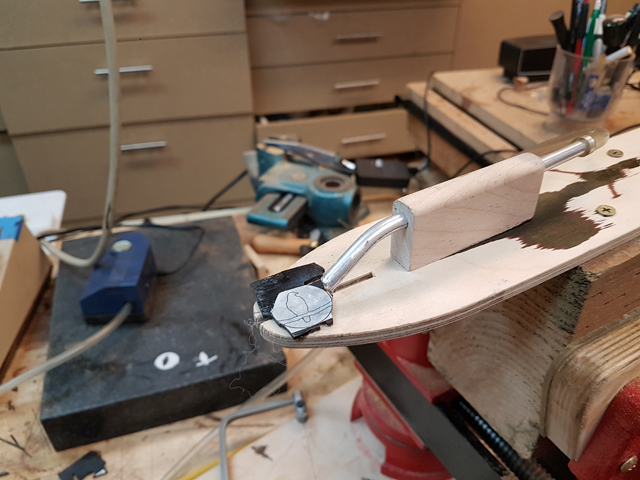
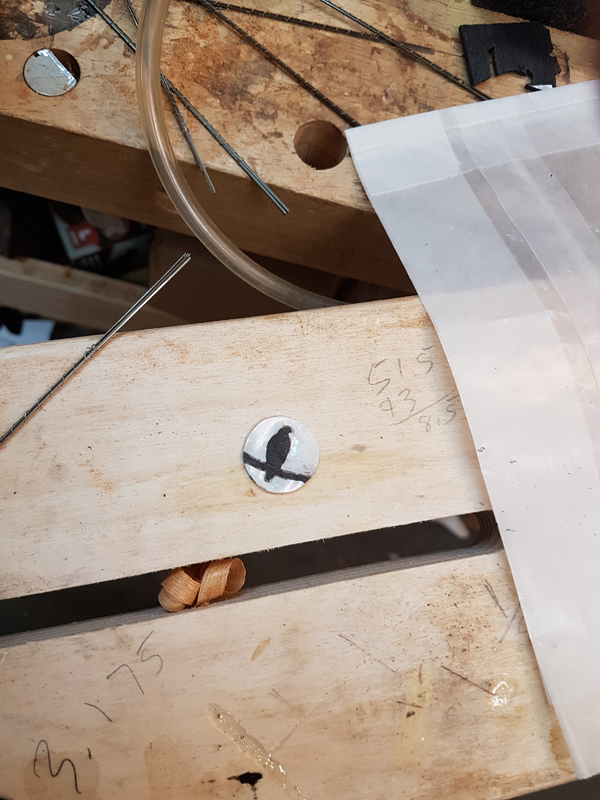
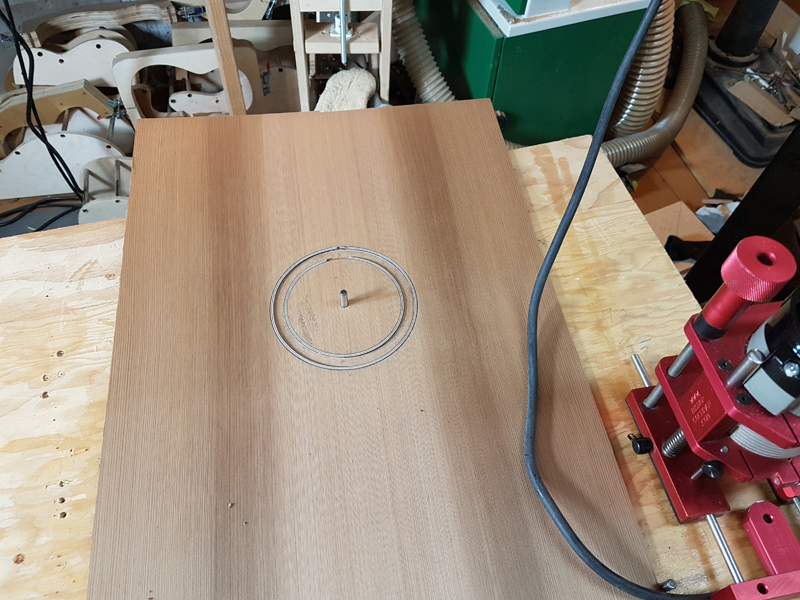
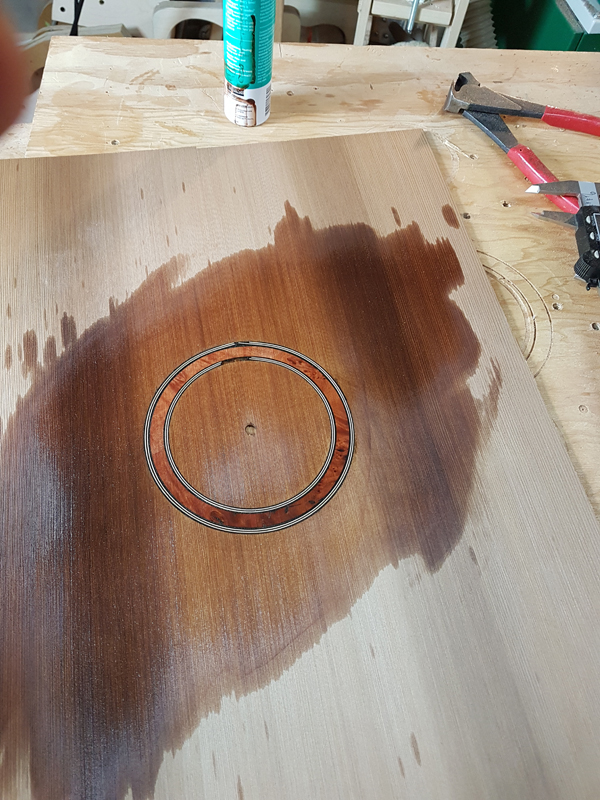
With the sound hole location in place I constructed a rosette on the top. The rosette will be 5 thin purfling strips BWRosewoodWB on the inside and outside of a wooden ring. To get the purflings in tight and round I route the channels sized for the purfling stack and install the purflings first. I glued in both in one go and then leveled them to the top.
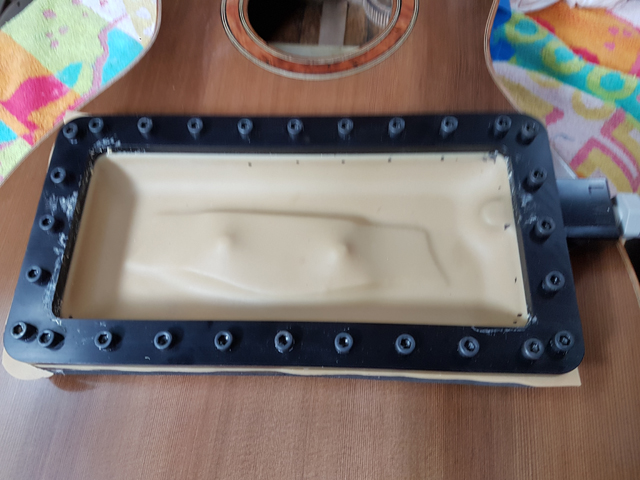
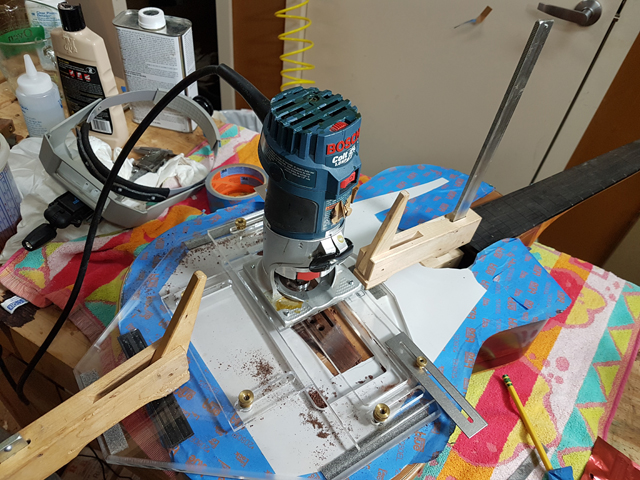
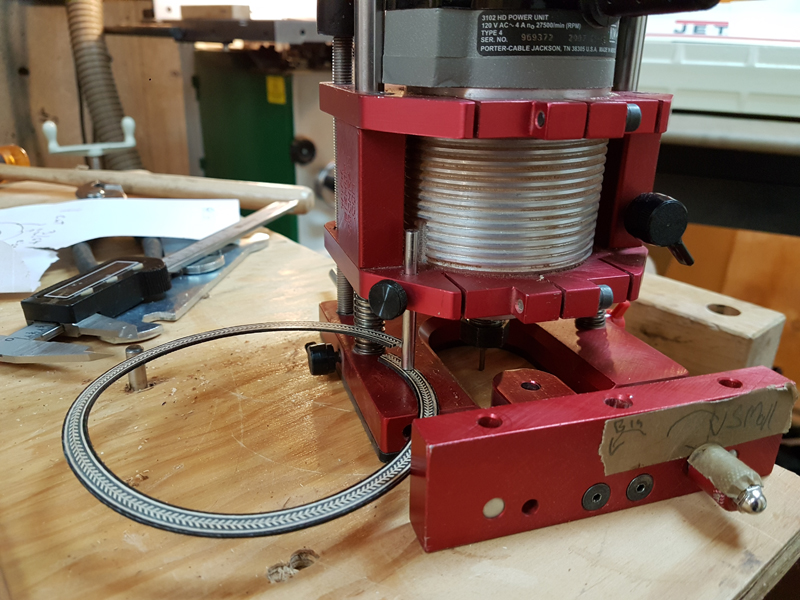
Size the depth of the routers cut. Just used something the right thickness.
Installation of one of the rings
gluing them in with Titebond hide glue. I use a transparent caul to be able to see if all of the purflings are in place.
With the purflings installed I just sneak up on them with the router

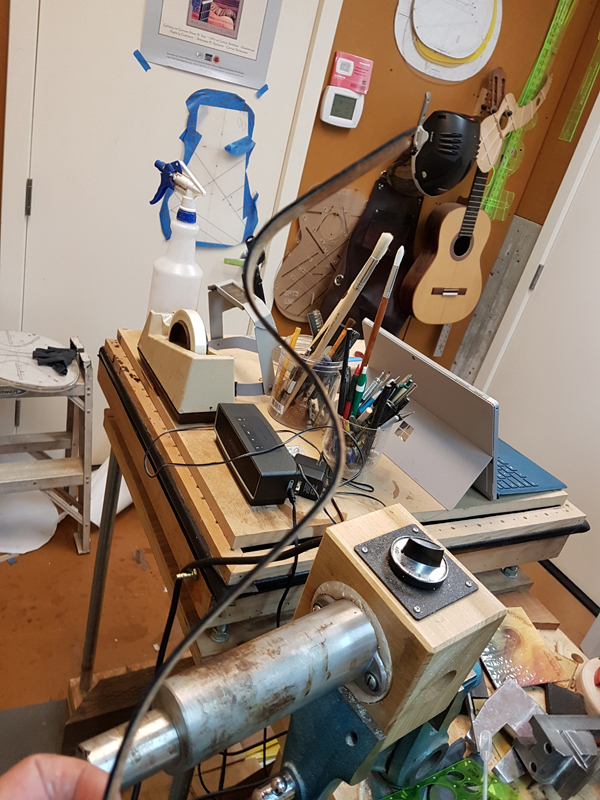
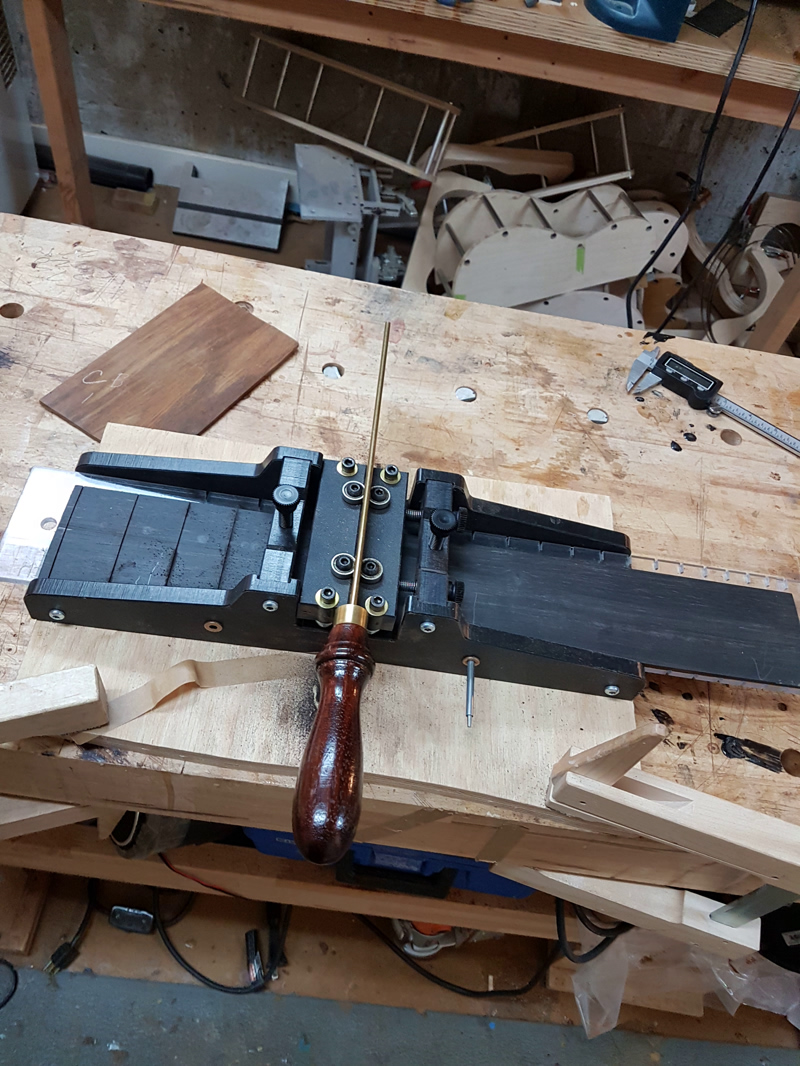
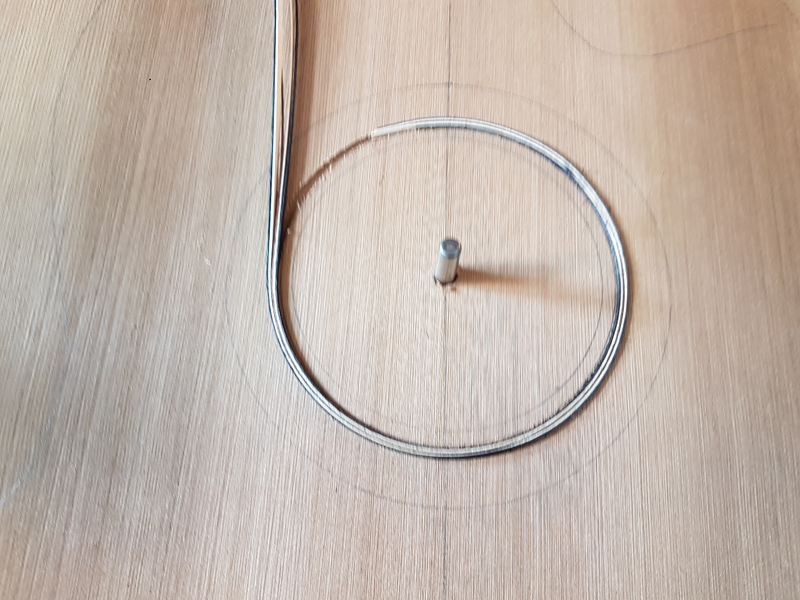
I use the size of the cut channel to make a proper sized wood ring. When routing I start outside of the ring and inside then up of the proper size. The Bishop Cockran router base allows for really fine adjustments to just do it one the fly.
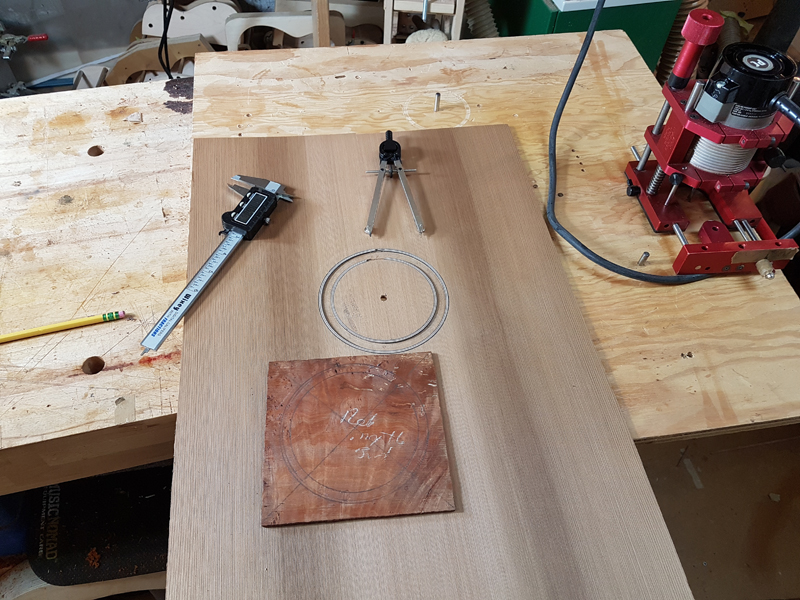
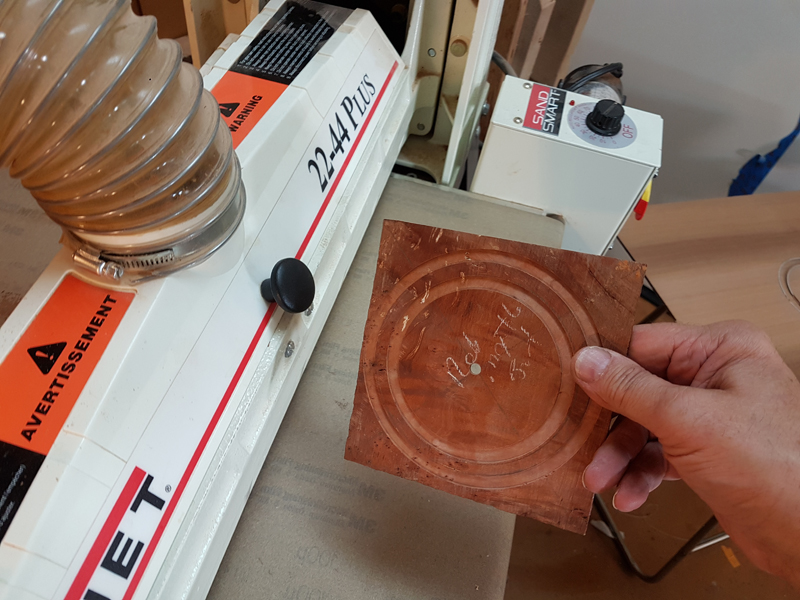
I set the depth of the cut to the desired thickness of the ring. I then sand the back of the routed blank in my thickness sander to the ring drops out.
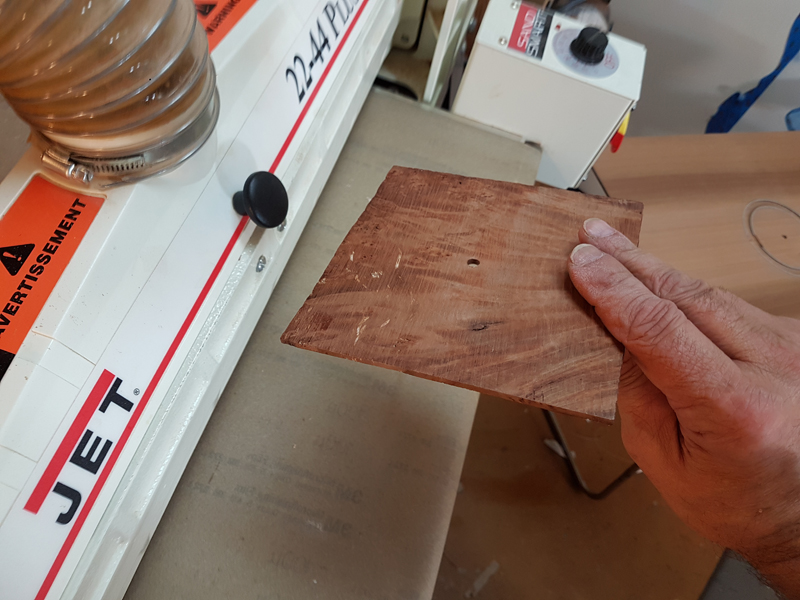

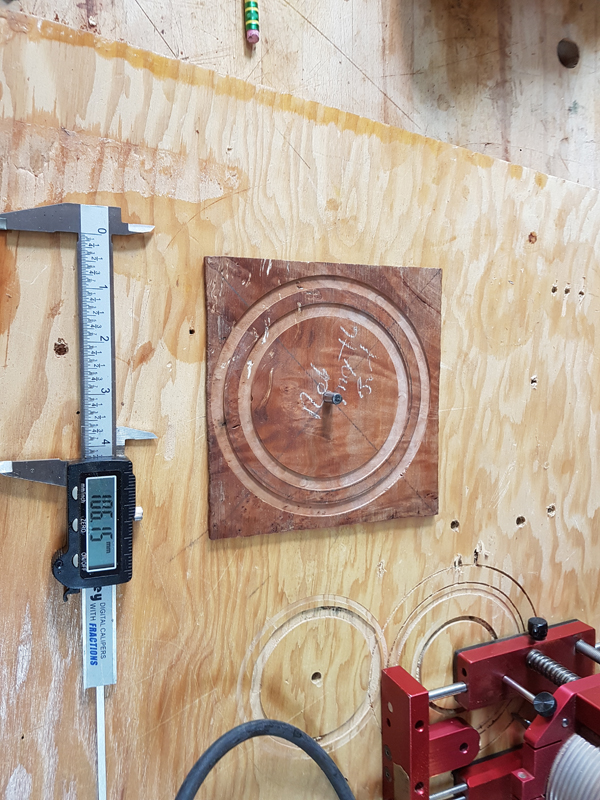
THe ring dropped right in and I glued in with the titebond hide glue.
I have more but I will create a second post so the first one does not get too big.