
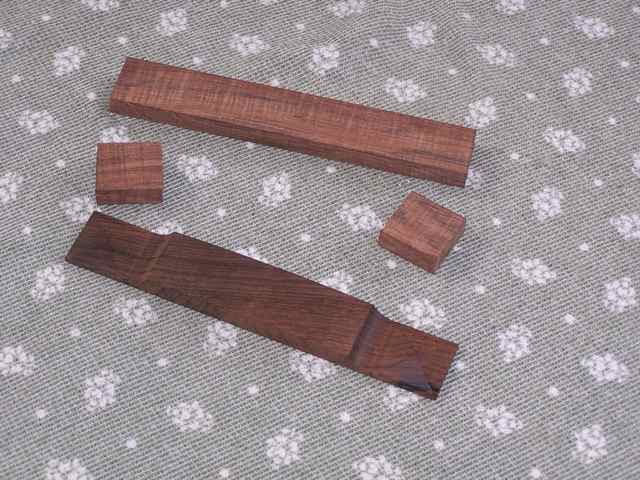
Here is the original that I'm doing my best to replicate, and my bridge blank material.
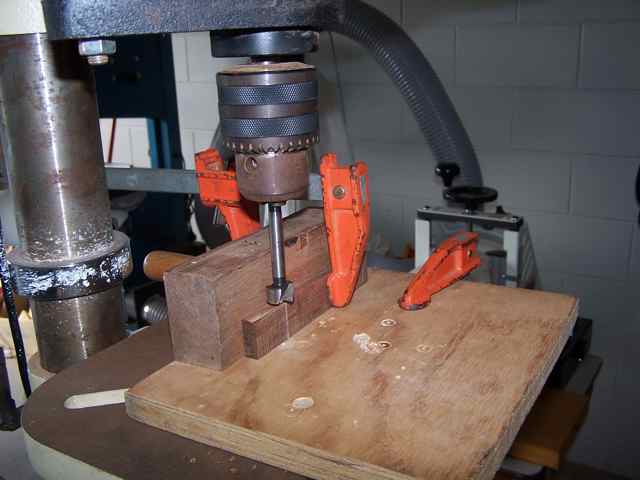
To replicate the very tight radius on the wing I'm using a Forstner bit.
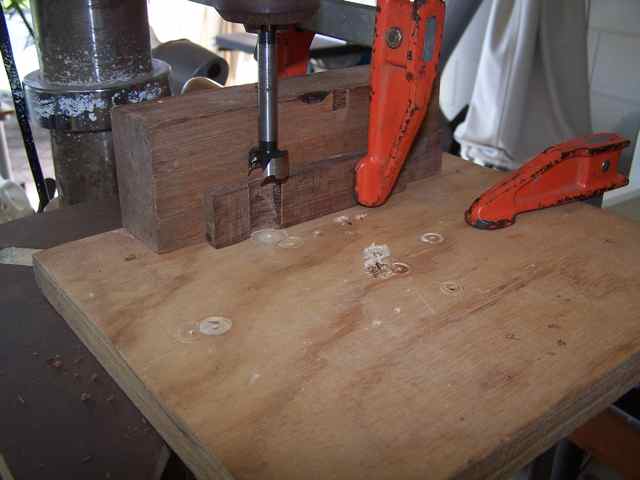
I also moved the blank along and used the Forstner bit to remove the bulk of the wood on the wing.

I use a tilting sled next to my belt sander to thickness the wing. This shot shows the first bridge I tried and you will notice that the radius cut by the belt sander is no where near right. That's why I went to the Forstner bit.
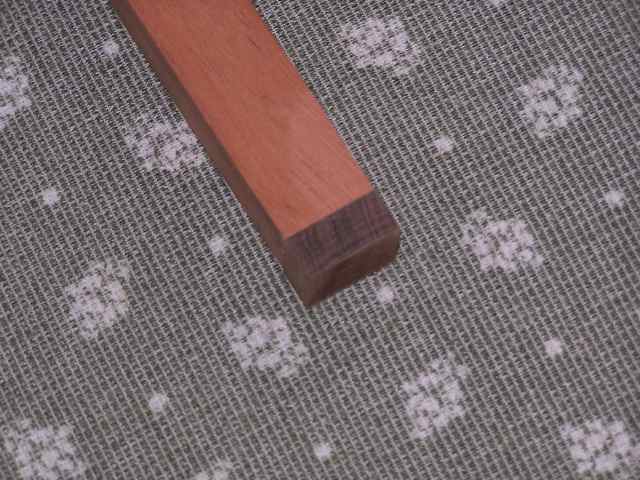
I used double sided carpet tape to stick the pyramid stock to a piece of hardwood that I dimensioned to the desired size of the pyramid.
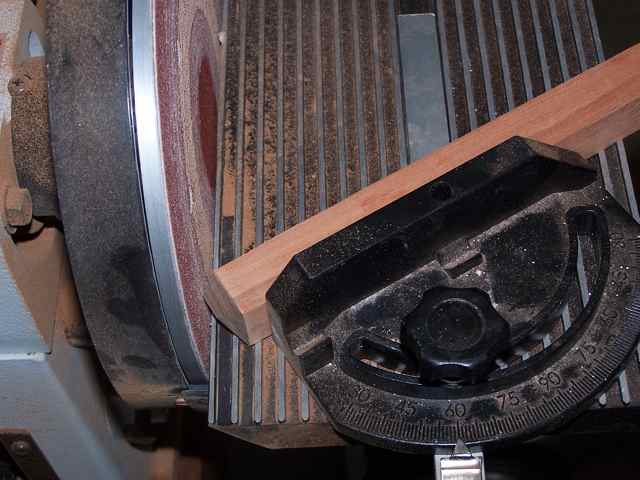
Then set the miter gauge to 60 degrees and gradually sand away the sides until the bevel just meets the edge of the hardwood stick. Go easy and don't try to get each side done in one go. I found that it worked best to just kiss the bevel of the pyramid to the sandpaper, then rotate. Keep doing this until you're at the finished dimension.
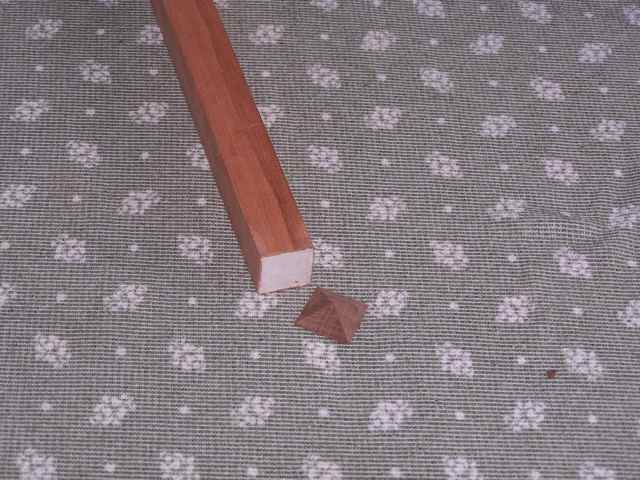
The finished pyramid removed from the double sided tape. All that's left to do is warm up the hide glue and stick them down. As it's not a stressed joint I just made up a thick batch of glue and held the pyramids in place for about a minute. No clamping involved.
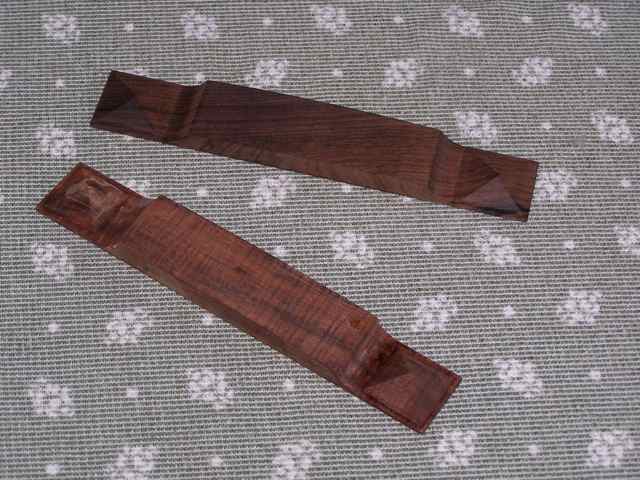
My finished attempt, the glue isn't even dry yet.
