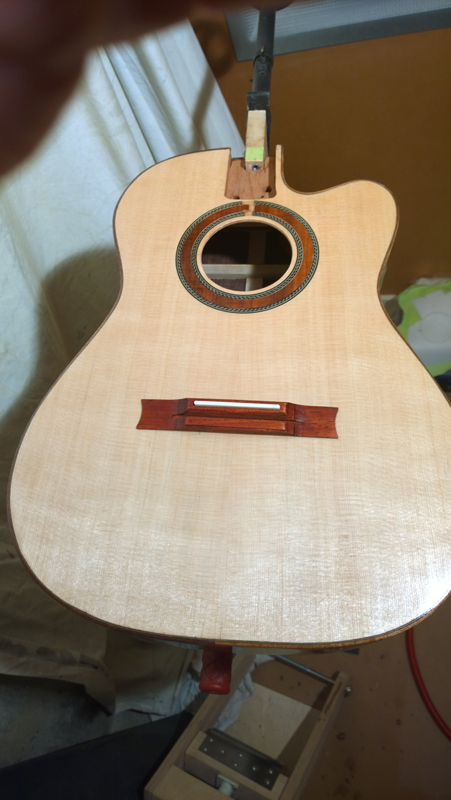
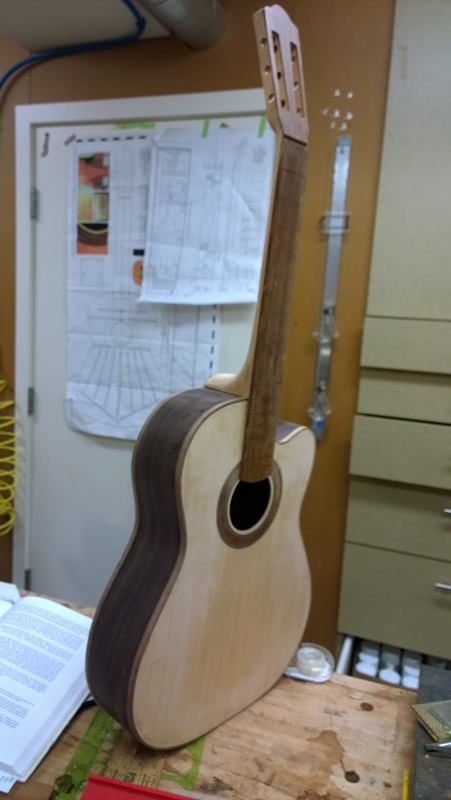
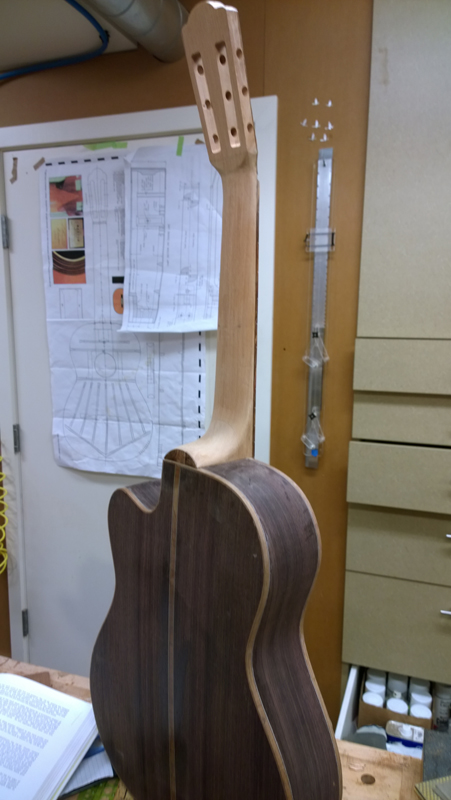
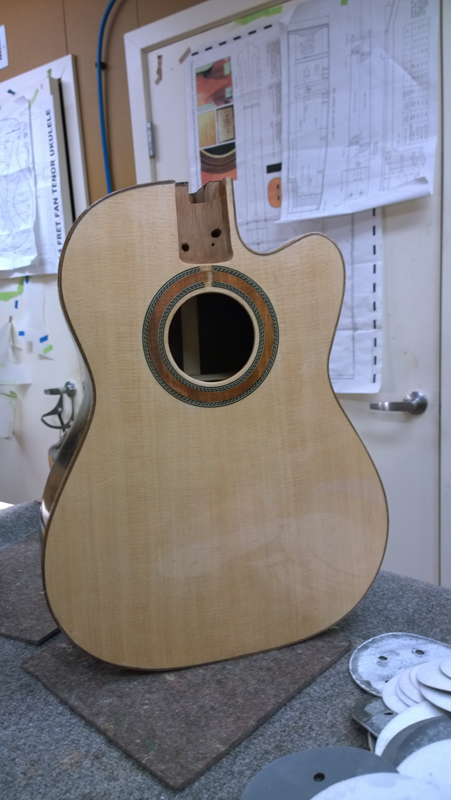
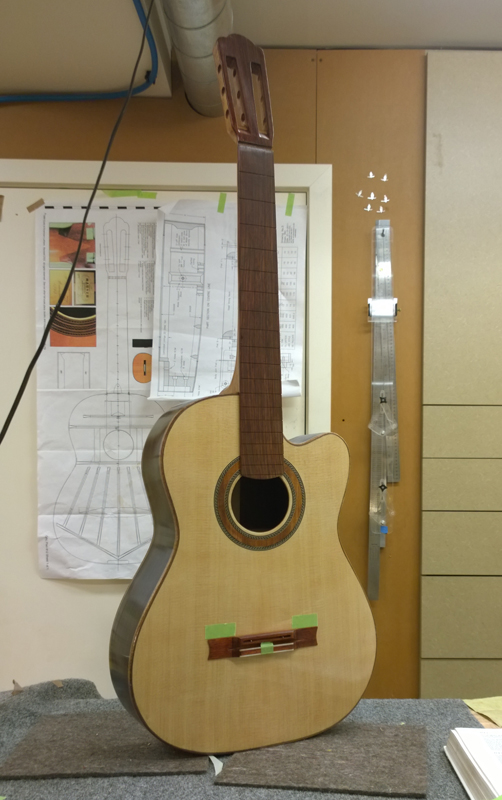
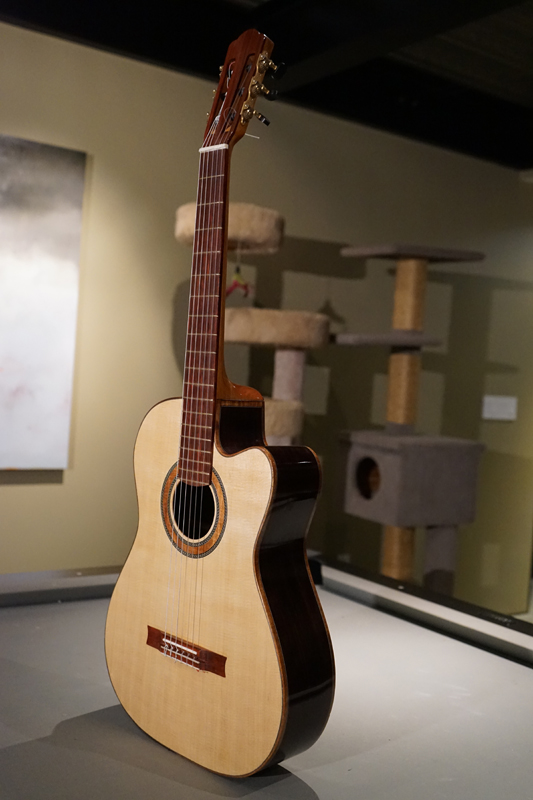
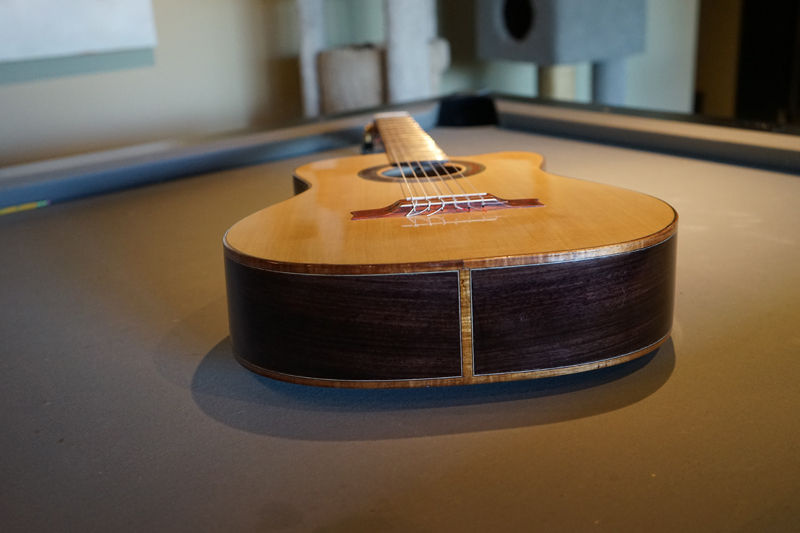
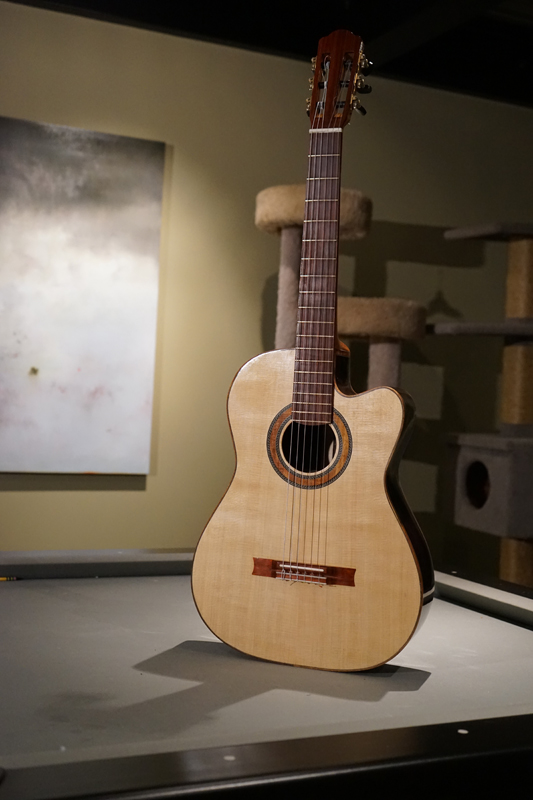
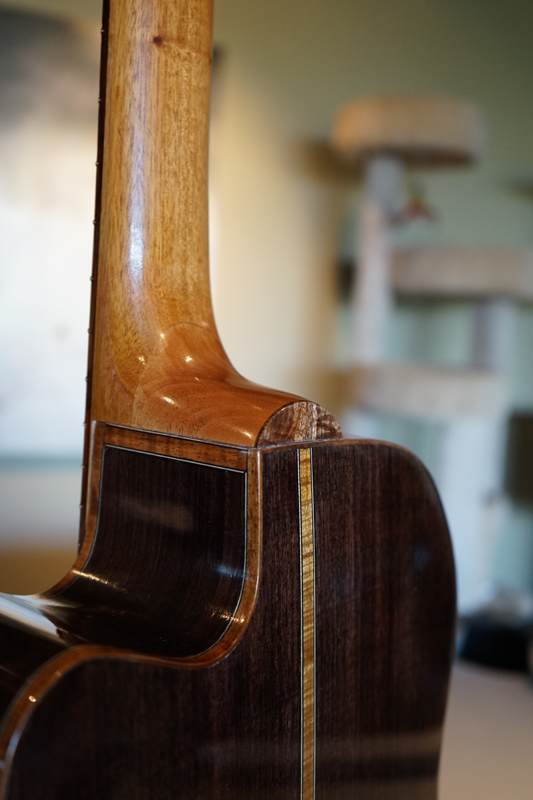
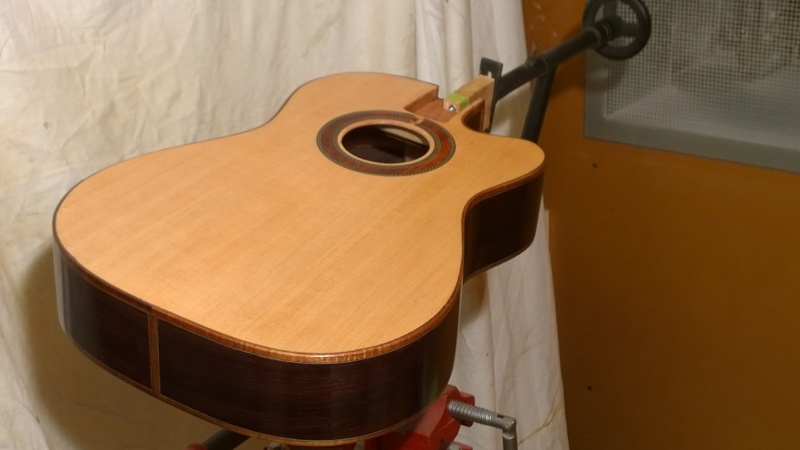
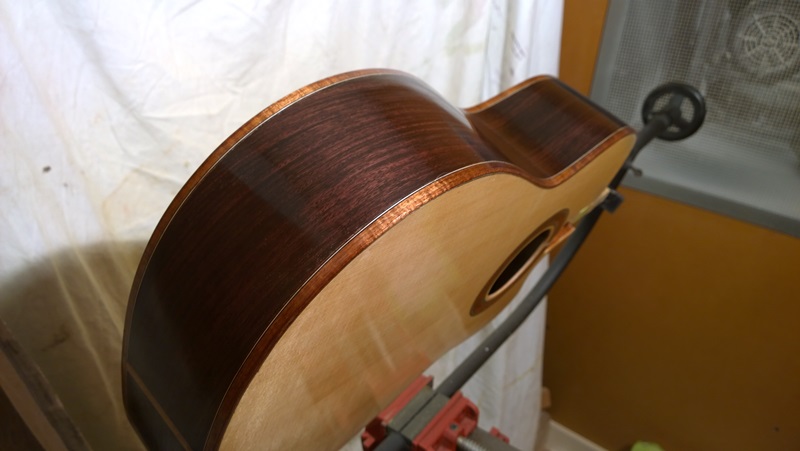
I finished this guitar with Royal Lac shellac from Shellac Finishes. I am really happy with how it is going on. Here is a description I found on line
Royal-Lac is a proprietary formulation formed by cross-linking shellac with carefully selected synthetic resins to form new polyester chains that combine the look and feel of shellac with the durability of synthetic finishes.. Also it can be buffed to a high shine. It comes as a 2 lb cut I have been using it as a 1 lb cut. It really builds nicely and stays level. My method is sort of half FP half padding. I use a proper muneca or fad so I can control how much I am applying but I am using almost all with the grain strokes and no oil. At some point I will level sand and buff it out.
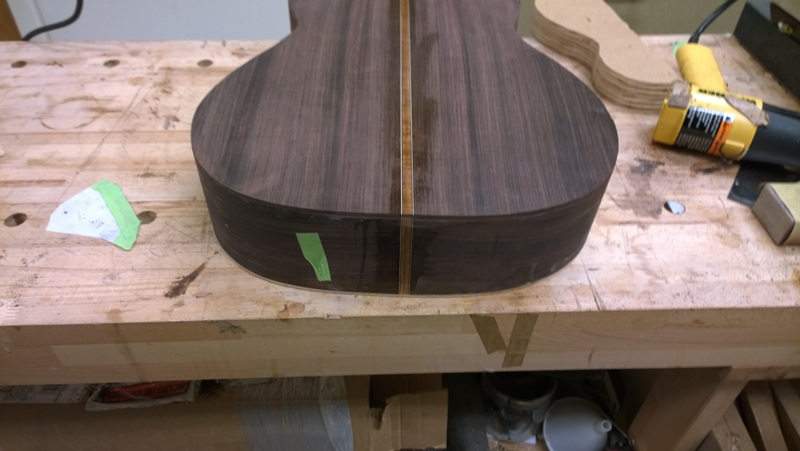
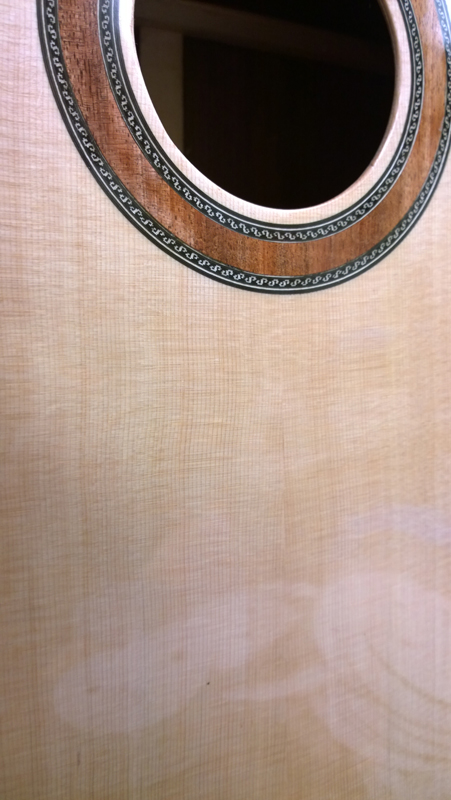
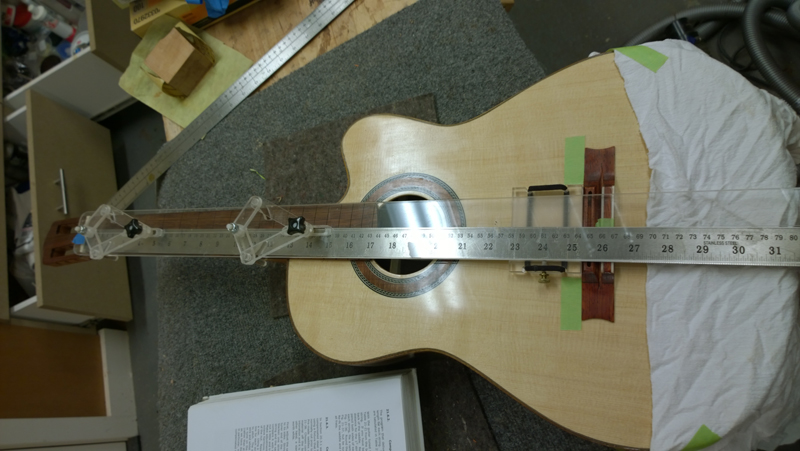
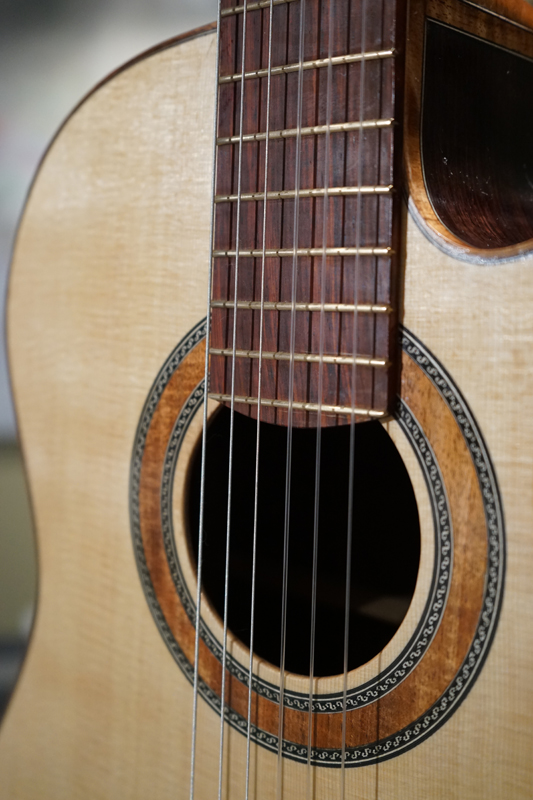
This is after two days of applying the product, no sanding.

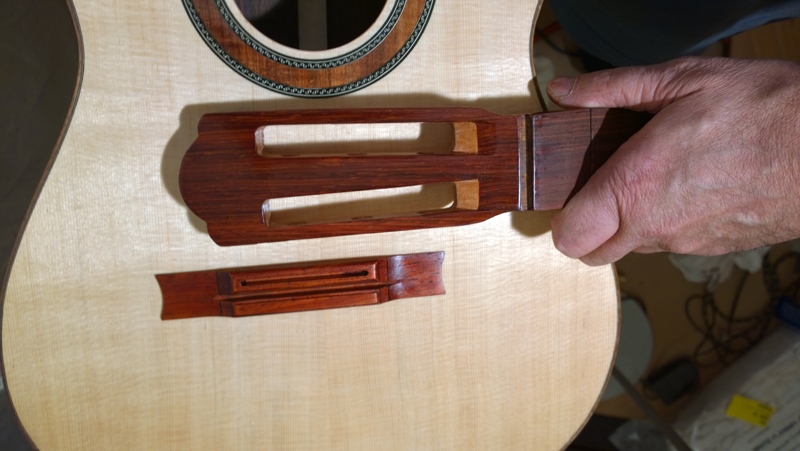
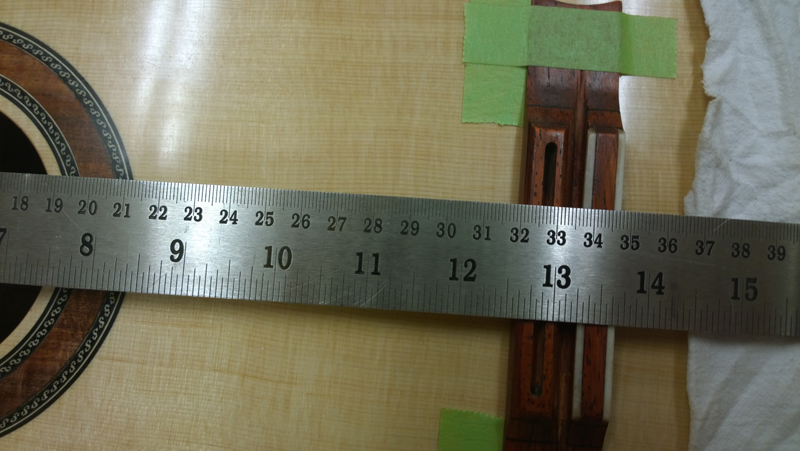
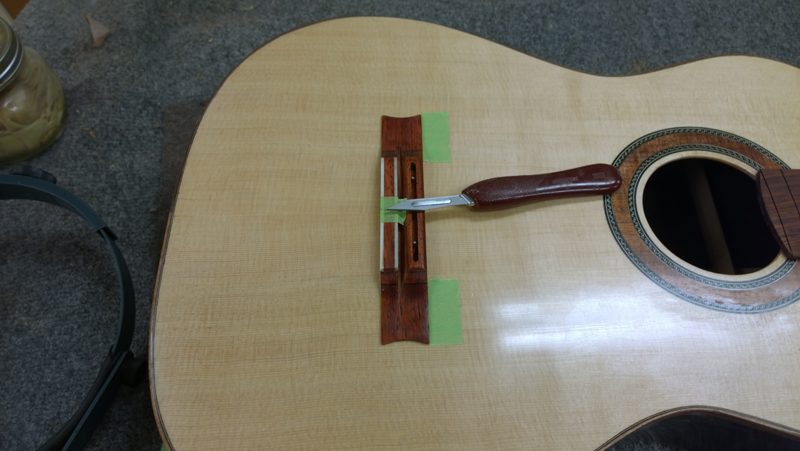
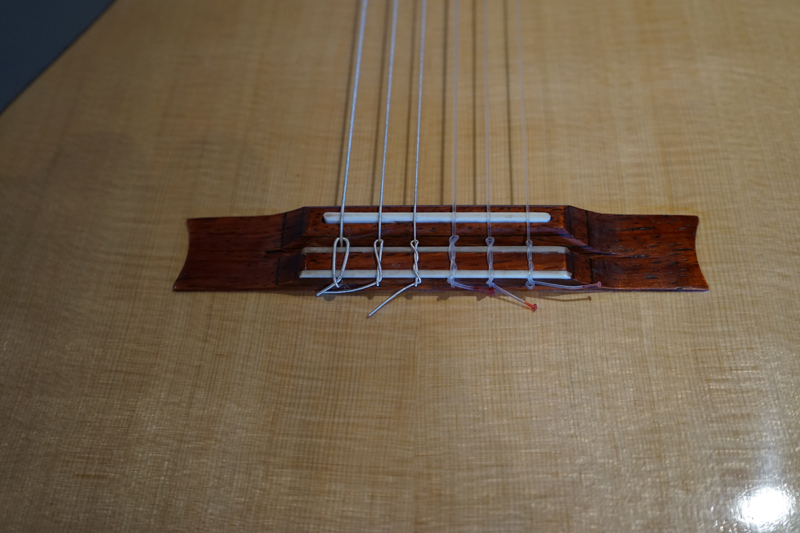
While waiting until the finish cures of the guitar so that I can buff it out. While waiting I decided to build a contemporary bridge mostly following the instructions from The Book. This is a CF, 2 layers, reinforced Padauk. I used padauk as it is lighter than rosewood by a little bit. A lot lighter than cocobolo. It is a little heavier than black walnut, but at least it has what I hope is the color I want.
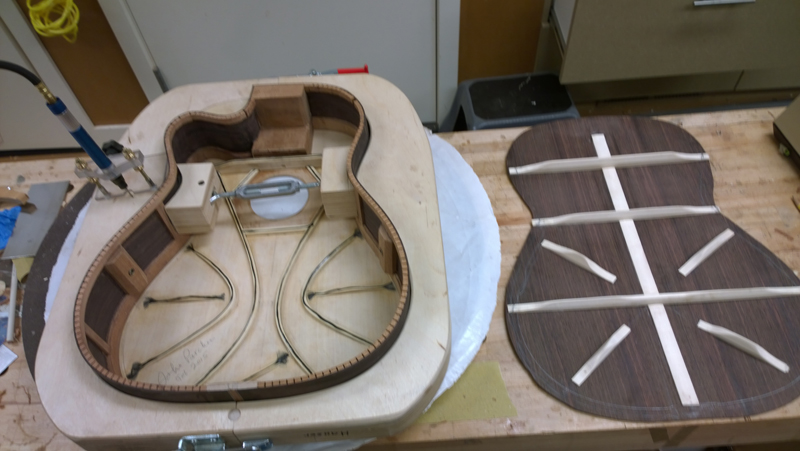
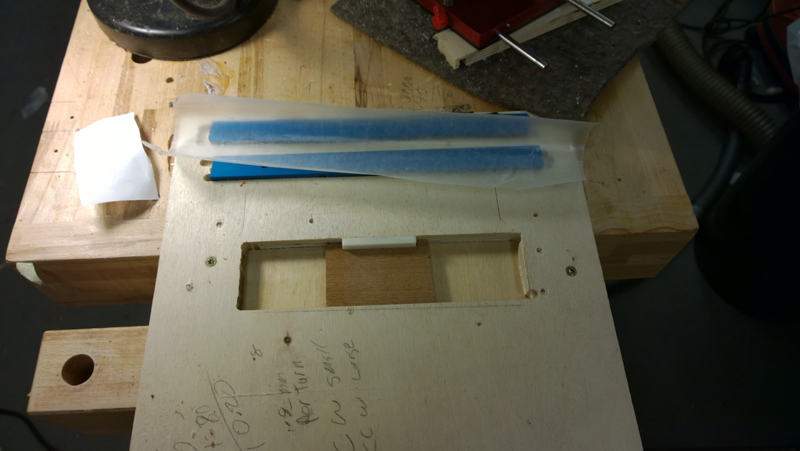
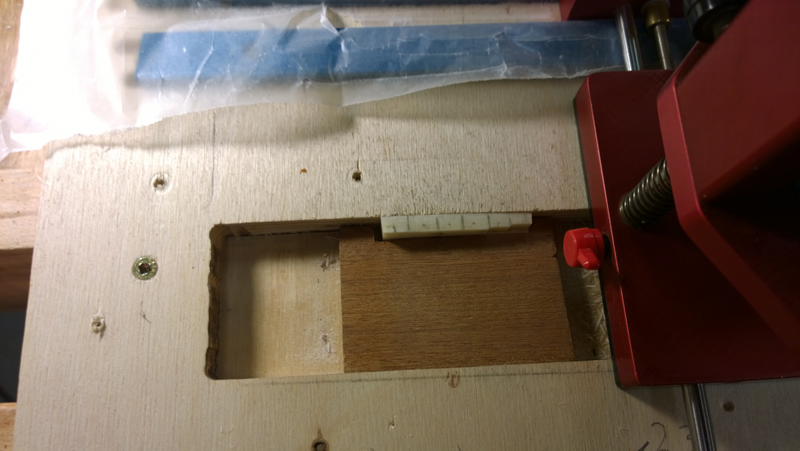
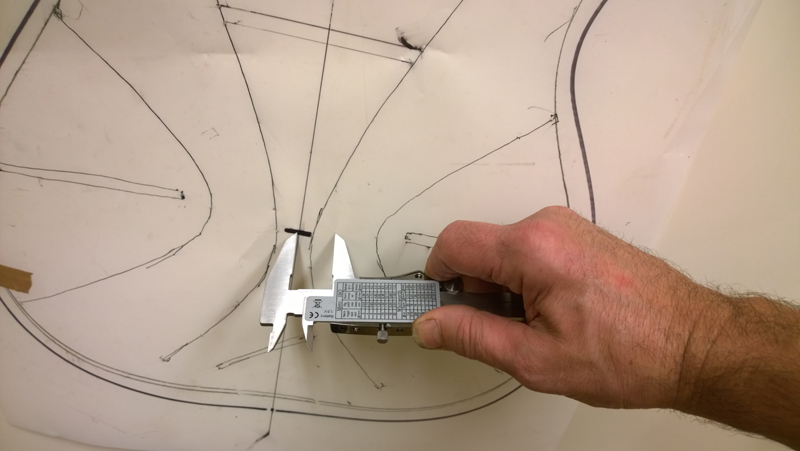
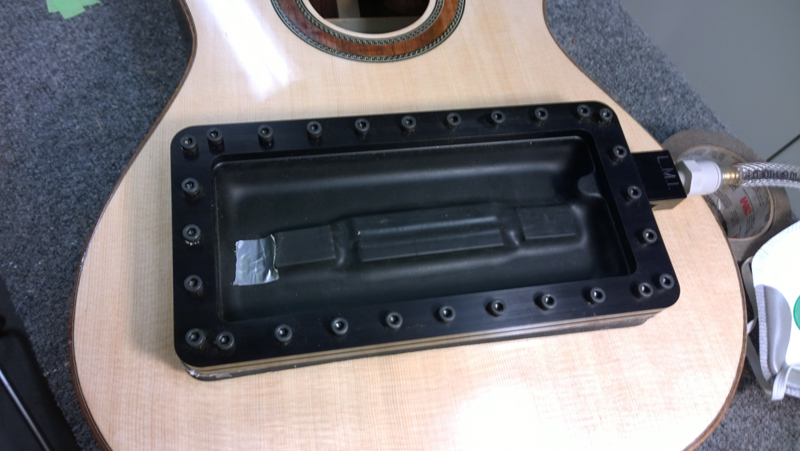
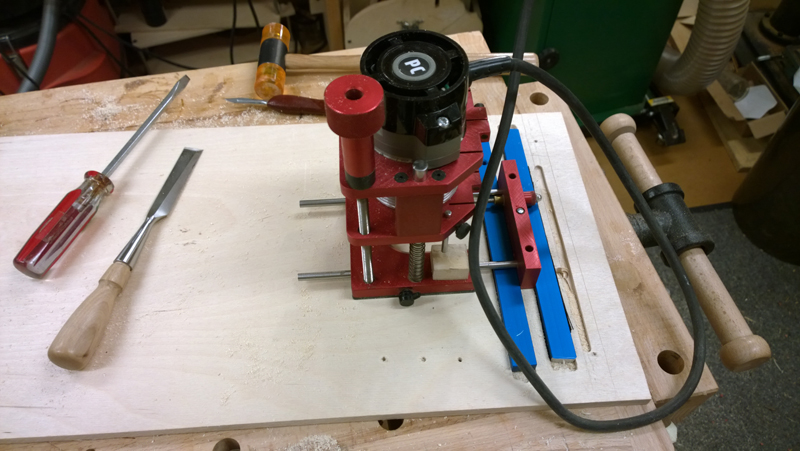
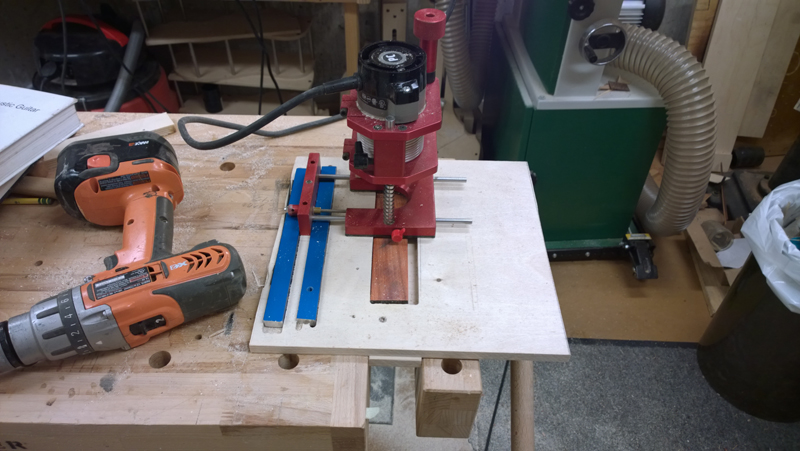
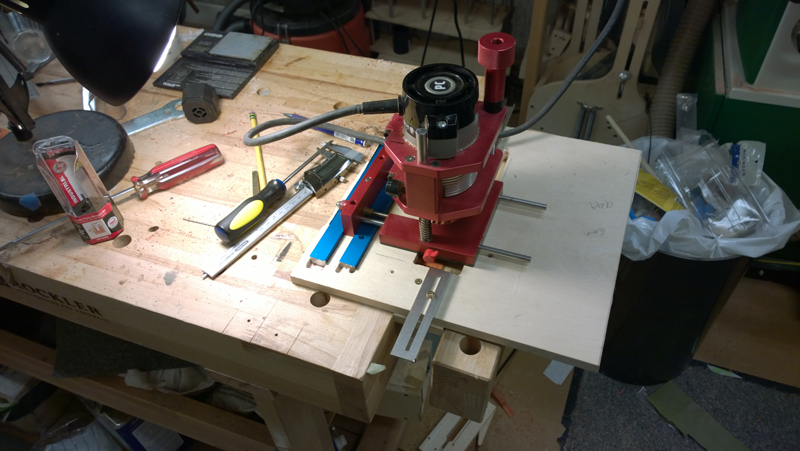
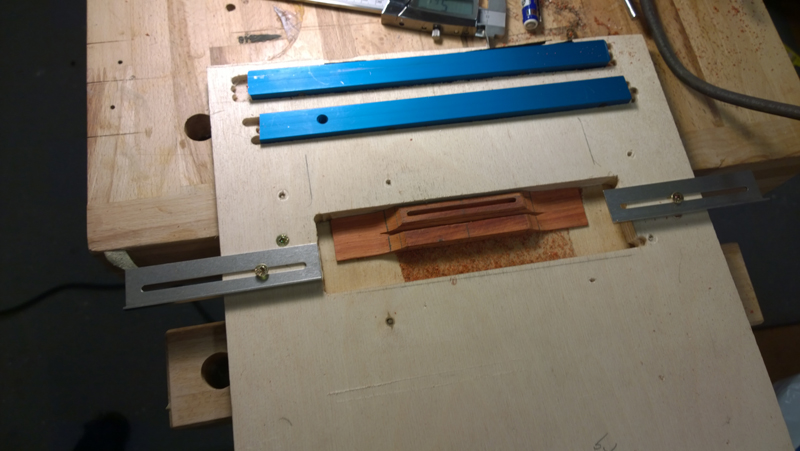
Before making the bridge I made a simpler version of the router jig from the book to route the separation between the saddle block and the tie block, the saddle and ledges for bone on the tie block. The jig was simple to make I routed a channel for two pieces of aluminium that were just right two hold the router base guide stable. With the tracks in place I used the router in the guides to route a well for to hold the bridge while I am working on it. The leading edge of the well is perfectly in line with the router track because I routed it using the track.
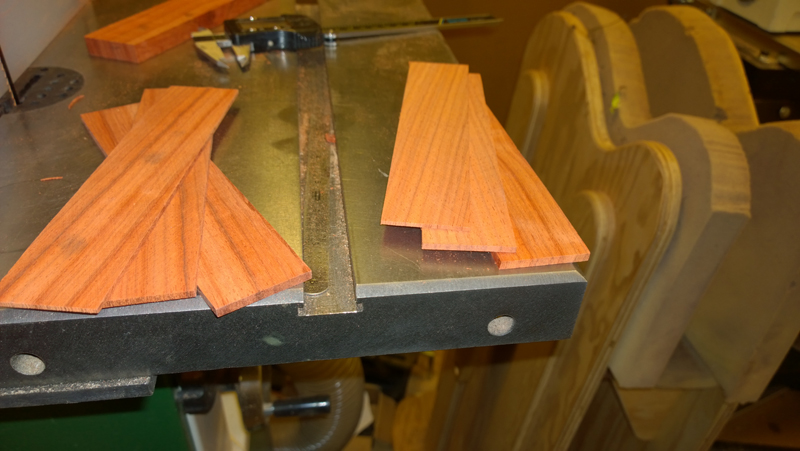
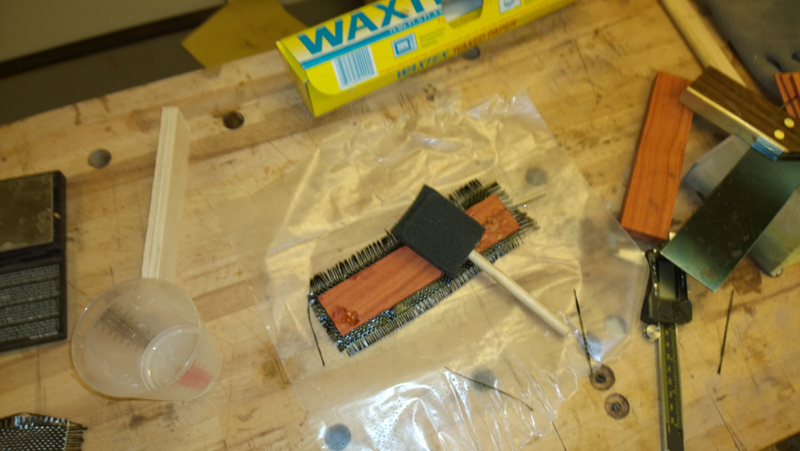
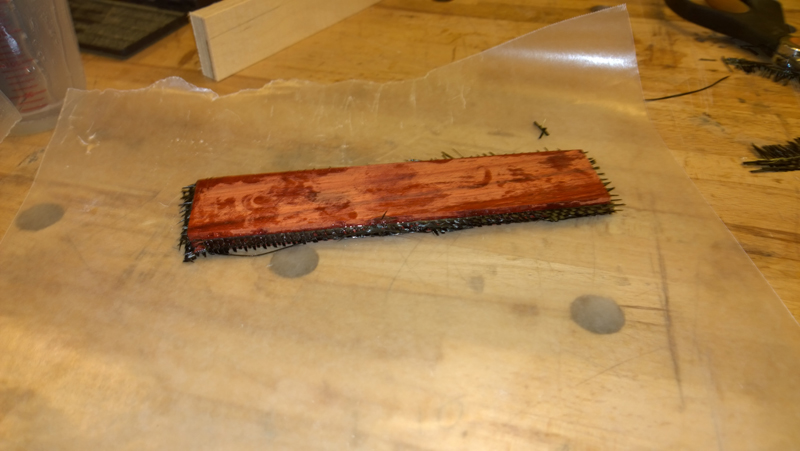
I sliced a strip of padauk close to the bridge size and resawed it so that I could make a 2 mm, 3 mm and a 4 mm slices to be laminated with the carbon fiber strips.
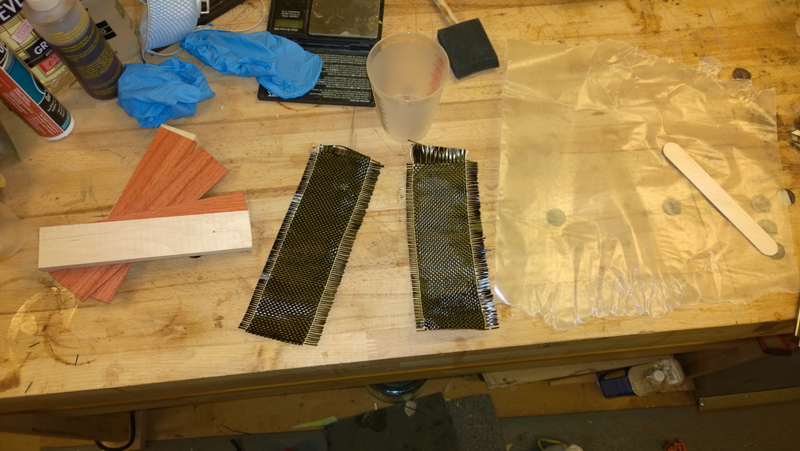
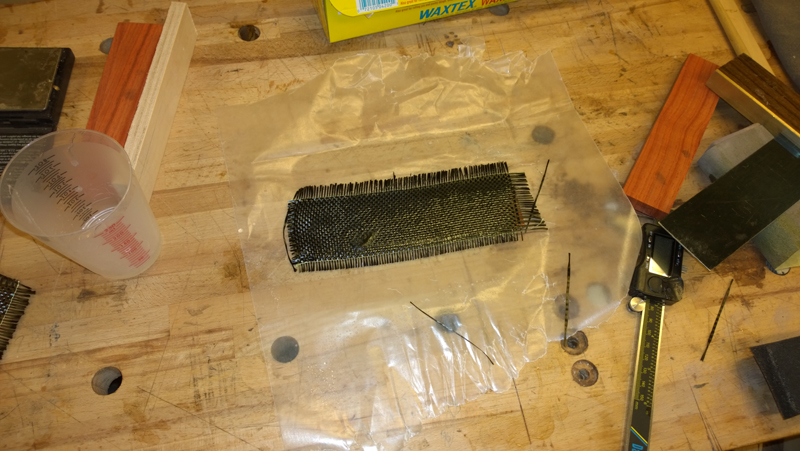
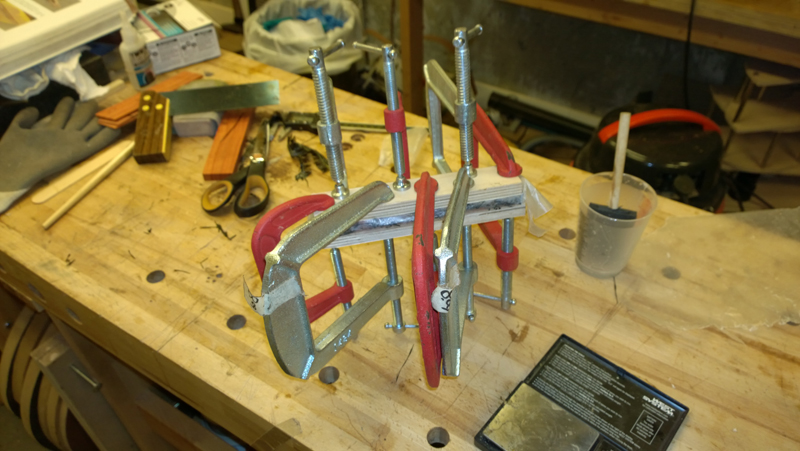
I used some west system epoxy 105\206, laminated the stack together, clamped it and let it cure overnight
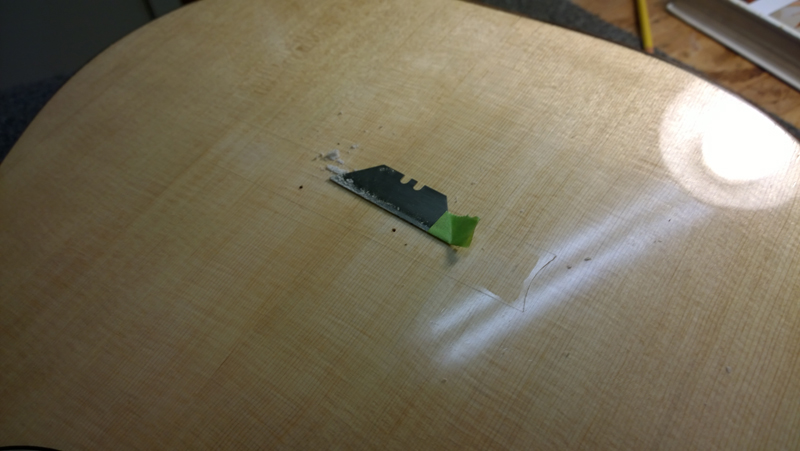
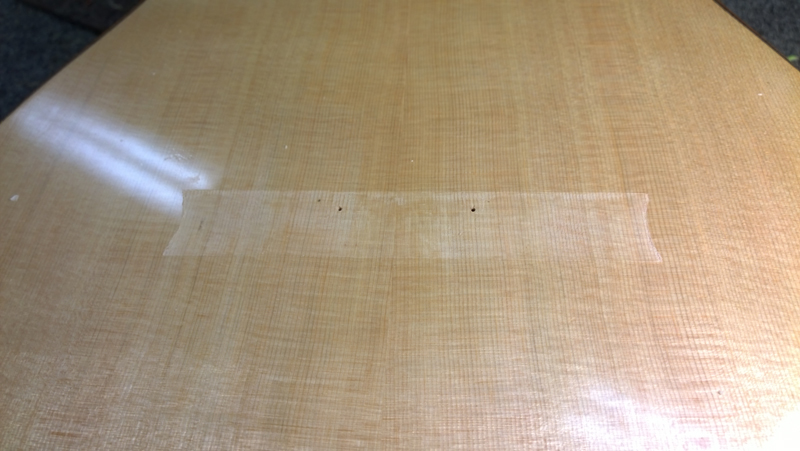
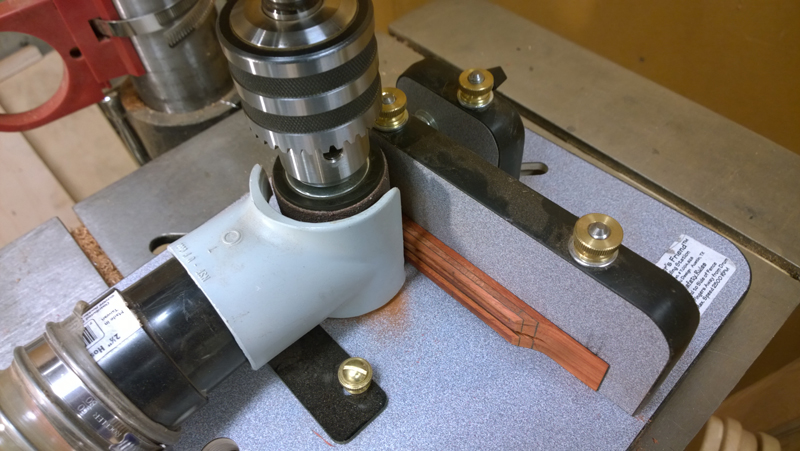
The next step was drilling the string holes. I tried to make I nice reusable jig out of wood and aluminium like in the book, but drilled one hole off center. So I just drilled the holes in the bridge on my drill press. I took a bunch of extra time to make sure that everything was square to the drill bit.

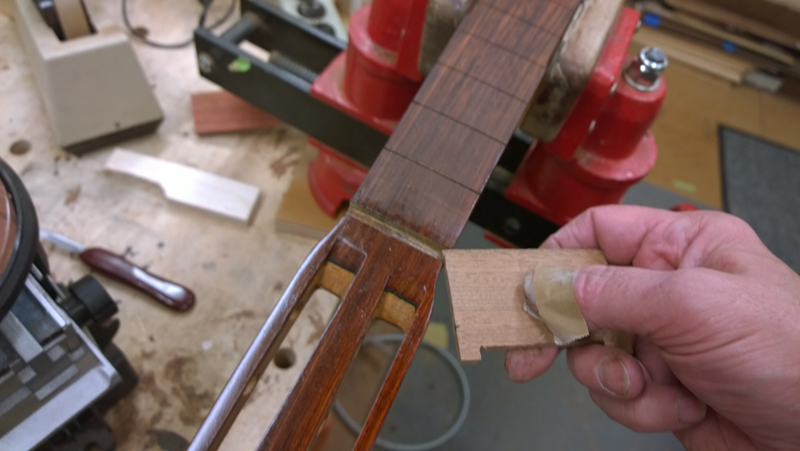
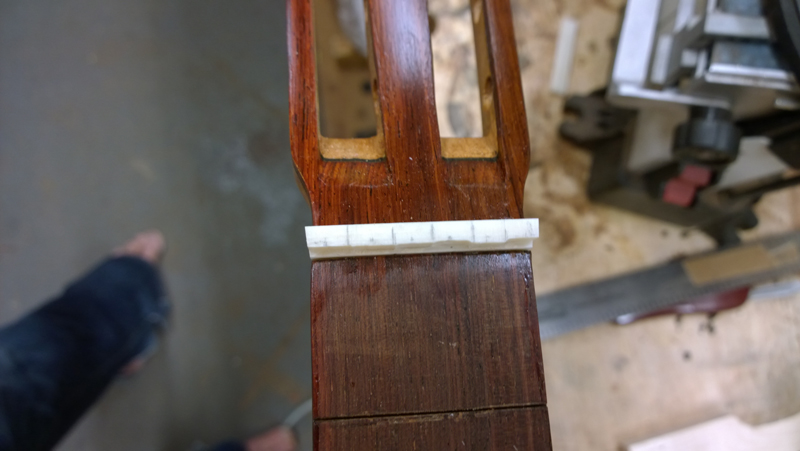
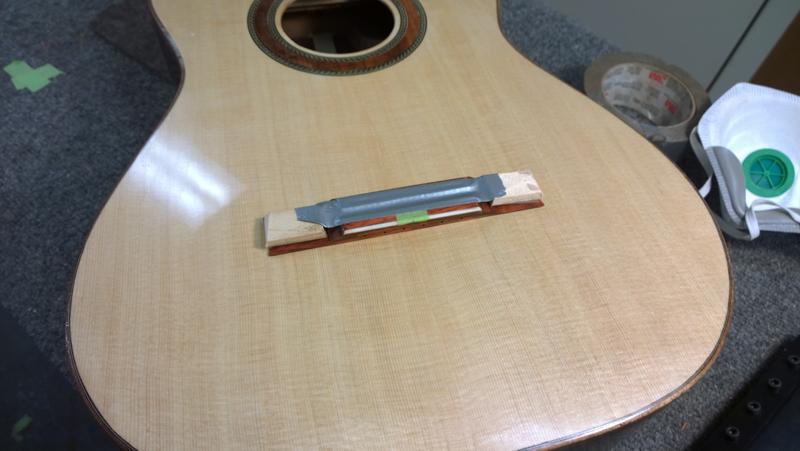
I used my jig to make the first cut to separate the tie block and the saddle block. This cut went to 2mm from the bottom of the bridge. I then shaped the saddle with my luthiers friend remounted the bridge in my jig and cut the saddle and cut ledges for some bone strips on the tie block. I shaped the saddle block a bit with chisels and sand paper.
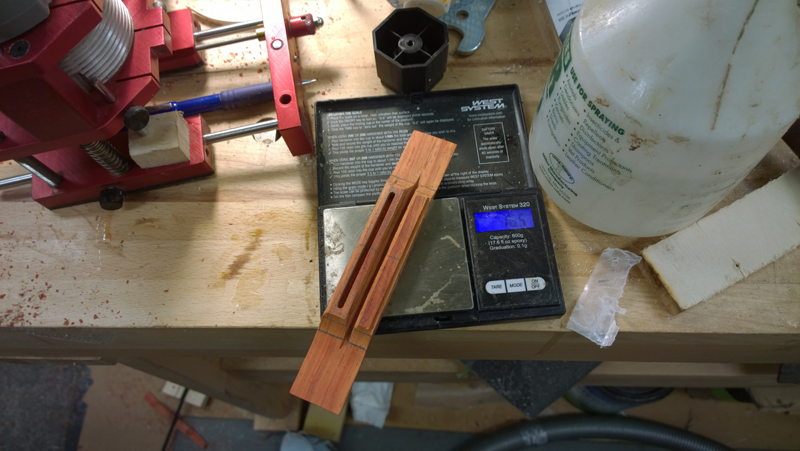
The bridge ended up at 16.5 grams (minus the bone that is coming)
I am still nervous about the color, as it is different for a bridge. But with a hint of brown in shellac it is not horribly off of the cocobolo head plate.