I have not yet decided where to get that leather patch from...

I recognised there were still missing some details to describe.
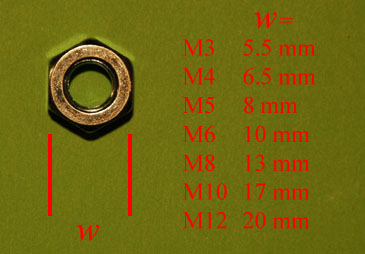
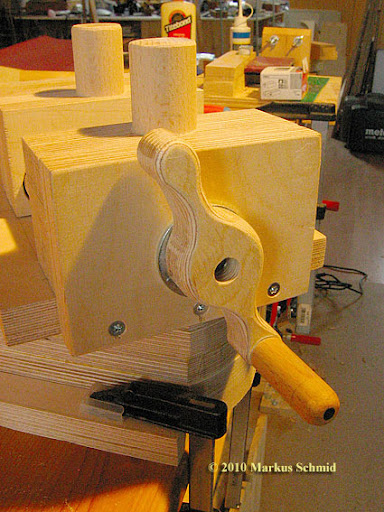
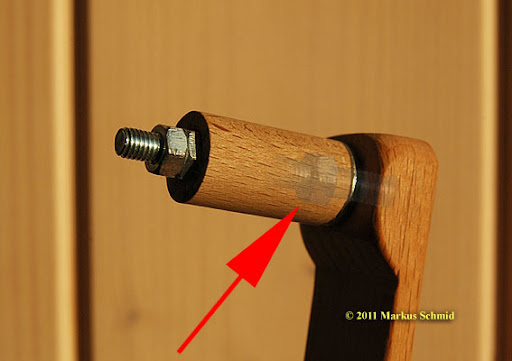
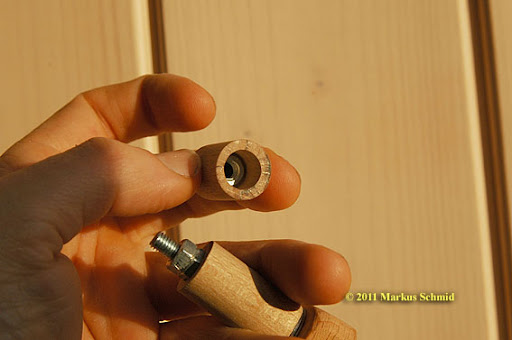
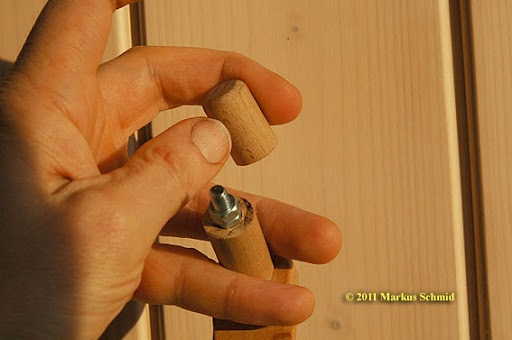
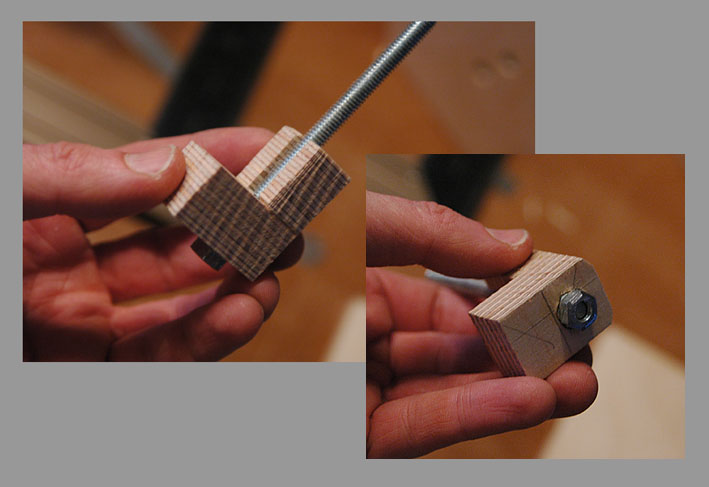
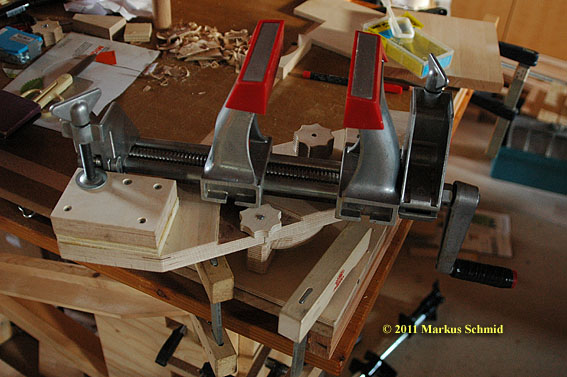
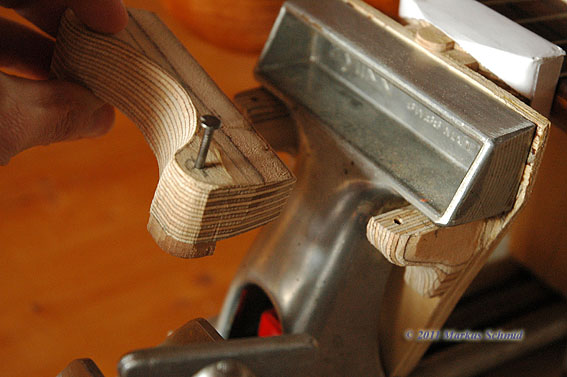
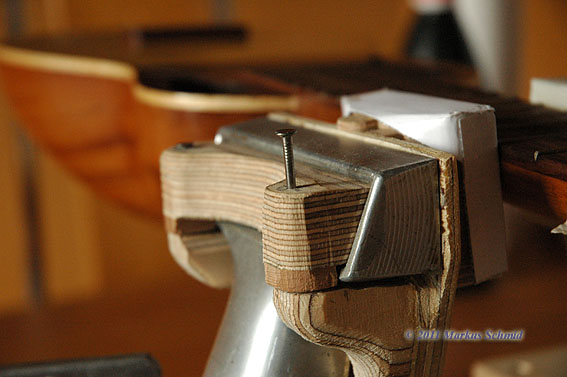
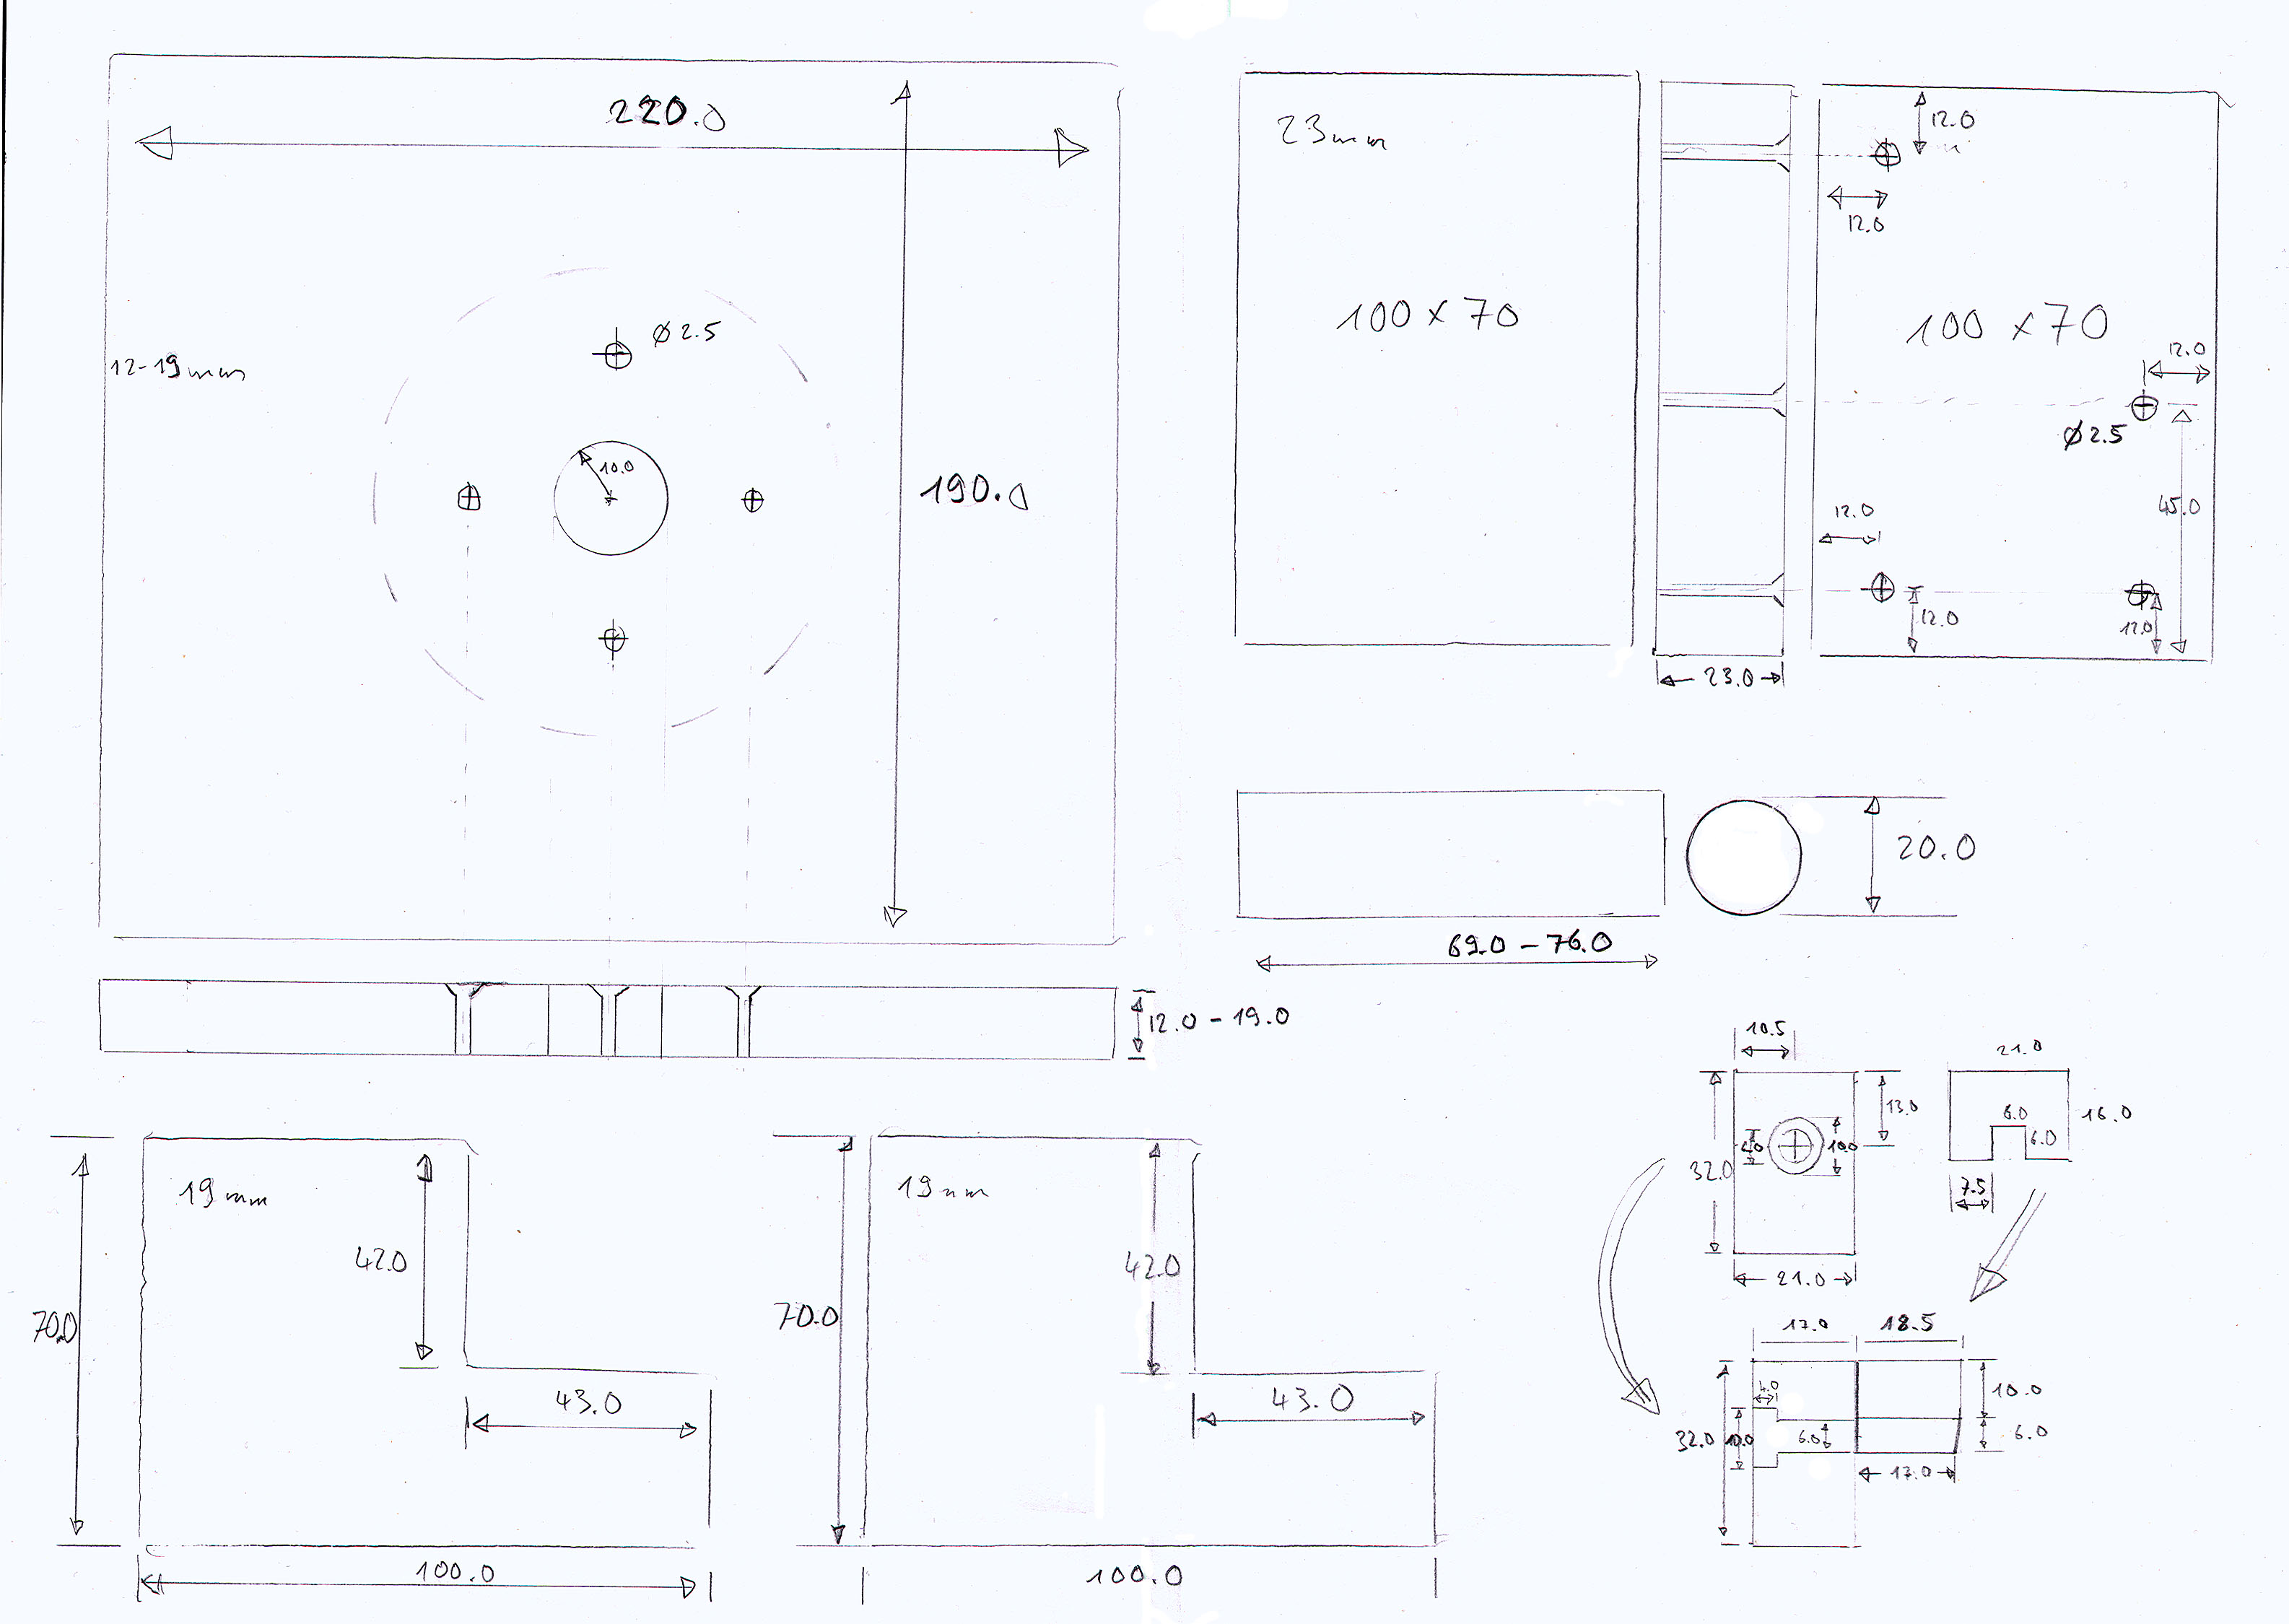
I fixed the crank on the threaded rod by pressing a M12 nut into the crank.
Some years ago I found out that pressing nuts into (moderately hard) wood works best when boring a hole with the diameter of the width of the nut and the depth of it's thickness...
- 2011_D70_3097-1.jpg (34.1 KiB) Viewed 45380 times
...then boring another concentric hole where the rod goes through, and finally simply pulling the nut in by tightening another nut or wing nut on the other side. This is a technique I use on nearly every shop made tool that features threaded rods and nuts.
Then I secured the crank with the inlaid nut with a M3 screw. Of course a simple splint pin would do the job as well. The M3 nut was pulled into the crank in the same before described manner. This is much more fun than only driving a nail through.

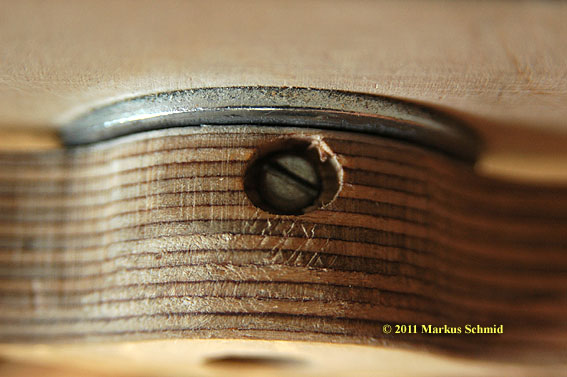
- 2011_D70_3085-1.jpg (64.09 KiB) Viewed 45380 times
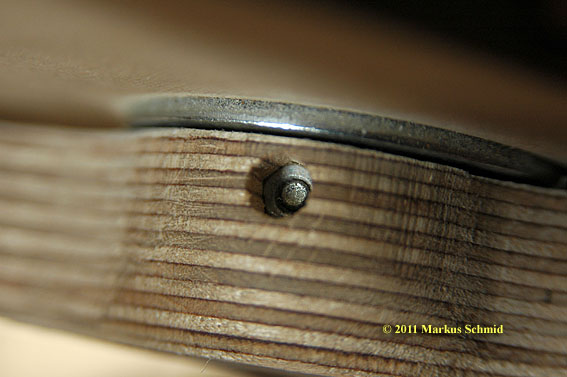
- 2011_D70_3087-1.jpg (56.21 KiB) Viewed 45380 times
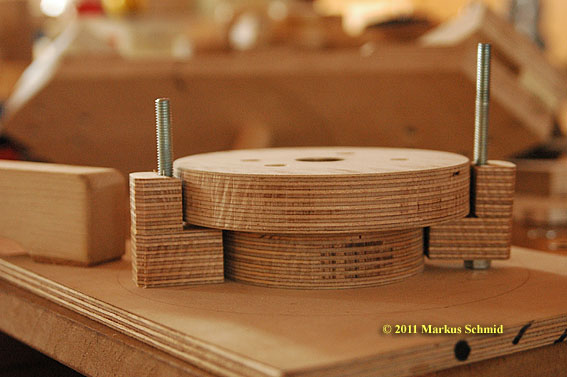
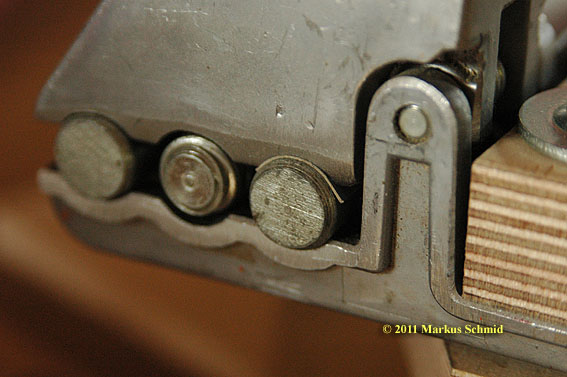
The fat washer in the picture above is screwed with countersunk wood screws to the plywood, similar like the washer on the other side of the fixed ply wood block. The M12 nut on this side is soldered to the threaded rod:
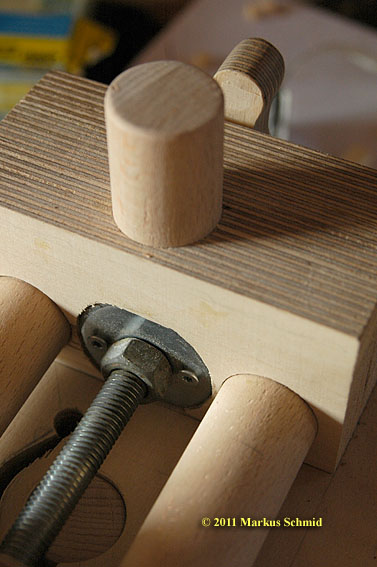
- 2011_D70_3090-1.jpg (64.06 KiB) Viewed 45380 times
The moving block accepts the soldered nut in order the vice can be closed completely:
- 2011_D70_3091-1.jpg (67.21 KiB) Viewed 45380 times
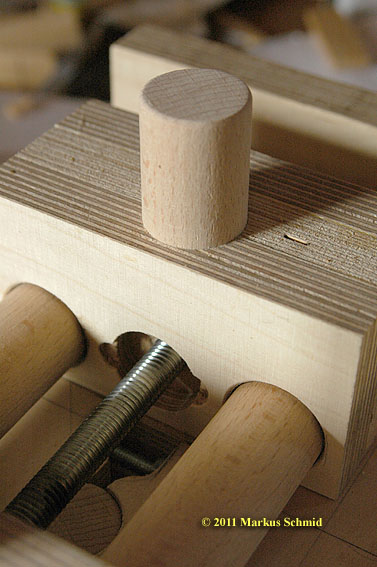
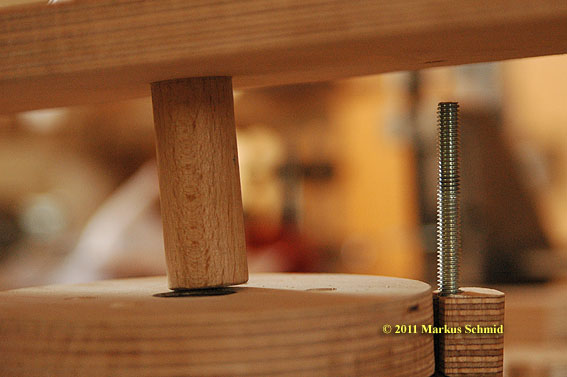
I forgot to mention that the vertical 30mm diameter dowels are hammered into 30mm holes in the blocks. No glue needed, it's a tight fit.
I had to widen the two 30 mm holes in the moving block. I did this on each individual 20mm Plywood pieces before assembling them. It's the sloppiest part of the whole thing.


