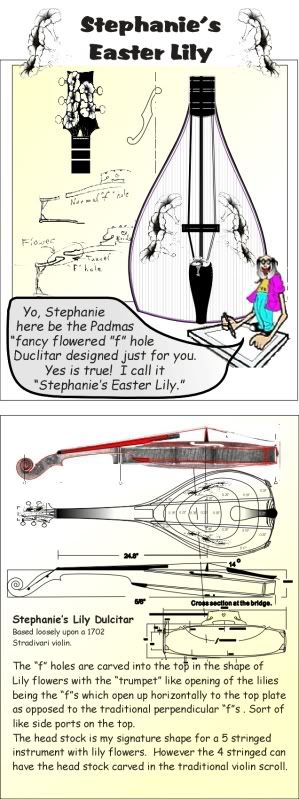
The Easter Lily Build...
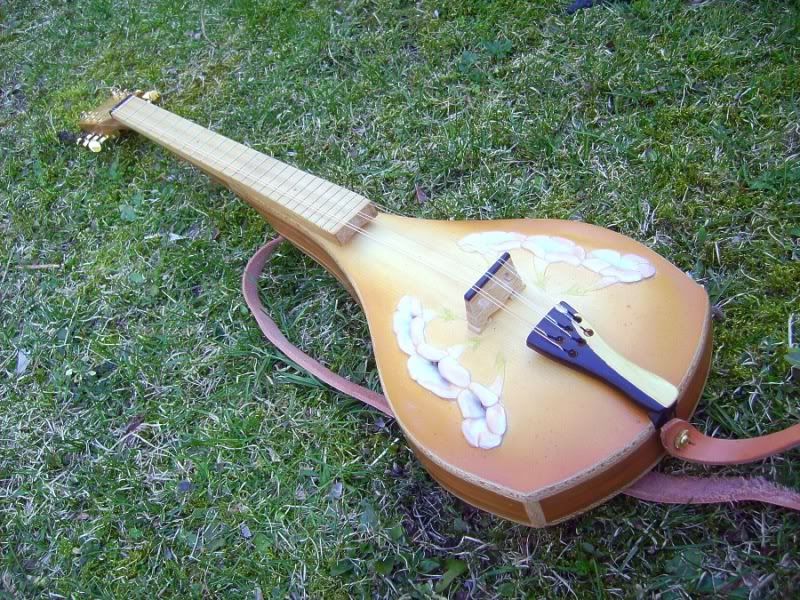
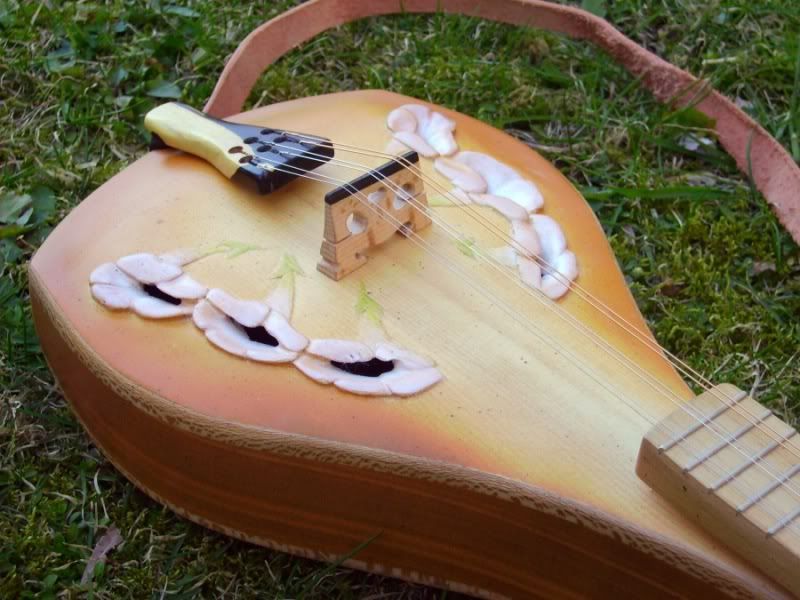
a fully carved arch top, 6 stringer, with the f holes being carved lily flowers opening up like side ports on the top. Fully carved head stock, back, ribs heal and tailpiece. Thats right ... an arch top with carved flowers for "f" holes.
It was originally designed as a dulcitar for Stephanie...but seems like she has decided against it. Oh well. So now me gonna build it as a Padmazookie ~ thats a 3 stringer in doubles for a total of six.
Yup, me really cant see doing a Carved Easter Lily build in anything but white woods (Holly). Then gilding the carvings. But this top is the prototype carving so it gonna be a lutz , cedar back and wishbone neck.
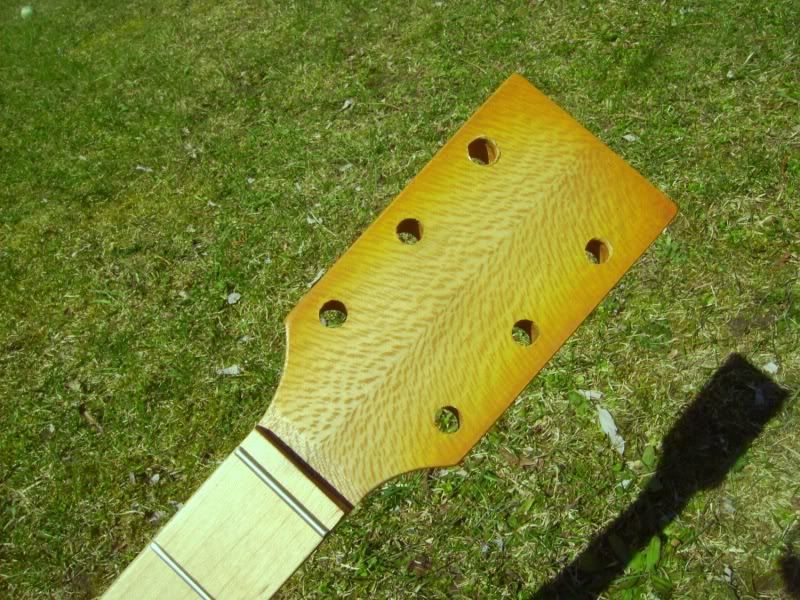
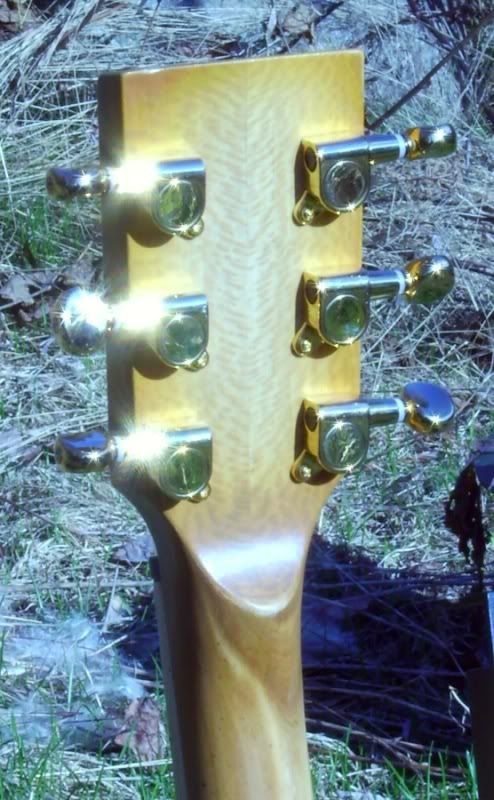
The sketches show both a traditional guitar peg head and a Violin style peg box. I would like to go with the voluted scroll but turn it in to lily blossoms. First me carve the top and then we see.
Now this ain't gonna be no simple pen knife whittling job. So here be some sketch work.
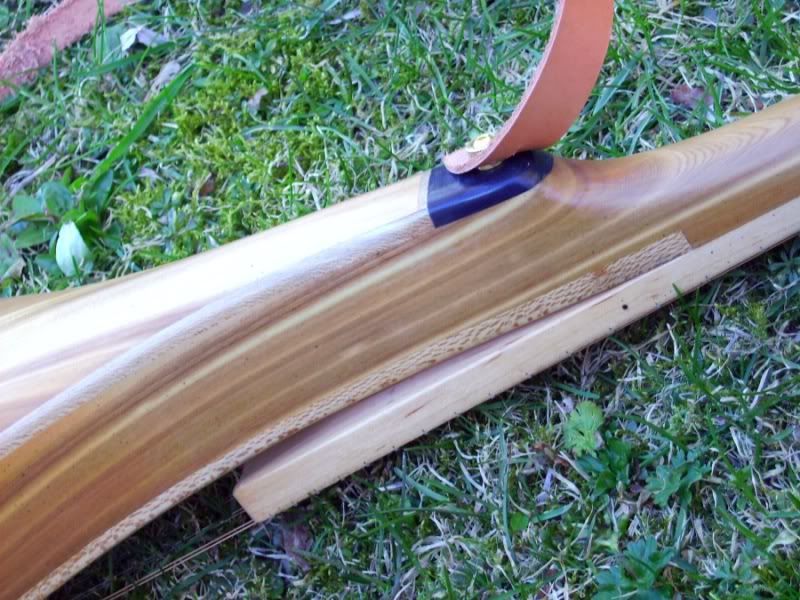
Cedar wishbone neck and ribs, spruce linings, with a carved cedar back,
the ribs are 3/16 inches thick...das so me can do some real funkie
relief carving in them some were down the road. The back plate is
carved on both sides. Looks like its gonna be about 24 maybe 24 1/4 inch
string length or there abouts. If you are not familiar with wishbone construction,
just look at any of me other builds found in "the Padma Builds" sub forum
at http://www.luthierforum.com
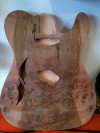
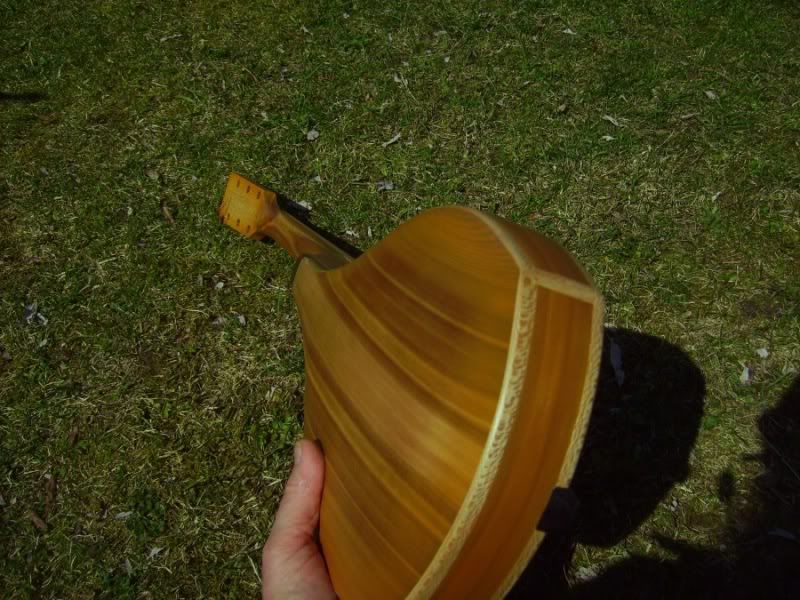
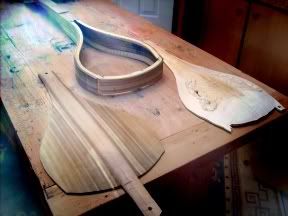
In the first pic you can see the wishbone neck and back are from the same stick of
cedar that me scored from the lumber yard. Kinda nice grain eh.
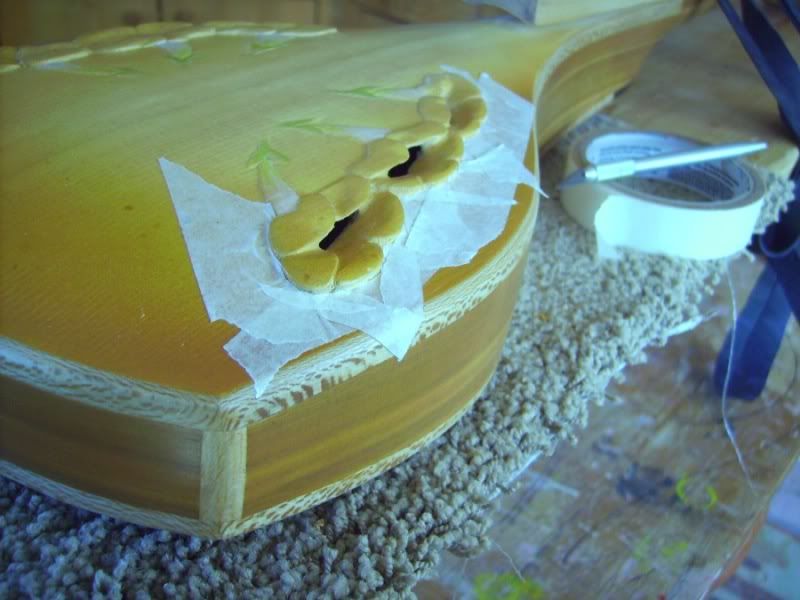
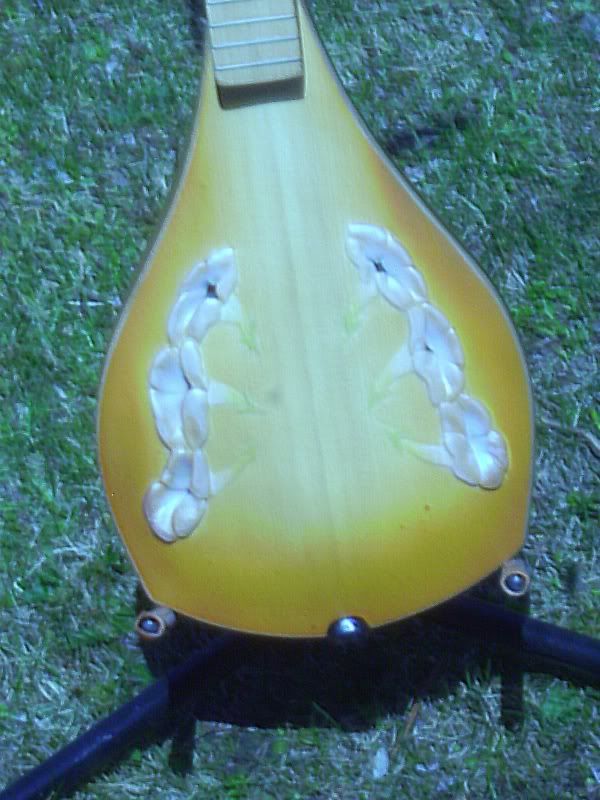
You can see how the "f" holes are starting to form from the lilly flowers.
It ain't all that easy getting a nice curve happening to the top with all them flower petals in the way. Gonna be a real challenge carving out the back to maintain a consistently graduating slope from the center of the plate through to the perimeter while conforming to the profile of the flowers at the same time...Of course I could just dish out the back of the
plate but then that would be leaving too much mass of wood in the flower petals which really would mess up the plates sonics.
Now for any of you who are not familiar with me madness, don't go be askin duh Padma
about thicknesses or measurements...me don't got any, me don't use a tape measure and very seldom consult my own drawings, let alone pay attention to them. Me build by the feel between me fingers,the grind in me gut, and the song in me heart. Besides, me calipers fell behind the work bench and I have no intentions of diggein them out for an experimental instrument.
Don't know how to read them fangeld things anyways.
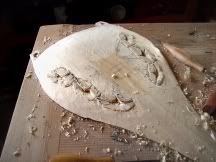
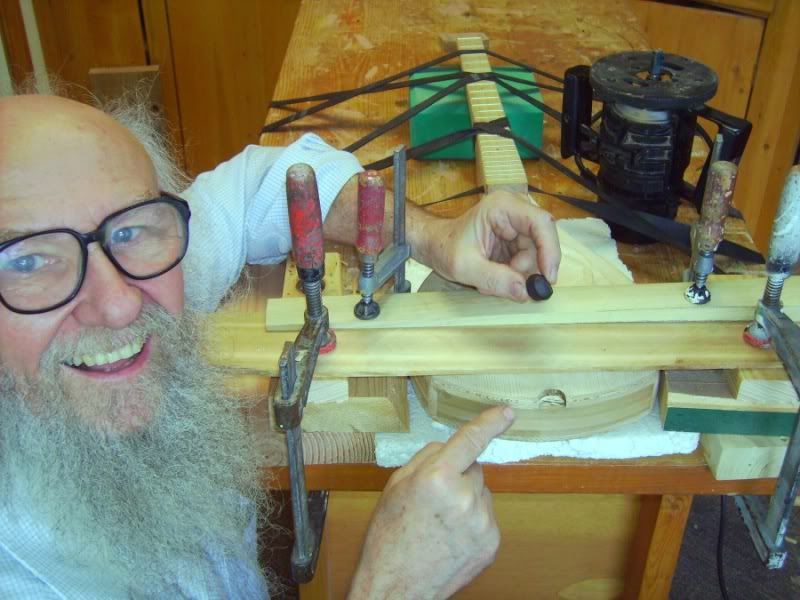
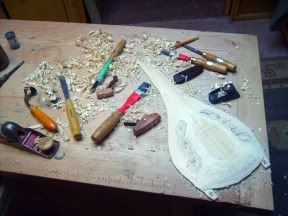
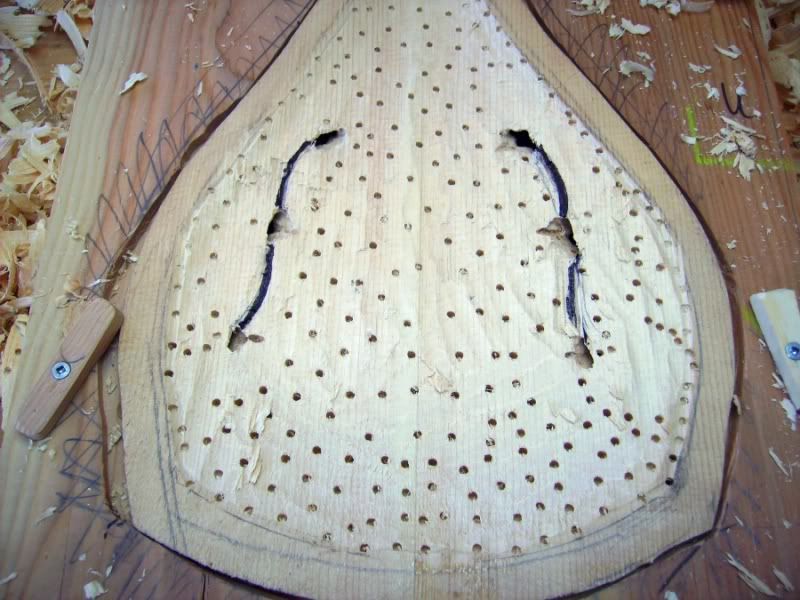
The top is a chunk of Curly Bear from Mario and only the top of the top
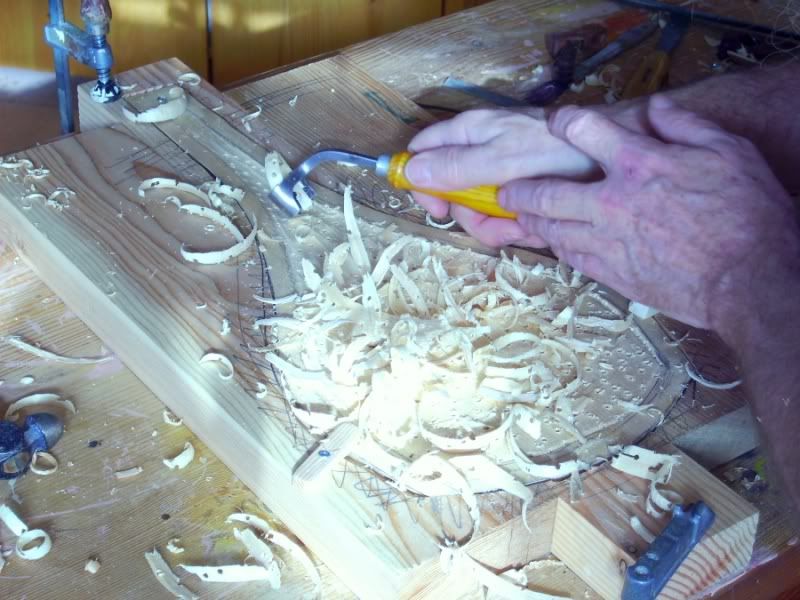
has been carved so far. The "f" holes have been drilled through on an angle
which shows best in the last pic with the 6 chisels stuck in the holes and are
fanned out which may give some indication as to how the air and hence
the sound gonna be moveing out from the instrument.

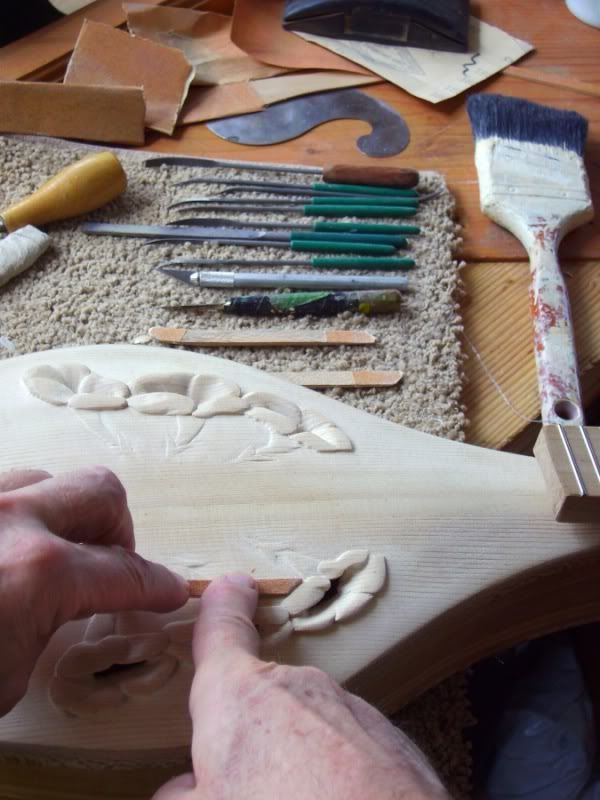
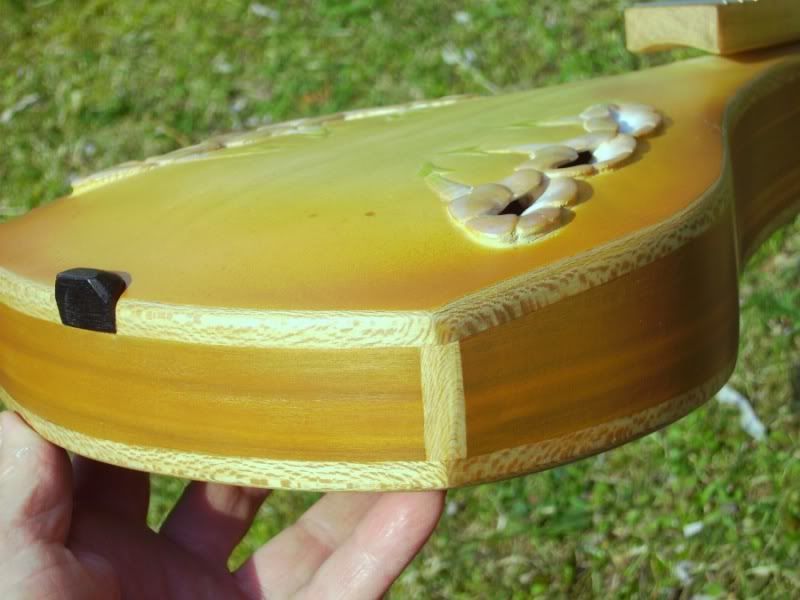
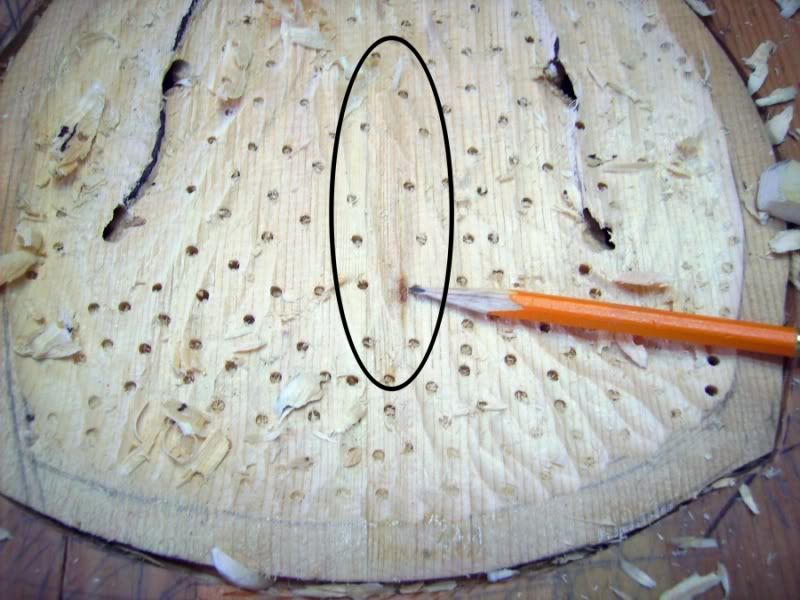
In the above pic you can see 3 pencil lines in the center of the top...
the violin style bridge gonna come some wears between them bottom two lines.
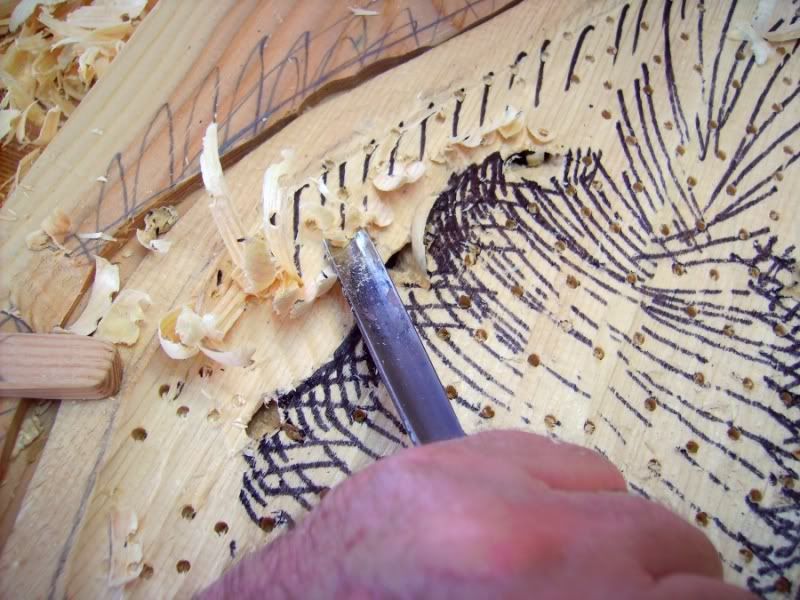
Over the next little while I will be refining the carving of the flowers with the disguised "f" holes
and of course the curve of the top. I will post again when I get to that
stage. However, carving any detail in spruce is an anus horriblus experience that takes time so don't be holding your breath for the next set of pics.
======================================================================
Feb 9, 2011
Yup is been over a year now. and well me really wants this finished for Ester so...
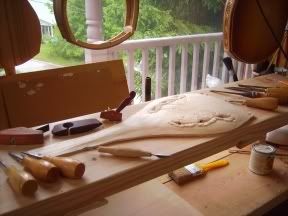
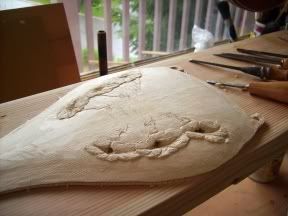
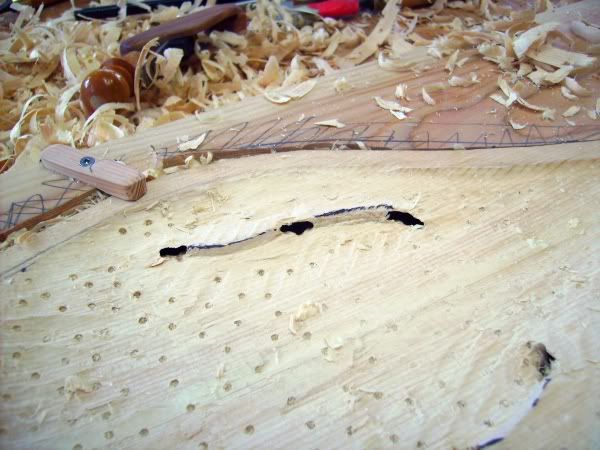
Hogging out the back
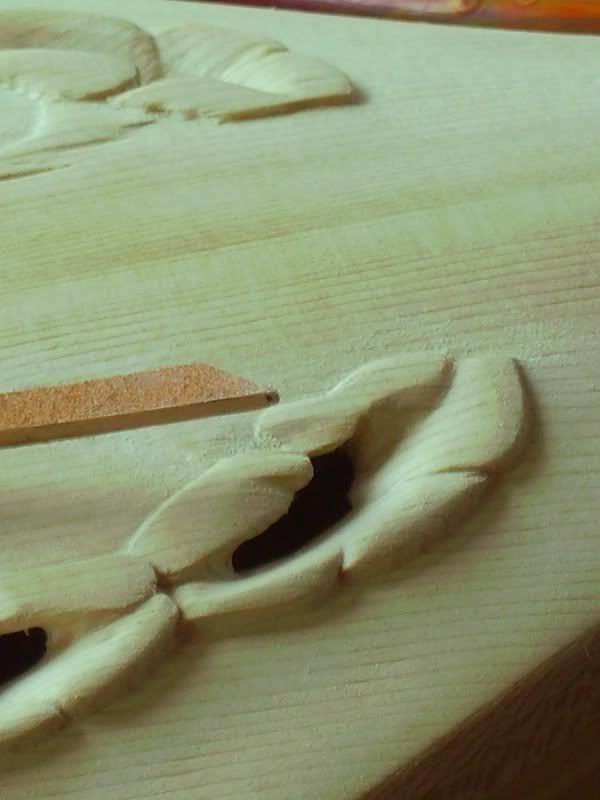
These 2 black guide lines are the "f" holes of the lilies bells.
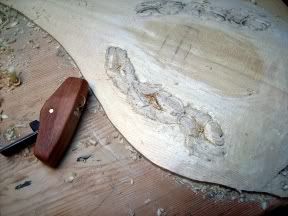
Here you can see the "cliff" or step were the flowers bell is gonna transit on a diagonal from the in side to the outside, while morphing to the traditional "F" hole shape. And no, me ain't got something better to be doing.
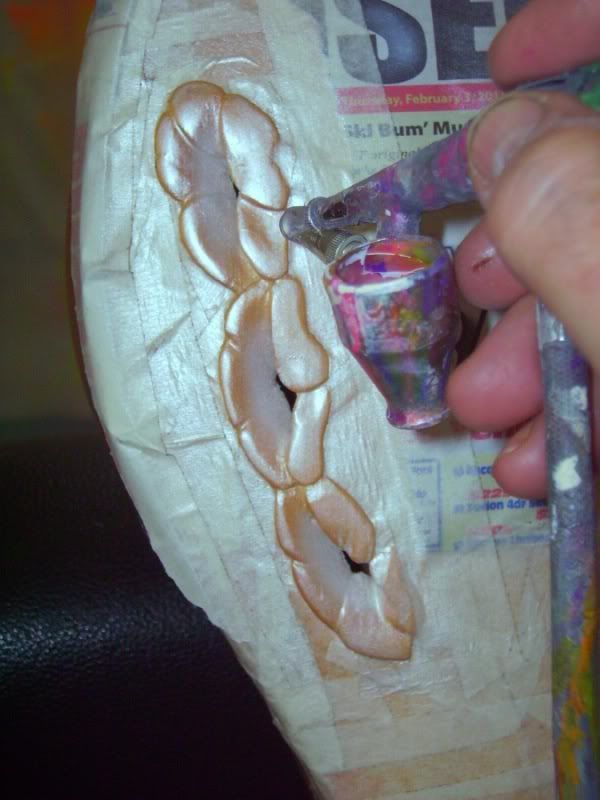
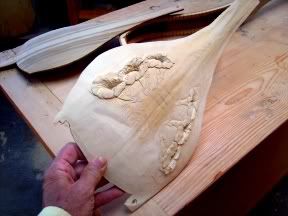
One can start to appreciate whats really happening in this carving of the lilies when some light shines through....long way to go yet. Kinda pretty eh. Gee, you think me should install a light bulb and batteries? Naw. Oh and we don't talk about the two air head (that wood be me) holes in the plate.
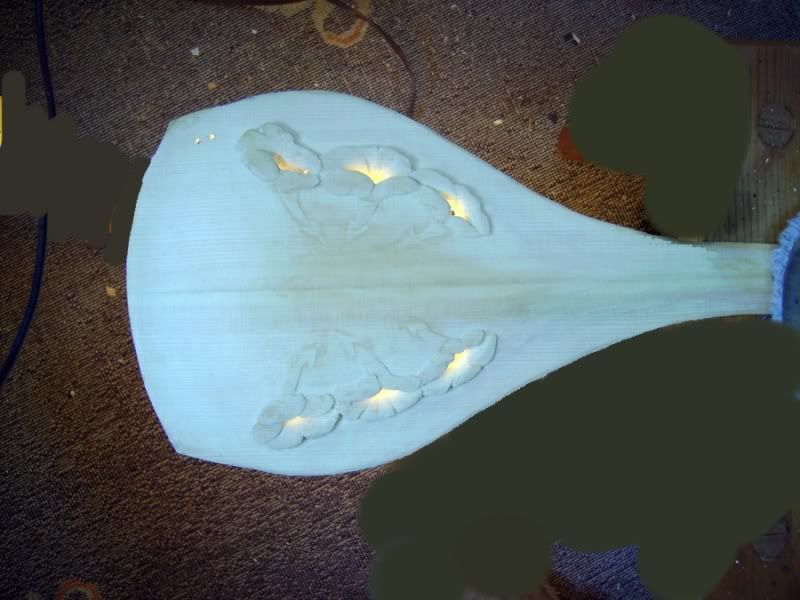

In this pic you can see the blind knot that opened up and then disappeared During the carving. It may have been very small and disappeared but the rippling effects through the grain are a real carving pain in the ask me no questions.
Me post again when the top is finished carving.
blessings
duh Padma