Hi Mark, Kim --
I see now I should have posted this as a continuation of the first post. Live and learn

.
The sides are sitka, with a very nice bearclaw, but they are a bit uneven: between 2.3 and 1.9mm, depending on how hard I was leaning on the plane at the time. It is too thin for my taste, so I elicited some advice from the guys here on the forum. The consensus was that it needed a soundhole patch, and possibly the center join cleat. The patch was easy enough, after Lillian chipped in with a really nice board she had to spare.
The advice was to make a center join cleat and to attach it after the build, if the top needed it. I prepped one from some left-over bracing material, making it 1/4 inch square before carving.
Then I got the heebie geebies thinking about clamping *anything* to the soundboard after spending four weeks doing finish work, regardless of how I protected it. So I wimped out and just installed the thing. I'll be sure to let everyone know how it turns out...
The bracing height is straight out of the C & N manual. It's only my second guitar, and I am not getting too adventurous yet. The cap on the x-brace is not from C & N, of course. I saw that on several threads here in the forum, and it looked far cleaner than the cheesecloth patch.
Here are the side pics:
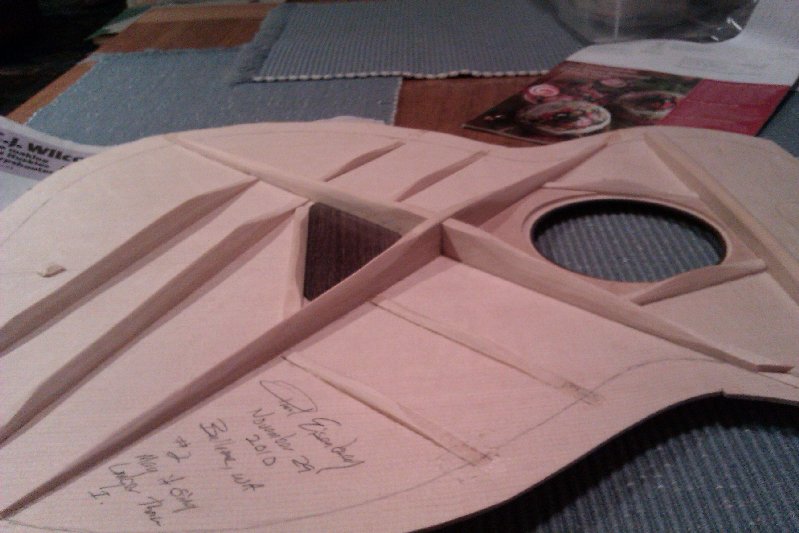
- TopSideView2.jpg (67.82 KiB) Viewed 4168 times
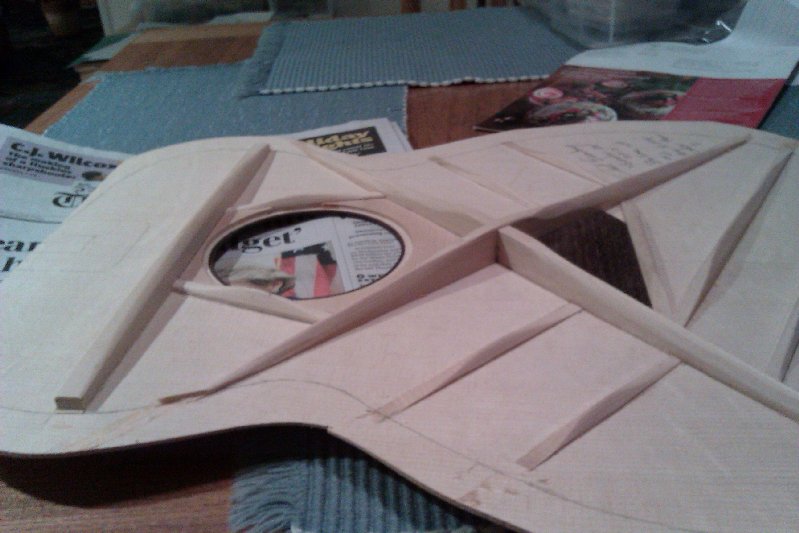
- TopSideView1.jpg (65.75 KiB) Viewed 4168 times
--Paul