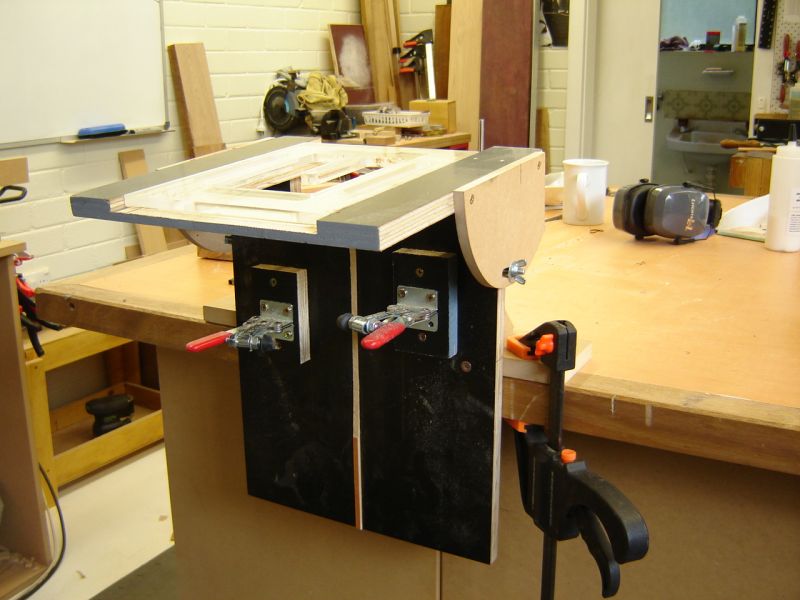
The first is just a modification to the neck mortise and tenon jigs usually seen. Most seem to use spacers under the neck to set the angle of the neck tenon. I added hinges and two locking thumb screws to the top section so I can set it at any angle. Works great.
I cut the heal angle on the drop saw then set the jig accordingly and rout away. The truss rod rout fits over the strip down the centre to keep everything lined up.
The template in there at the moment is the SM one but i have just made a wider mortise template for my archtop.
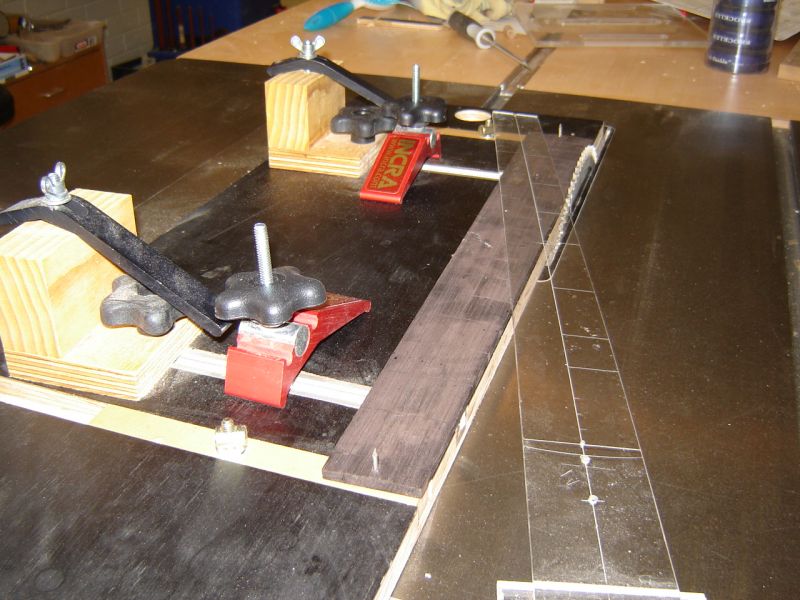
Next is a table saw jig for cutting fingerboard tappers and various potentially risky neck cuts. It runs in the mitre slot with a precision mitre bar to eliminate slop.
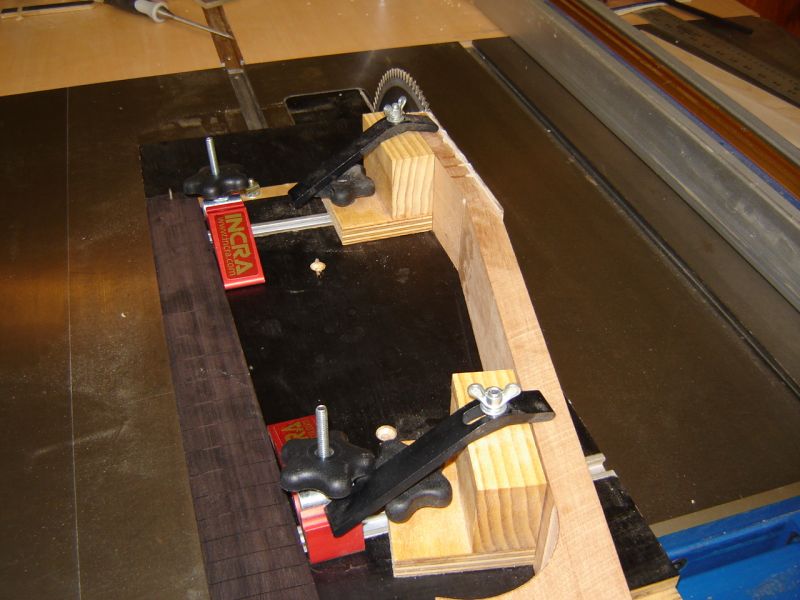
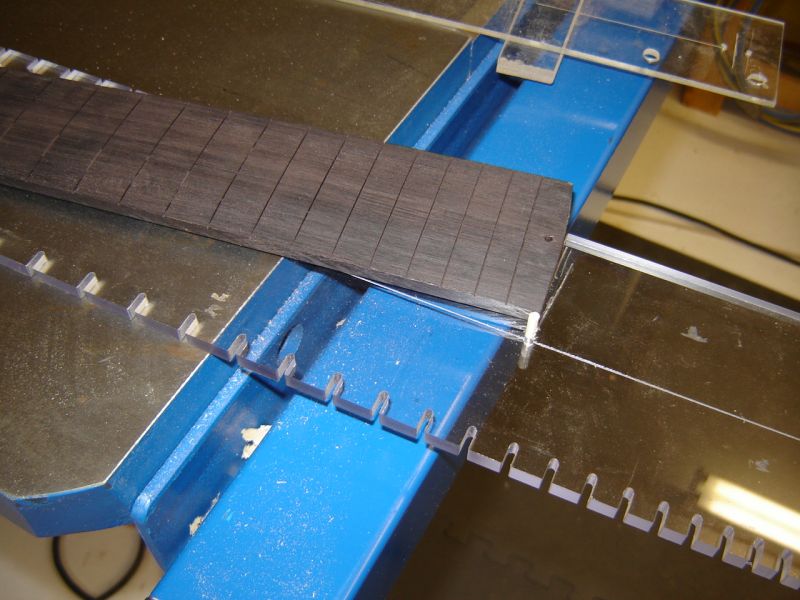
This side of the jig has two pins that fit into centre holes in my FB stock. The clear plastic template is used to find the best centre line in my stock and line up the holes. The pins ride in adjustable slots that mean I can dial in any nut and saddle width I want. Cut one side, flip it over and cut the other and the holes will give you a perfect centreline on your fret board. Plus you don't need to put your hands anywhere near the blade.
The same holes are used to line up the FB on the fret slot template jig. Here you can see I use bits of bamboo skewer which are a wedge fit into the FB. Holds it steady for cutting slots on the TS or in a mitre box. I also use the same pins to hold the FB in another jig for hand radiusing with sanding blocks and for lining up inlay. The next thing to do is add some registration pin holes for gluing it to the neck al la the OLF jig.
the other side of the TS jig has blocks that run in T-track with hold-downs on top. By clamping the neck to this I can true up the head-stock face and the fingerboard gluing surface safely and accurately. You would never attempt these cuts with out a jig like this unless you were insane.
please let me know if i have not explained anything properly and i'll put up some more pics.
Cheers
Dom