This tutorial is how I am making nuts these days. Some of the tips and techniques that I will detail here came from David Collins and I thank David very kindly for all that he has shared with me.
The first step in making a nut for a guitar is to clean and true up the nut slot. No matter how careful we are when building our guitars nut slots often are not uniform in size…
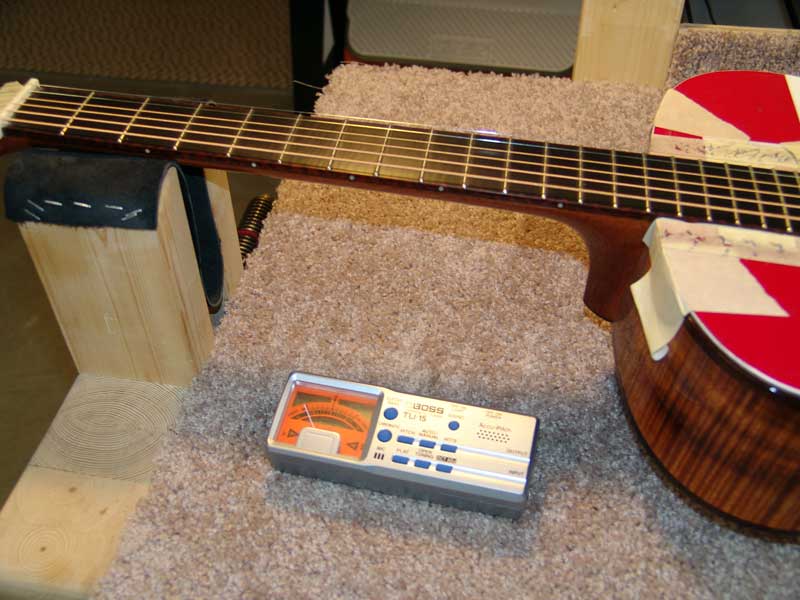
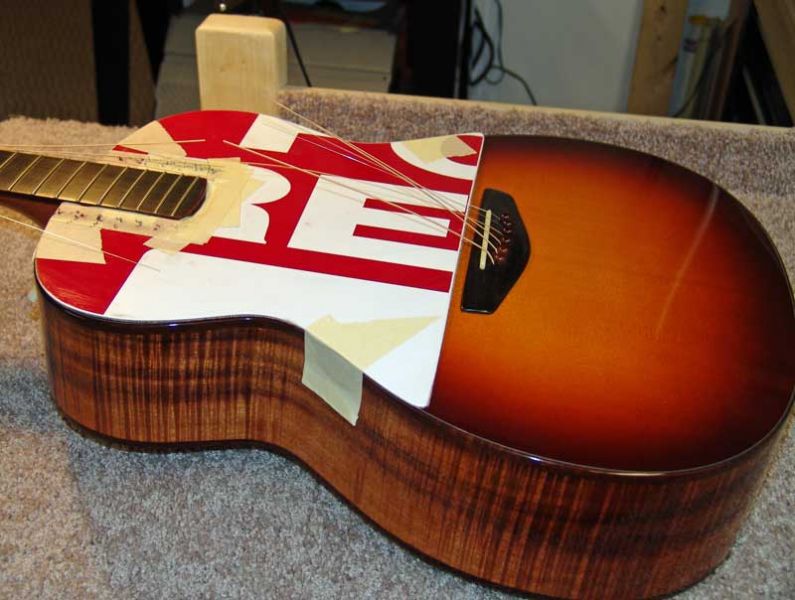
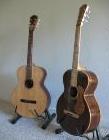
Today we are working with a guitar that I built 4 years ago. It has had a lot of use lately and I decided to make it my primary guitar at least for a while. I have just completed a fret dress and now I want to make a new nut to improve on the original string spacing and make it more to my own personal liking.
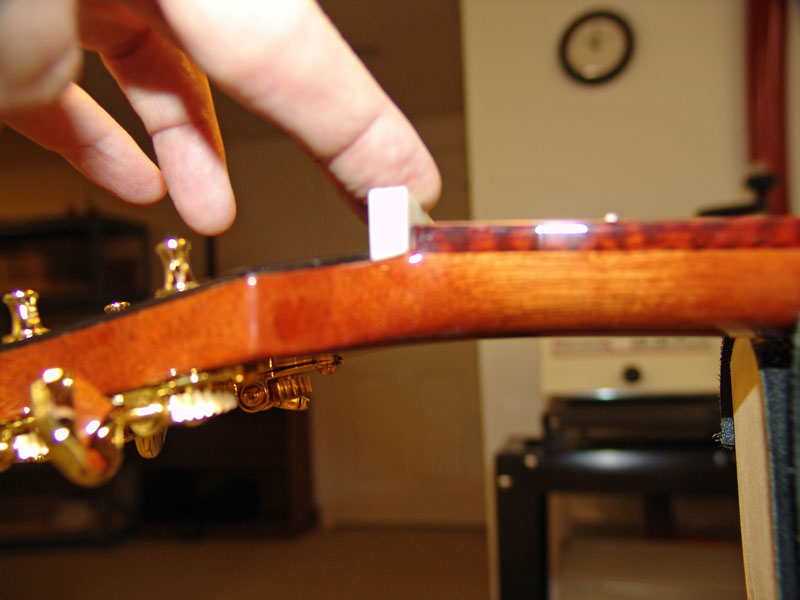
The old nut was removed which is very easy to do and can be accomplished by placing a block against the nut face and lightly tapping the block with a small hammer – I used my fretting hammer. The nut will break free and begin to lean backwards. Working it carefully forward and aft and the nut will soon release all the way.
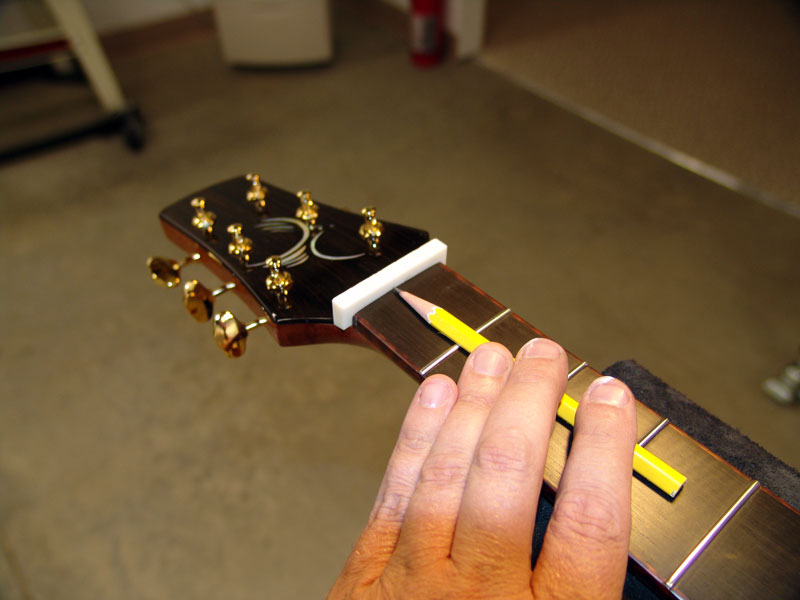
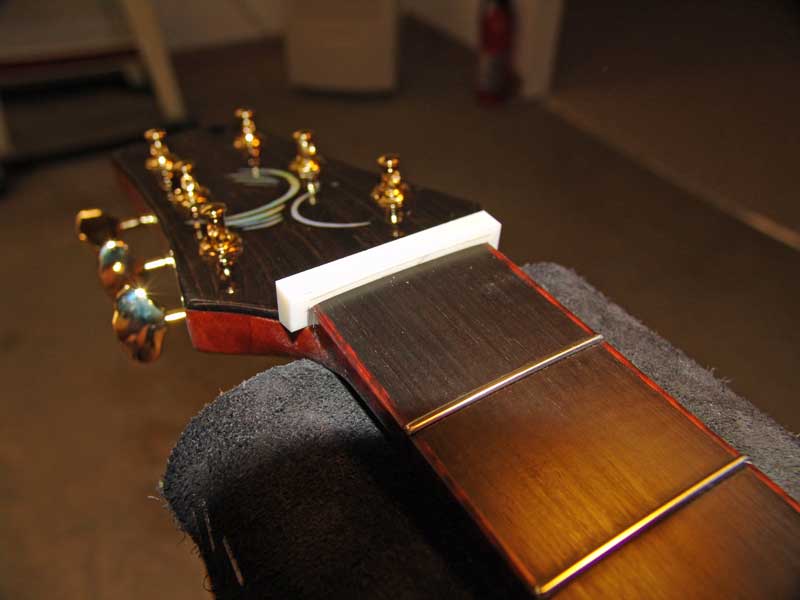
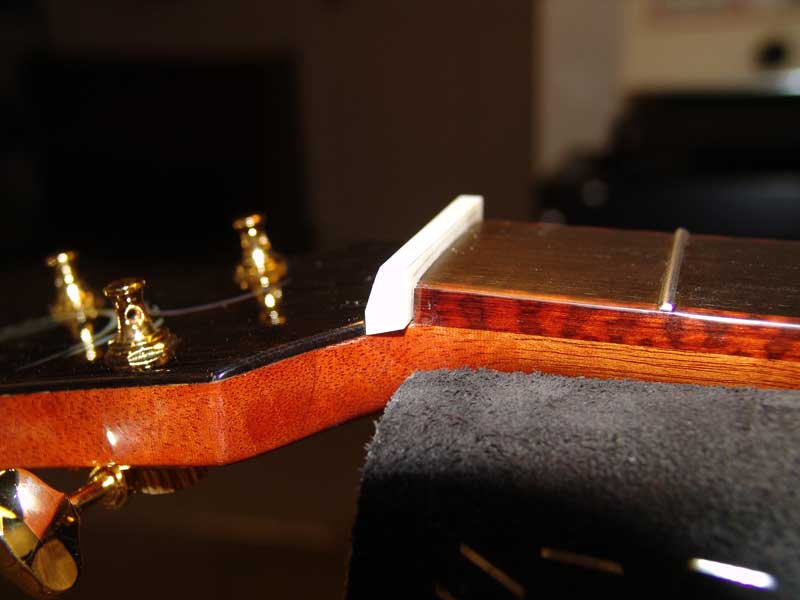
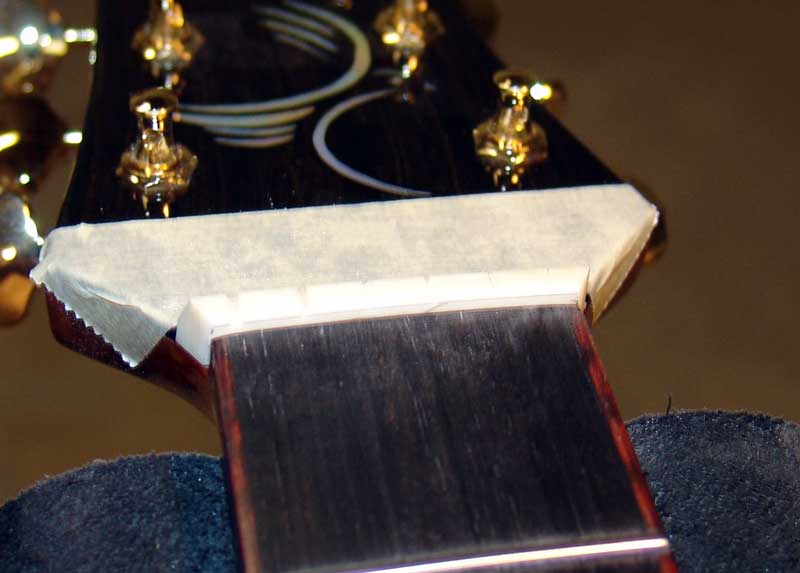
Here we see the nut slot on this guitar:
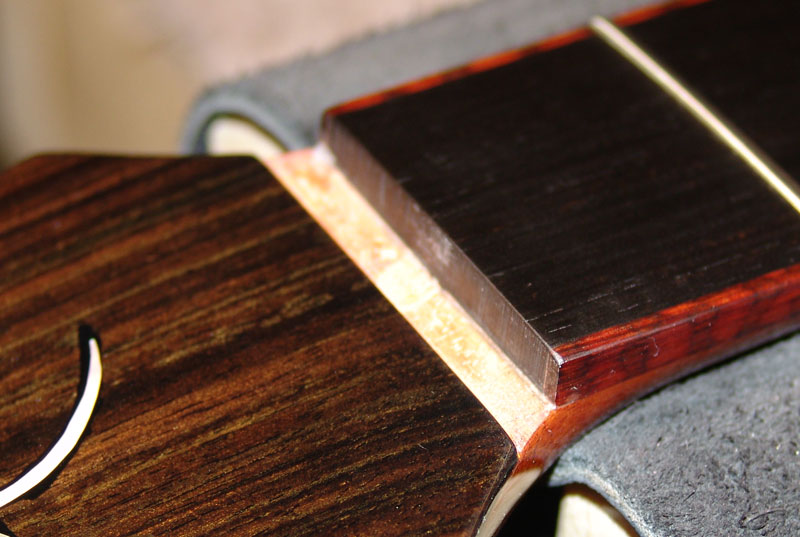
I have already used some small, sharp chisels and files to true up the slot and to remove the dried glue from the last nut. I would have taken a picture of this process but hey a guy only has two hands you know…
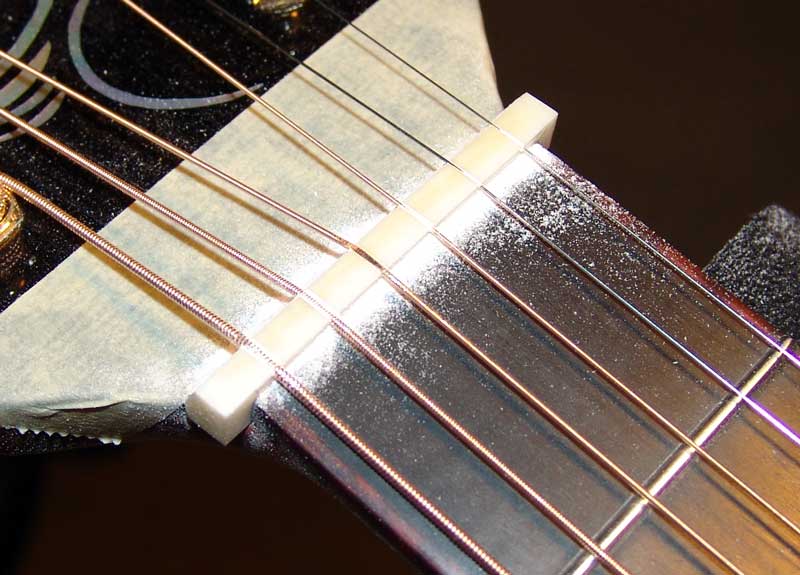
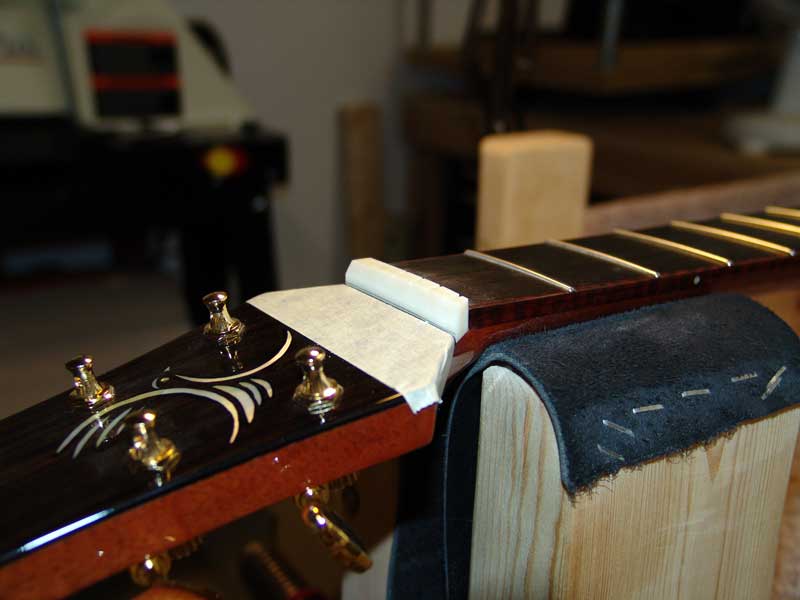
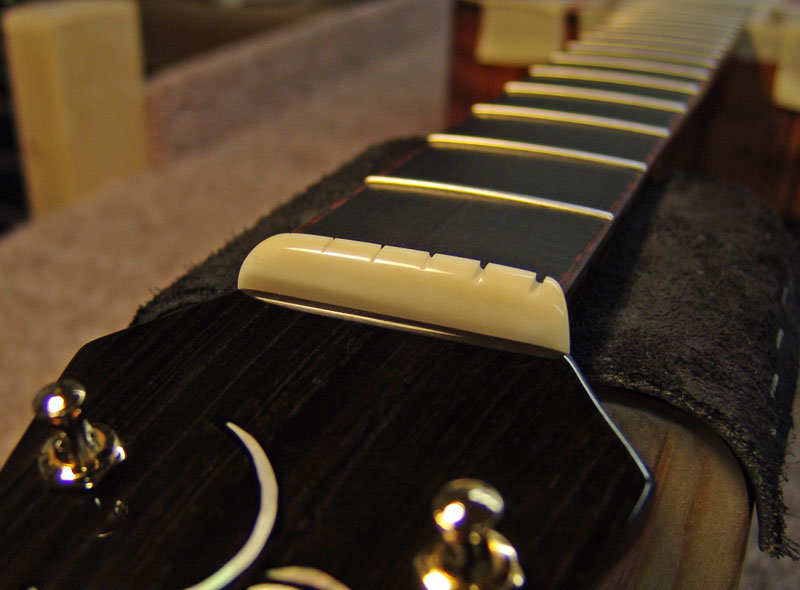
This nut will be a bit more difficult in as much as the nut itself has to conform with the curves of the headstock. This is a look that I personally do not like and I am no longer building guitars with curved nuts. But it is a good mule for our purposes today.
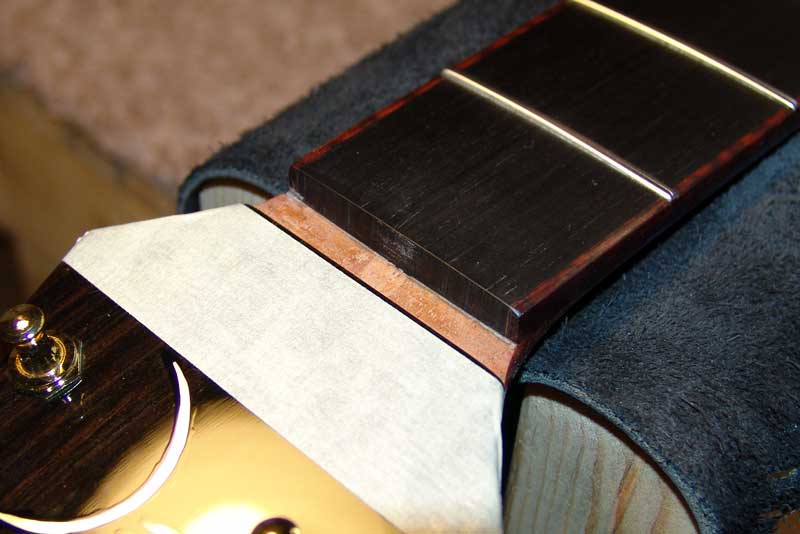
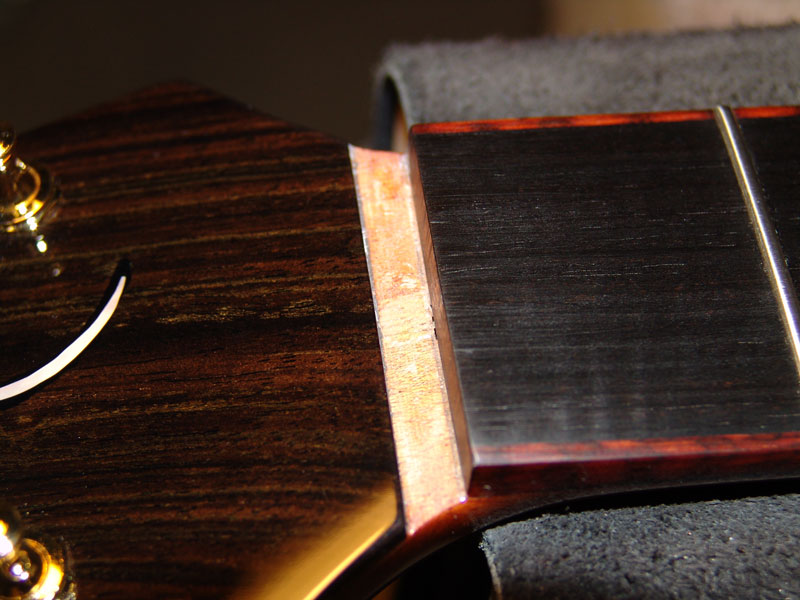
Here is another shot of the nut slot now cleaned up and ready to start fitting a new nut blank:
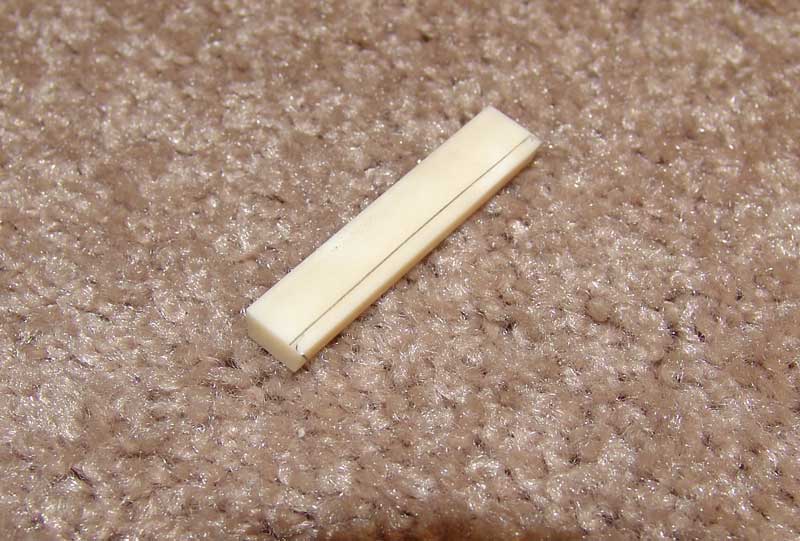
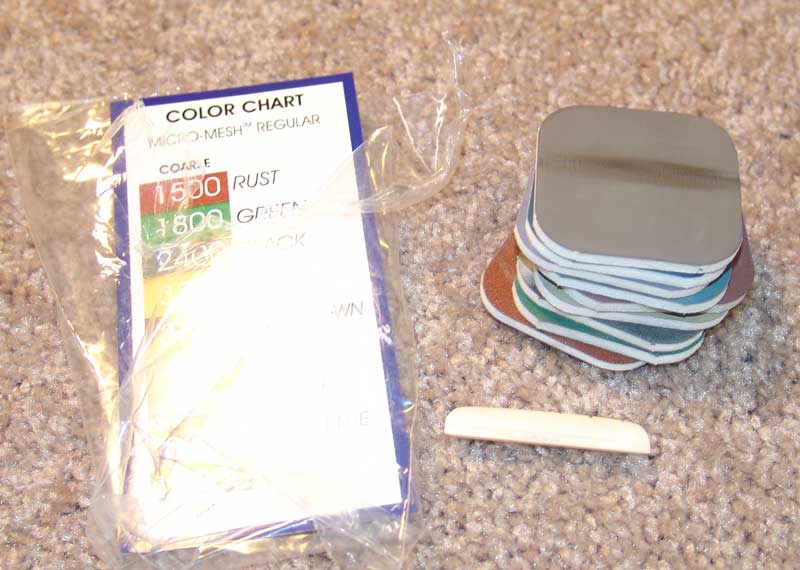
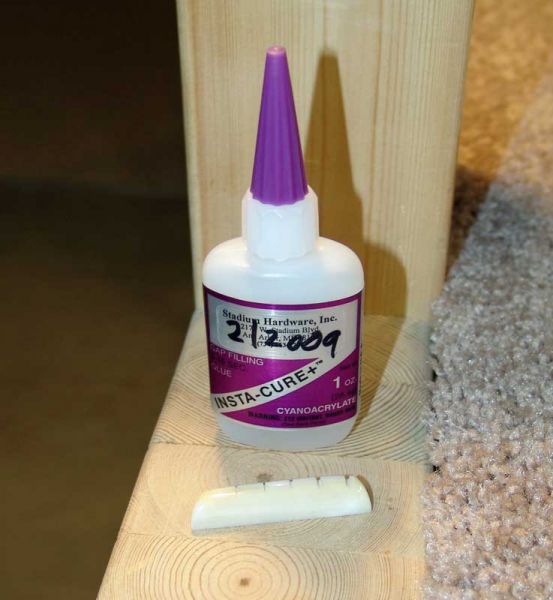
Recently I found a new source (new to me…) for nut blanks and these came from Chrislin Trading Company: www.chrislintrading.com
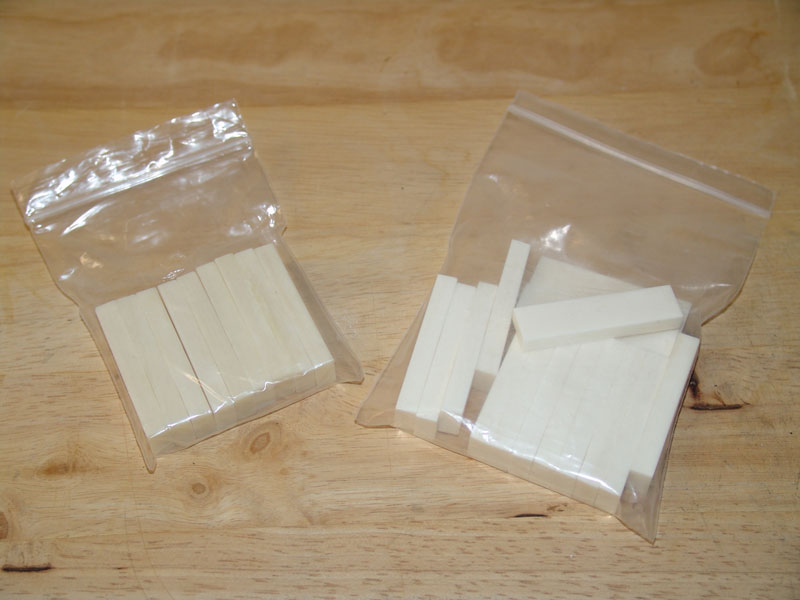
The packages contain bleached and unbleached nut blanks and I am very pleased with the quality, service, and pricing of Chrislin Trading Company. I should mention too that I needed some oversized blanks for a special application and I could not find what I needed anywhere else. Chrislin Trading had the goods I am pleased to say.
Regarding bone nut and saddle blanks often you will find both bleached and unbleached blanks available. The difference is the whiteness of the blanks and it has also been said that bleached blanks, all things being equal, can be slightly softer than unbleached blanks.
Today I am selecting an unbleached blank to match the unbleached original saddle on this guitar AND because I personally like unbleached, natural looking bone. If it’s true that unbleached bone is harder that’s a bonus.
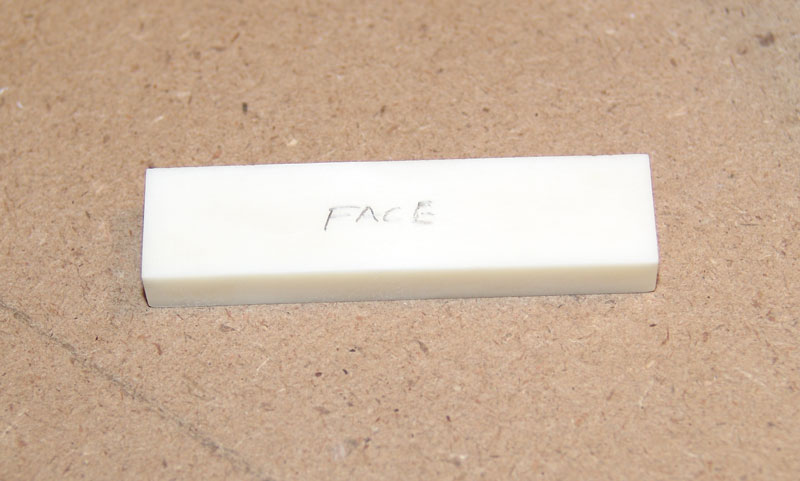
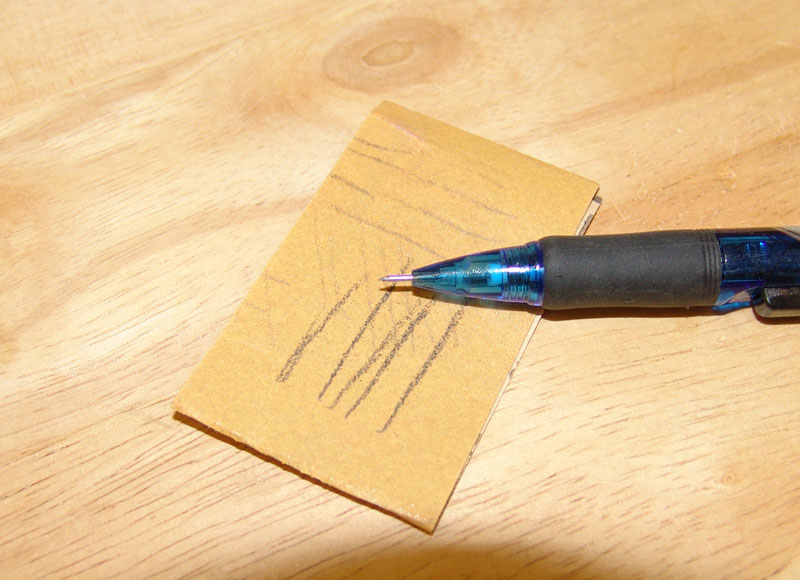
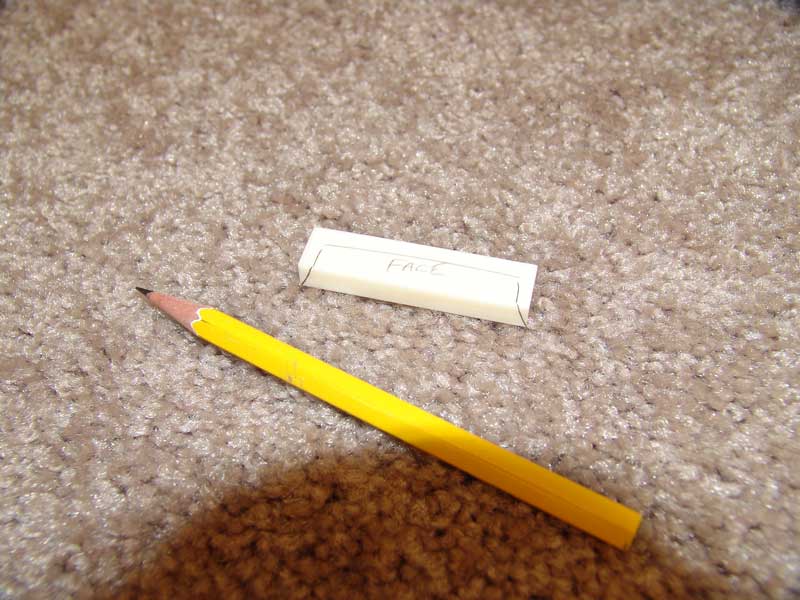
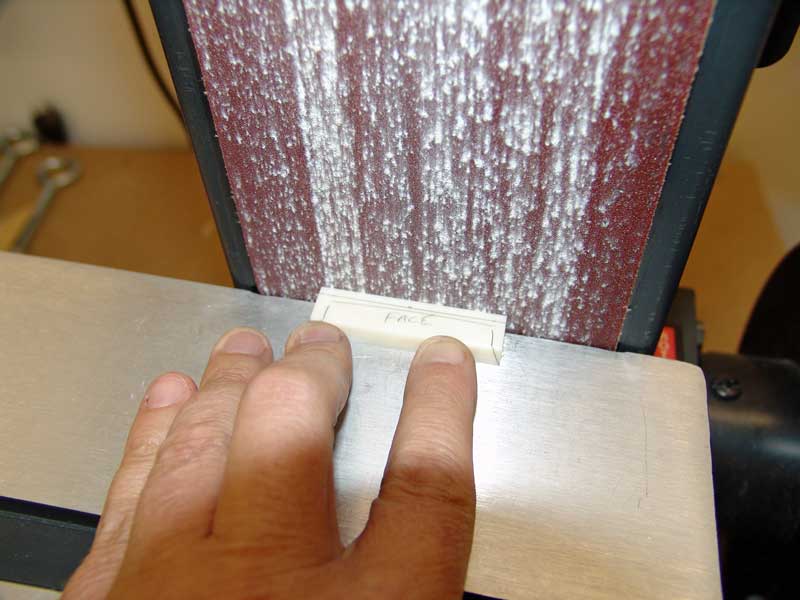
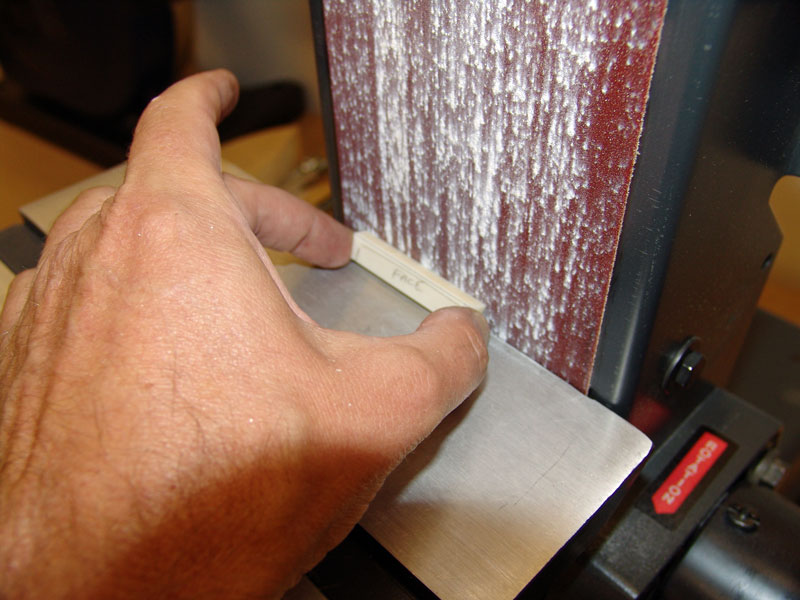
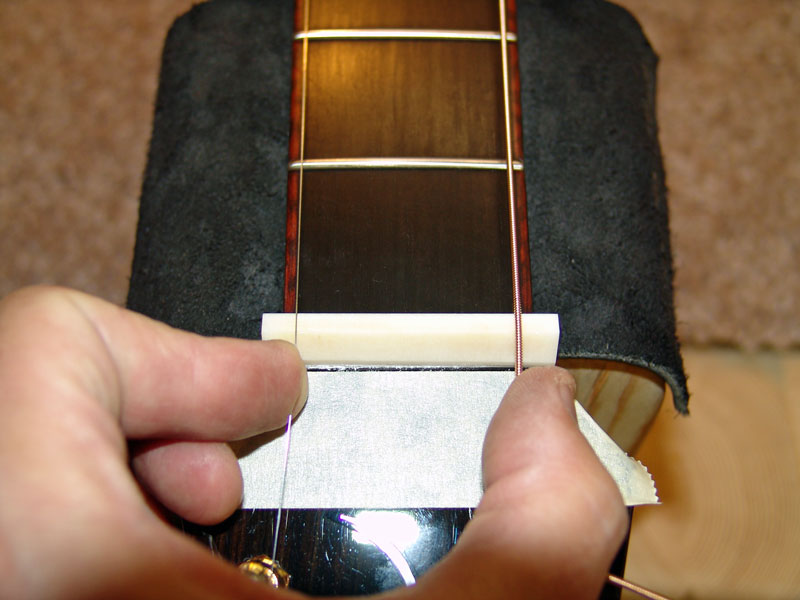
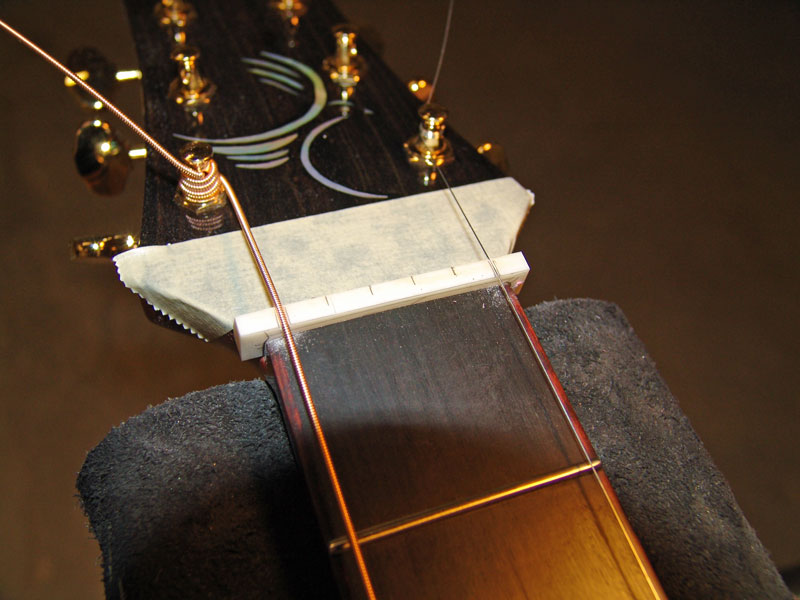
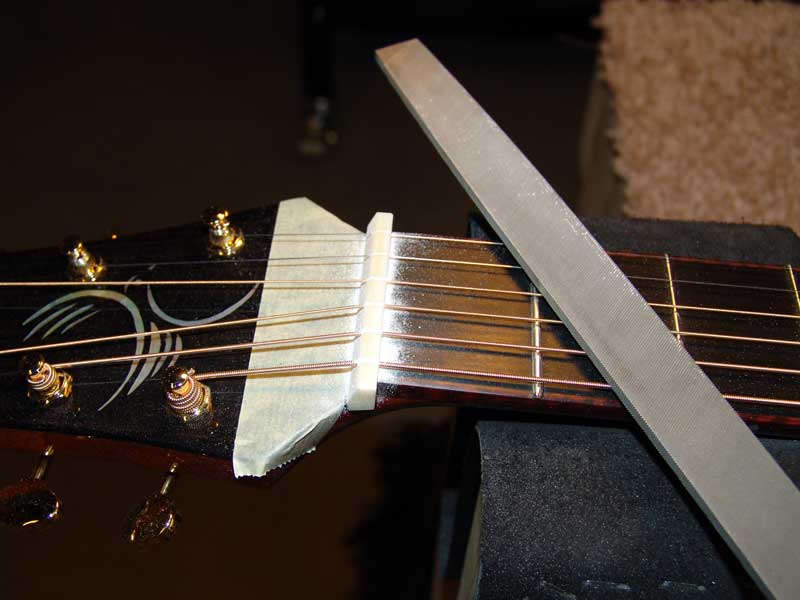
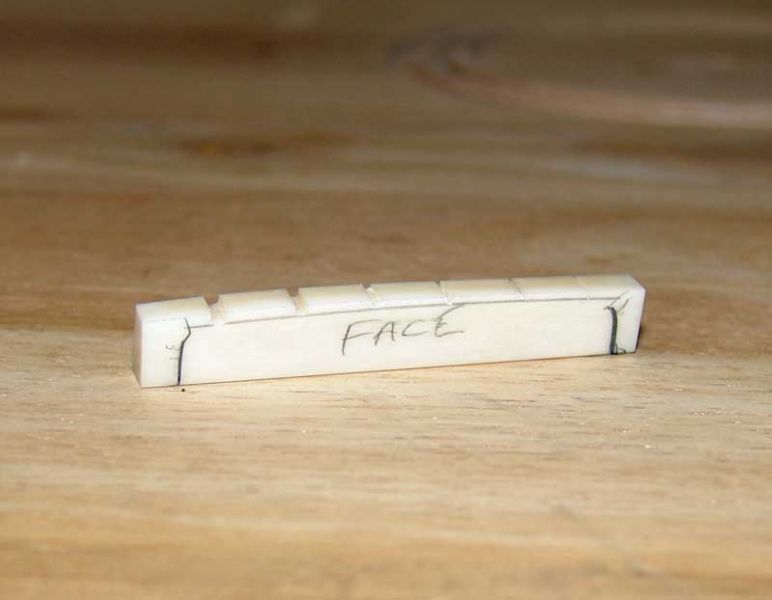
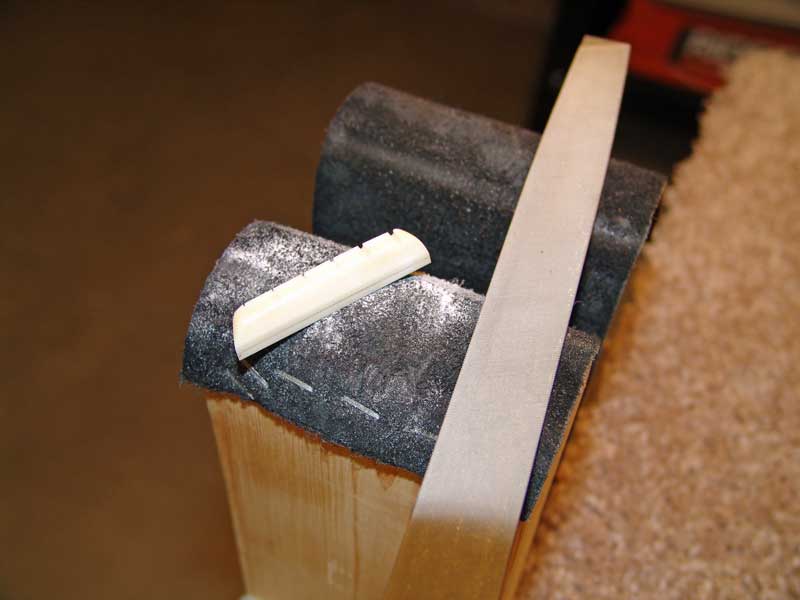
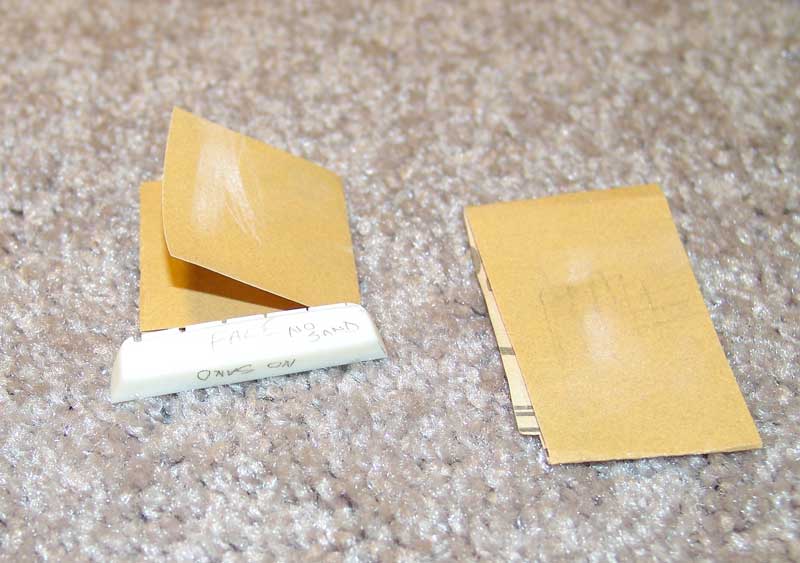
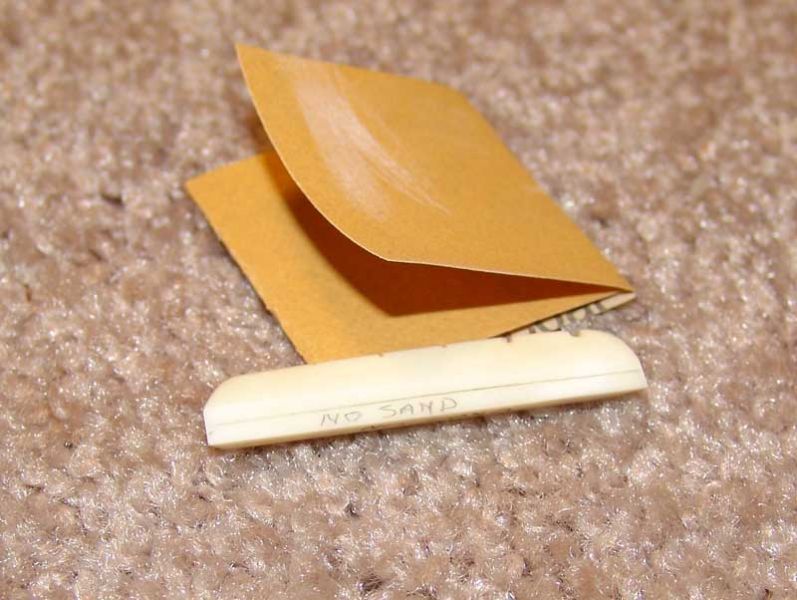
The very first thing that I do is to true up one face of the bone blank to designate the face of the nut. In addition I am looking to remove material from the blank to get it close, but not all the way, to fitting in the nut slot. A nut should fit well in a nut slot and not have any slop or ability to move forward or aft:
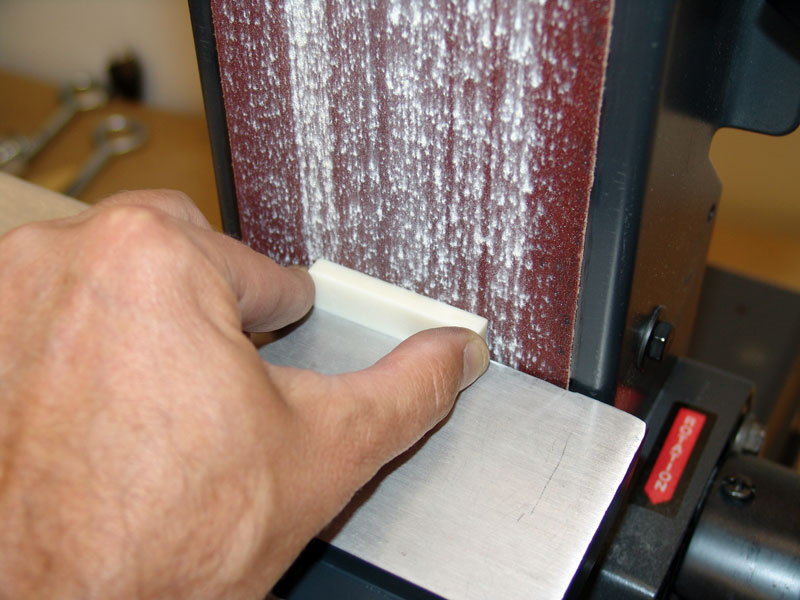
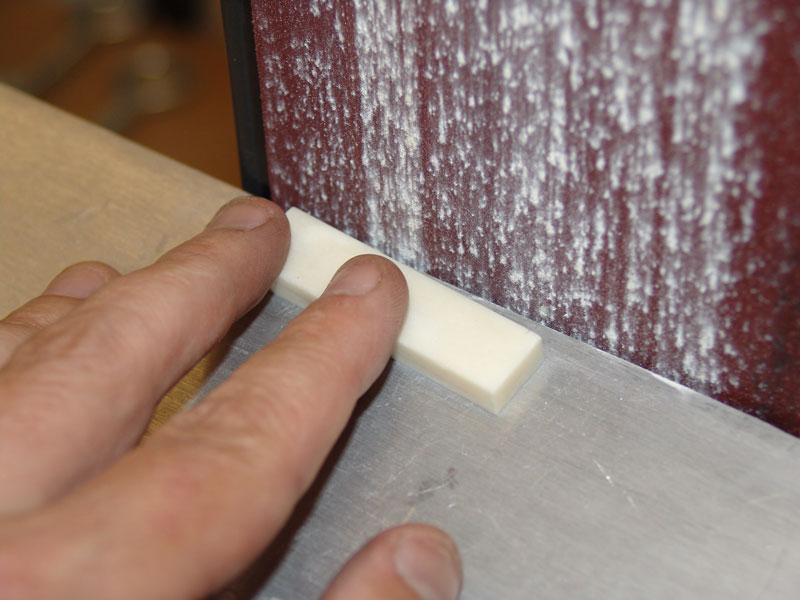
Again I am not looking to remove enough material at this time to make the nut blank fit in the slot but I am removing the obvious excess and getting the nut blank to be close to fitting.
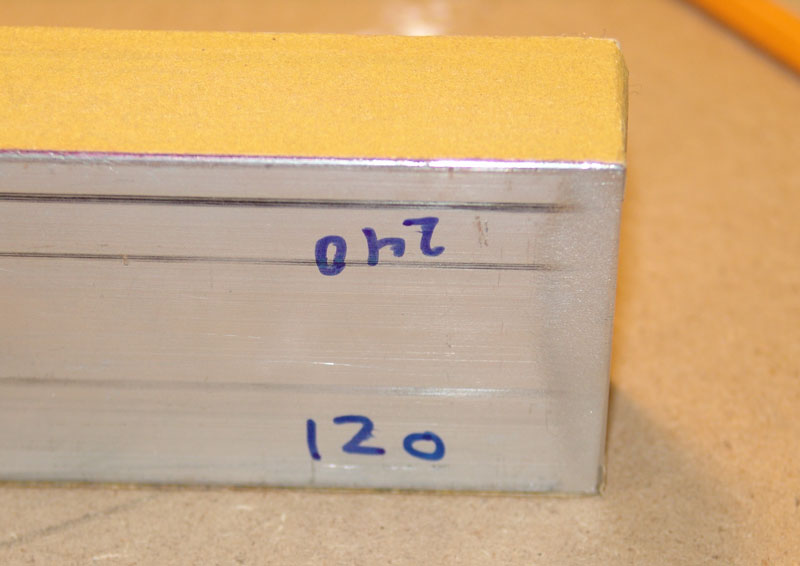
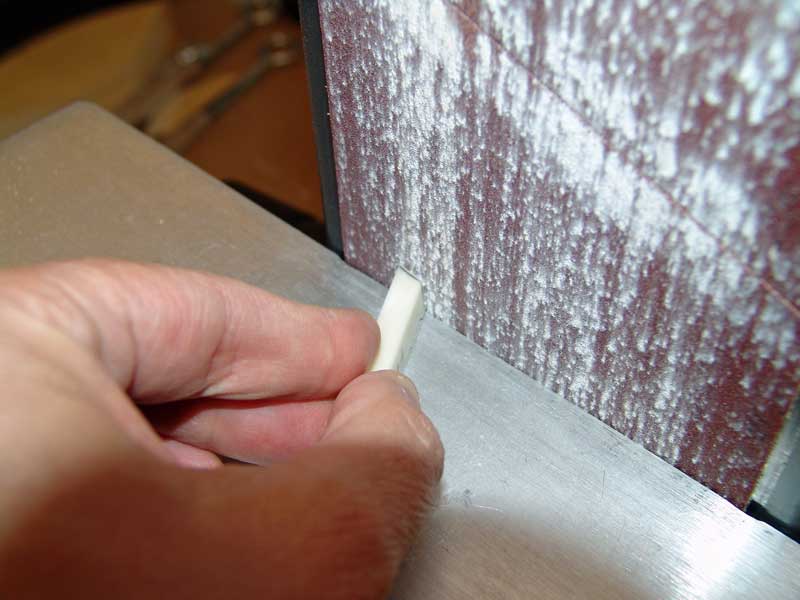
What you see below is a piece of tubular aluminum that both faces were worked on a certified, large surface plate covered with 120 grit sand paper. As such this “beamâ€