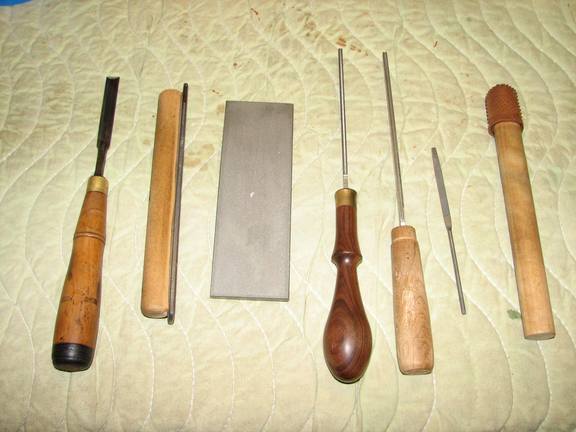
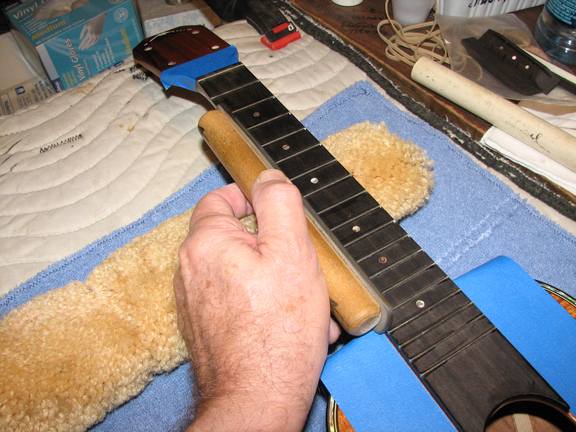
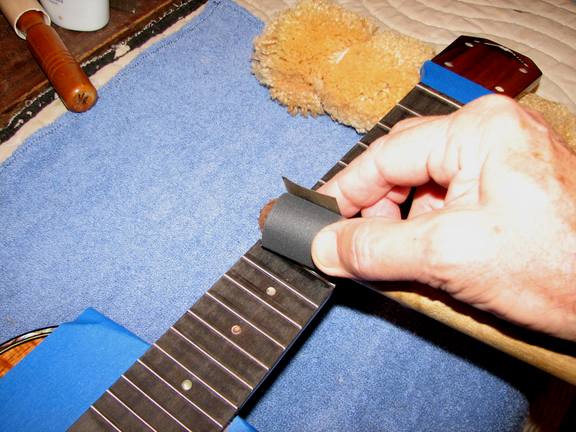
First of all after I've cut the fret slots and put the inlays, I flood the ebony board with thin super glue. Then I sand flat with 120 and then 220 grit paper to level the fret markers and smooth out the board. When I press the frets in, I put a few drops of high viscosity black superglue in each fret slot. No buzzing and little loss of strength. I then epoxy the board onto the neck and body which are already attached to one another. The instrument is then finished and the bridge stuck on. So now on to dressing the frets. The first picture shows my little assemblage of tools:
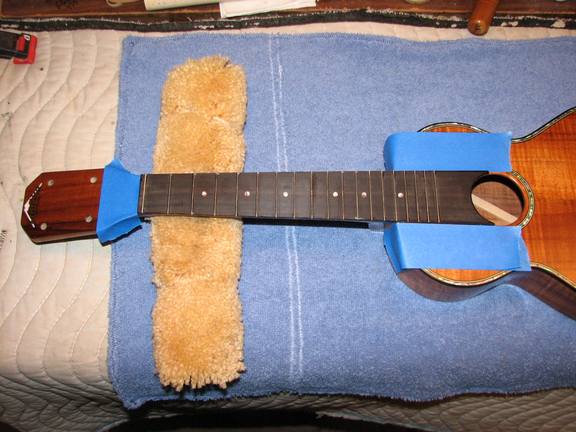
Nothing too radical here so on to the dressing. The first thing I do is put three layers of masking tape on both sides of the upper bout and on the headstock. This reduces the chances of a ding in the finish from over enthusiastic fret filing.
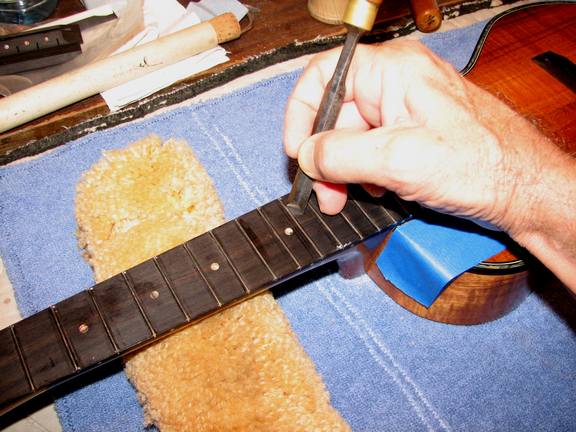
Then I use the 3/8" chisel to remove the superglue squeezeout that I was unable to wipe away during the fret installation process.
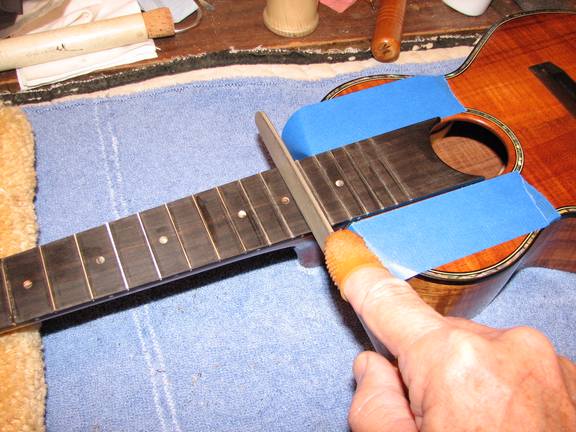
Next I true and bevel the fret ends with a dowel file. This is simply an old, smooth file with the edges rounded off and epoxied to a 1" dowel that has a flat surface on the length of it. After each process which creates fret dust I vacuum the fretboard and the area beneath the instrument.
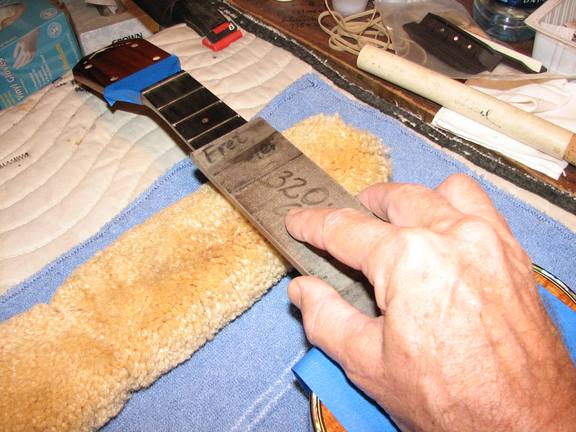
Now I level the frets with a 320 grit diamond impregnated steel sharpening "stone". It's about 3"x6" and dead flat. I find that looking at the frets at a low angle with only fluorescent light allows me to see when all of the frets have been touched by the "stone".
Now I take a StewMac diamond impregnated fret file (which comes in two different widths, one for each edge) and using only push strokes, round each fret until a barely visible line of 320 grit leveling surface remains. Then the same file gives an initial rounding to the end of each fret.
At this point I use a very small file with safe edges and further round the end of each fret, using 2-3 strokes on each side and blending the roundness of the previous operation.
Now, using the infamous "fret dildo" (shown right most in the first picture) and a strip of 320 grit w/d paper, I lightly go over the ends of the frets and the top of the fretboard as well. The rubber finger cots on the end of the dowel provide a little cushion behind the paper and allow it to be a little more flexible. I then go on to 400 grit paper and make sure that the fret ends look and feel smooth as well as the top.
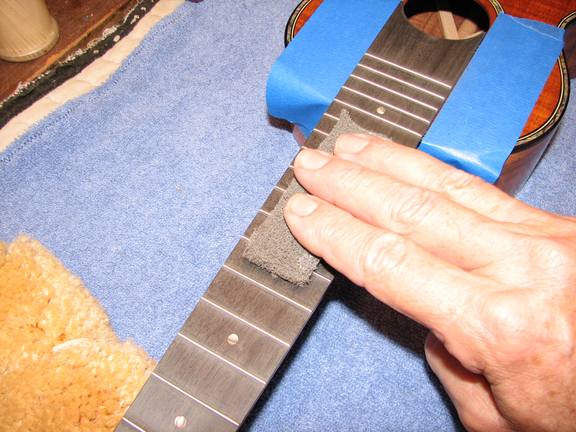
Now the frets and board are further smoothed and polished with 3M grey sanding mesh.
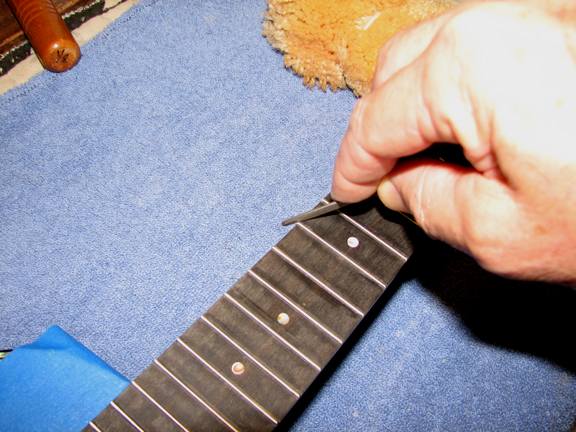
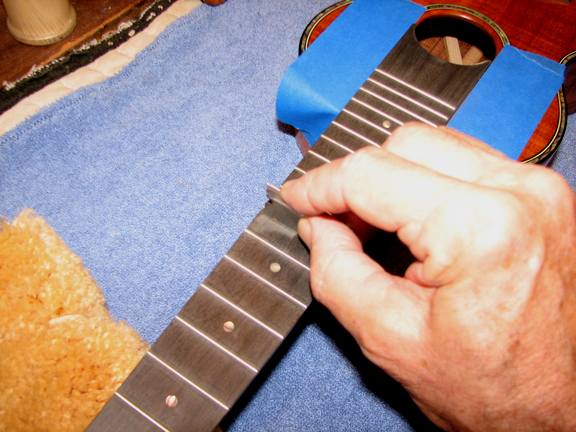
Almost there. Now the fretboard surface is smoothed by working a single edges razor blade back and forth between each fret.
At this point a little Formby's lemon oil finishes the project, giving the board a nice look and removing fine dust in the process.