Hi thanks for you're replies

Hi Dave. I am not sure I like the idea of printing out stuff and using it as your radii, If you just use a compass direct onto Perspex/Lexan (depending on where you are), steel, brass, wood or just about anything it will be accurate. You can use a scriber or blade instead of lead in the compass and may find it easier to cut with accuracy.
Alternatively use a Edge Trimmer or Router as a compass, and rout out your templates.
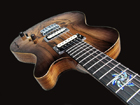
As for trying out different radii on a fret board, go into a guitar retailer and ask which guitars have what radii then sit down and have a bash.
Good luck however you choose to do it.
Jim
Thanks for the advice Jim - the only problem where I live is that the guitar shops don't tend to carry the high end makers like Martin, Taylor, Lowden etc... They tend to stock lower end guitars, which are fine but I would like to get a balanced view from a £50 special to £.....s the skies the limit:(
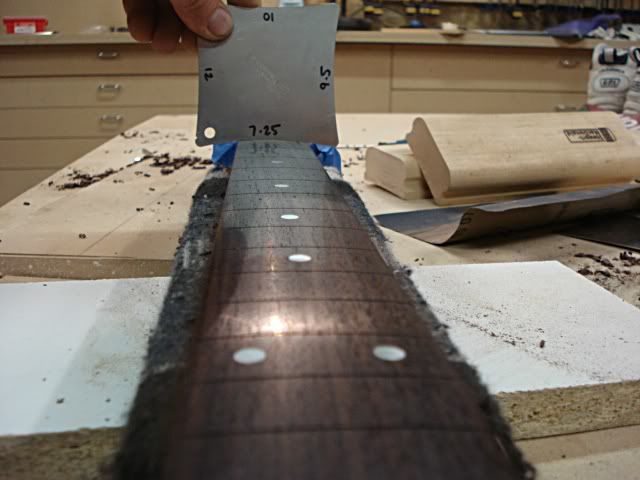
If I was to be really acurate how would you set out a 7ft radius or a 20ft radius as I'm having a go at some radius dishes for backs after the fret press? I've built really large tables in the past and have set out on sheets of ply to full scale as I had to machine the timber! I'm not sure how to do this with out going to the extremes of using large sheets of ply and a lot of manual graft - which I try to stay clear of at all cost lol!

Dave, go to the kitchen and start looking around at your pots, jars and bottles. I'm sure you will find something that you can put a piece of sandpaper around to help smooth out the gauges. Remember close is good enough, it doesn't have to be perfect. No one will be able to feel the difference between a 7" and a 6 7/8" radius.
That makes sense Lillian thanks
p.s. I'll nick the wifes marmalade jar I'm sure she won't mind a bit of dust lol
Many thanks
Dave