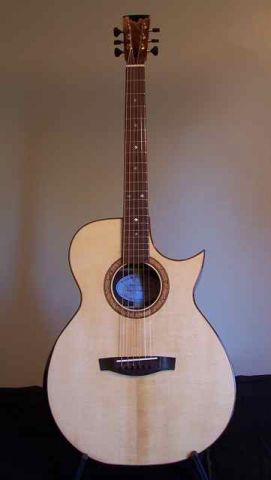
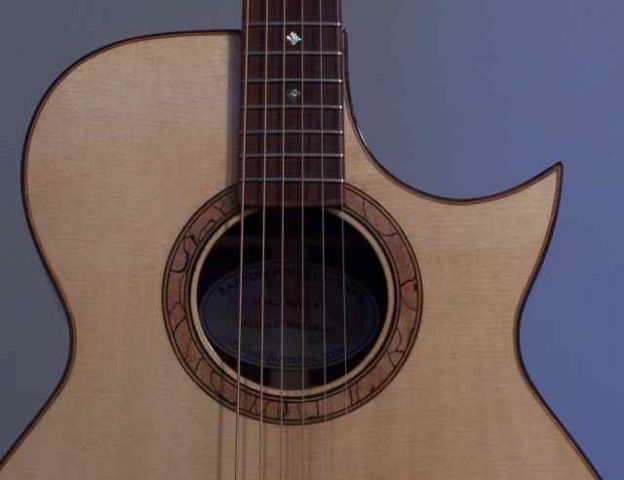
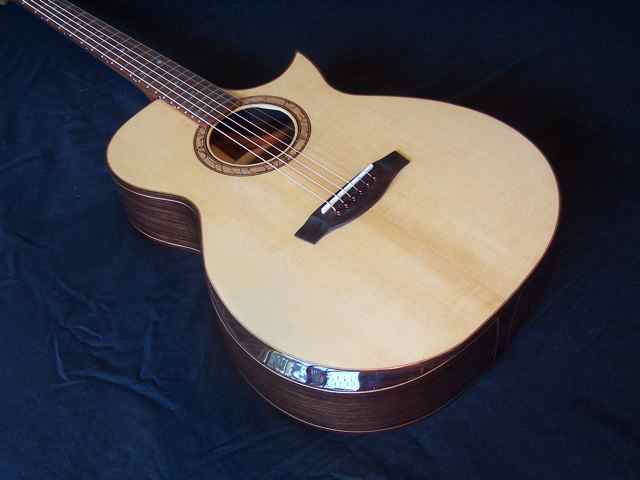
Thanks one and all. After attempting to build a very traditional look in the Size 5, I wanted to go to a much more modern look without being over the top with "bling".
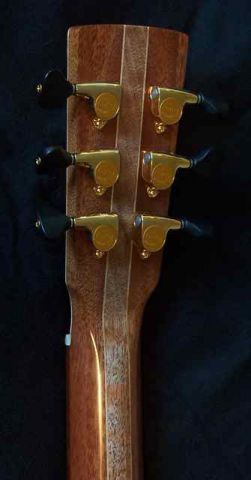
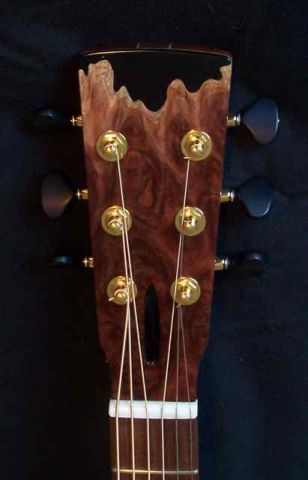
As for the head plate, it's a thin slice of a burl slab that Tim sent me. Unfortunately it wasn't deep enough to cover the entire head stock so there is a bookmatch flip of it length wise around the middle of the truss rod adjusting slot. I did a scarf joint there hoping that the extra gluing surface, while still very thin would help hide the join.
The black at the top is actually much easier than trying to get a matching piece of ebony to fit. I glued on the burl veneer, then once dry I propped up the neck so the head plate was nice and level. I took some Stew Mac brown binding tape and used it to make a dam around the end of the headstock. Then made up some WEST Systems epoxy with a few drops of Stew Mac's ColorTone black stain concentrate, and poured it in to fill the void. Let cure then level.
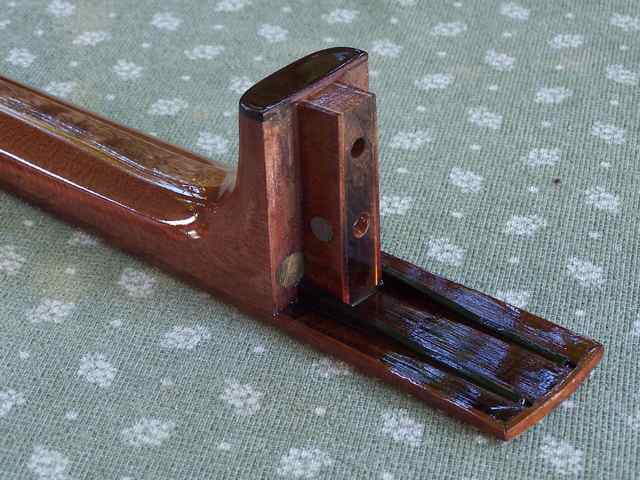
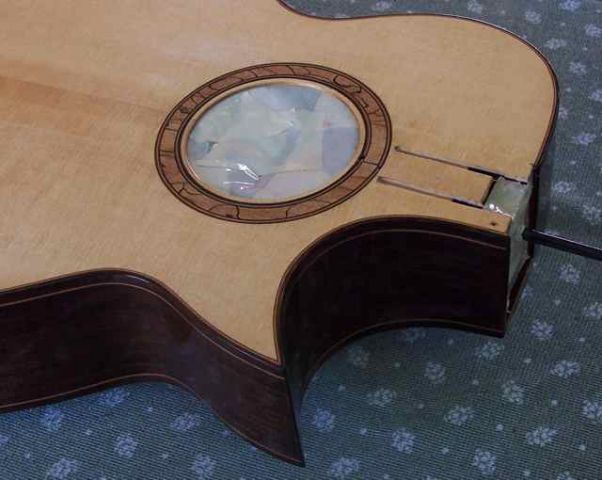
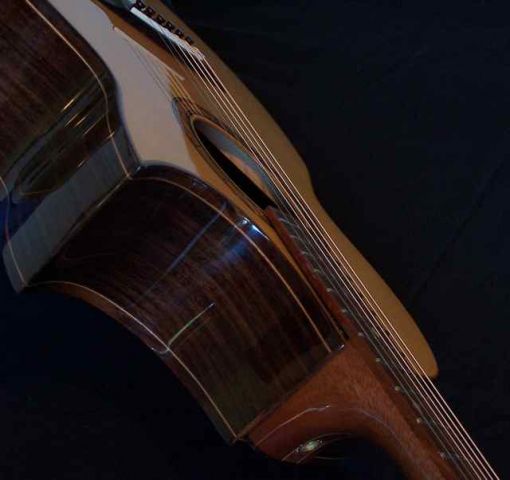
The neck adjust is pretty simple too. I took a bit of advice from Rick Turners comments after some observations of the way I built the one on the Size 5 that I felt could be improved. The Carbon Fiber rods are imbeded into the fret board as well as the neck, so there's no need for a hole cut in the top. I used some grub screws for yaw adjustment, and 1 upper bolt into a barrel nut in the neck. The lower adjuster in embedded in the neck using Craig's idea of the bronze bushing to house a stainless steel cap head screw into a T-nut in the neck block. I didn't line up the yaw adjustment with the upper bolt, which I will be sure to do next time.
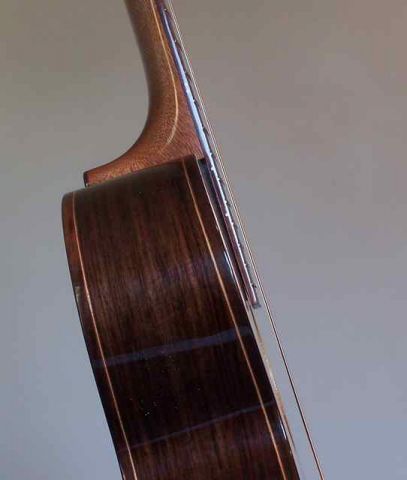
The fret board sits up from the top perhaps a couple of millimeters. This is important to have in order to allow free movement of the neck for adjustment.