P Bill wrote:Nick, this will be good. How thick will the top be over the chamber? Graduations?
There's the central 'block' which stays at the original 17mm thickness which matches the 'block' in the Sapele Bill but the rest is whittled down to a top thickness of 7mm. As you'll see in some of the pictures to follow, with this,most of my $ investment in the Maple has gone up the dust extraction system or ended up as chips on the floor (

) but that's the nature of these beasts.
Dominic wrote:Other Nick, sorry for talking about Mosrites in a CS forum. I used sapele on the 2 I built and I had problems blowing out corners when I was routing the outside template. Very brittle. I have this beautiful spiral down cut pattern follower bit but I had to be really careful even with that.
That's cool Dominic, it all adds to the pool of forum info which is what this place is about I reckon. Yeah Sapele can be a bit brittle, I've found the best approach to be more small, lighter cuts (and downcutting rather than upcuts) than deeper or larger cuts, it's quite stringy and can snap a chunk out before you've even had a chance to think about it!
Dominic wrote:I didn't have any maple tops over 8mm and they get really exp. The red one is just glued on flat and carved. But I wanted more curve. So with the green one, I glued on a piece of spruce to the inside block. I kept sanding in my radius dish until the sides and all the spruce cover had been shaped. Now, the maple top is glued down ensuring the glue line is free of gaps or weak points. This way I can get the effect of heavy carved top but only use 7mm thick maple.
Nice trick

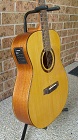
The Green top isn't too shabby in the figure department.
On with the build.....
I mapped out where the pickup cavities will fall on the central block and machined slots for the wiring, much easier to do now before the top's glued on. As with most Gibson hollow bodies the CS's, the pots e.t.c were originally wired outside of the guitar and the whole,completed assembly fed in through the F hole but because I've got a few extra goodies under the hood it was going to be a bit of a nightmare so I decided to make an access cover from the back so wiring & maintainence would be much easier.
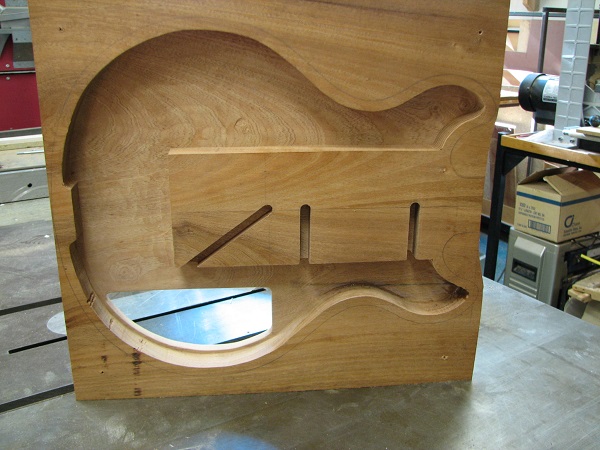
- Body cavities.jpg (108.58 KiB) Viewed 46216 times
The rear angled slot is for a
T Bridge, I've decided to include an 'acoustic' option. I've never heard one of these before so it'll be interesting to hear how close to acoustic it does actually sound.
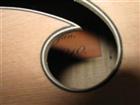
On the top I machined the 'F' holes, decided to go with the nike swoosh style rather than the traditional F style. I made an acrylic pattern and drilled out most of the excess before going in with a 1/4" Straight fluted router bit, I used the shank of the bit as a pattern follower, as I found with the rosette patterns I did on the Maccaferri, as long as you keep the router moving and don't let it rest to build up heat against the Acrylic, it seems to work quite well.
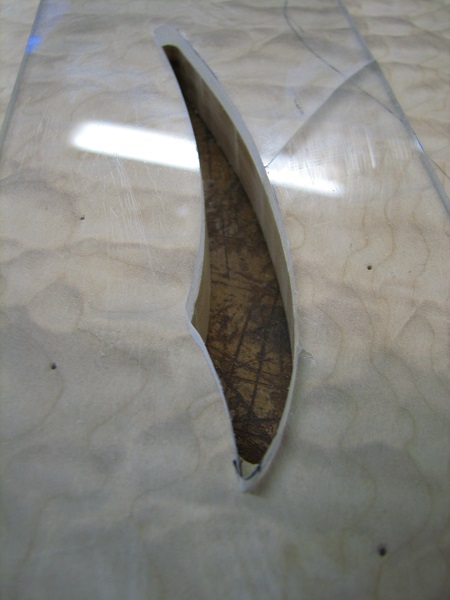
- F hole.jpg (80.78 KiB) Viewed 46216 times
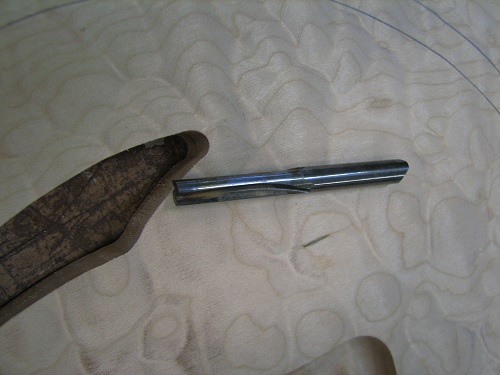
- Straight bit.jpg (58.93 KiB) Viewed 46216 times
Flipping it, the top over I machined a tapering groove to outline the central solid block. It was tapered in depth, to match the final shape of the top
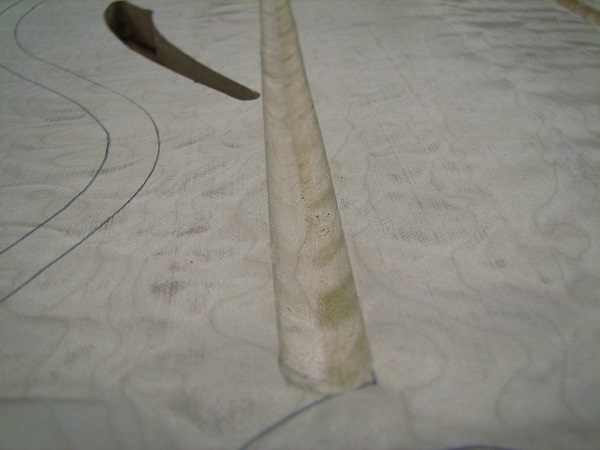
- IMG_2477.jpg (65.08 KiB) Viewed 46216 times
I then bandsawed out the top close to it's finished size.
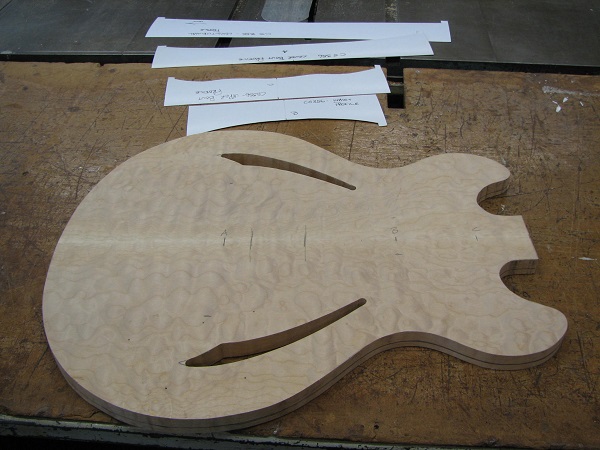
- IMG_2481.jpg (97.92 KiB) Viewed 46216 times
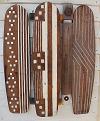
The cardboard are profile patterns for the top, which I actually ended up only using one of

, the longitudinal one, because once I had that shape in and the final 7mm thickness marked around the rim, the rest of the shape just seemed to fall into place. Outside profile done(I tried to take some photos of this profile but it's so thin and subtle that it didn't really show up in the pics so I haven't posted these).
Then using a pin for the top to rest on and drill set to drill to depth (7mm final top thickness), I set about drilling away most of the excess on what will be the inside. Then attacking the 'extra bits' with a curved palm plane I've managed to get the outside profile reproduced on the inside. Here, I'm part way there on one half, I was running out of time on Friday so the other half is still waiting to be done.
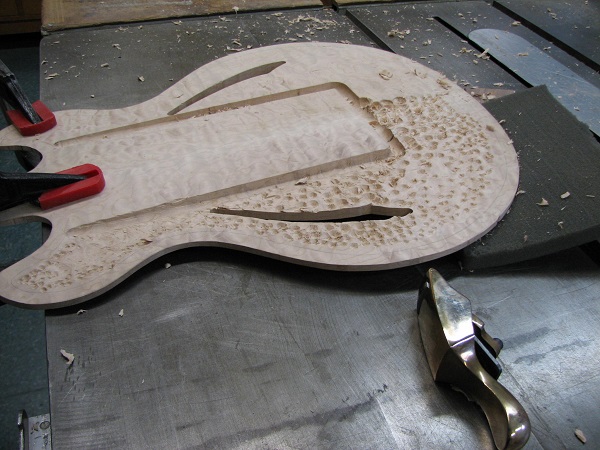
- IMG_2487.jpg (117.54 KiB) Viewed 46216 times
So that's where I'm at at the moment, I'll post more pics up as I proceed.