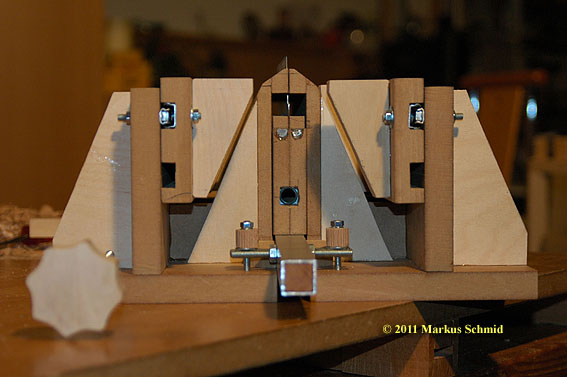
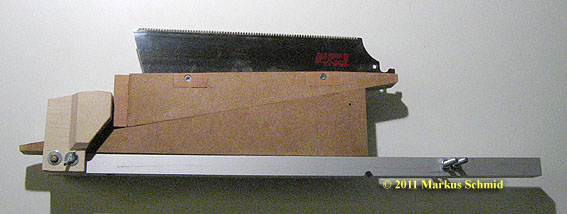
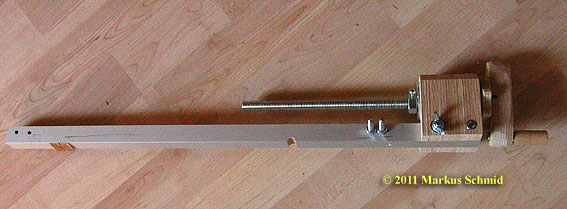
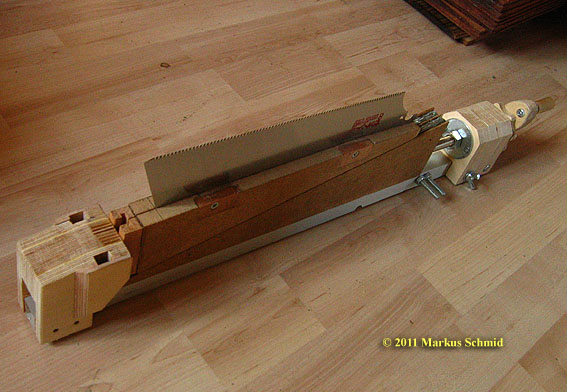
Here, some aliens brought me this plan:
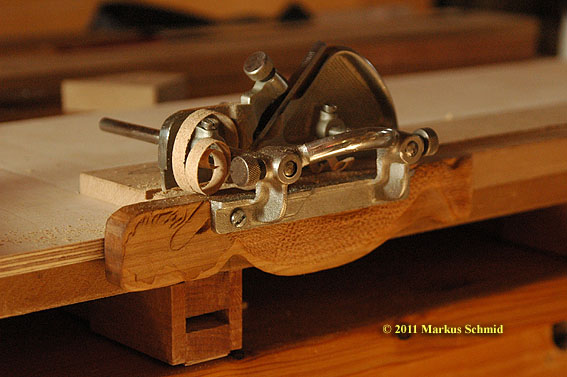
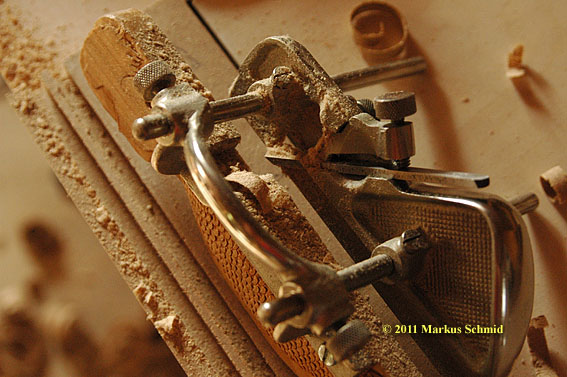
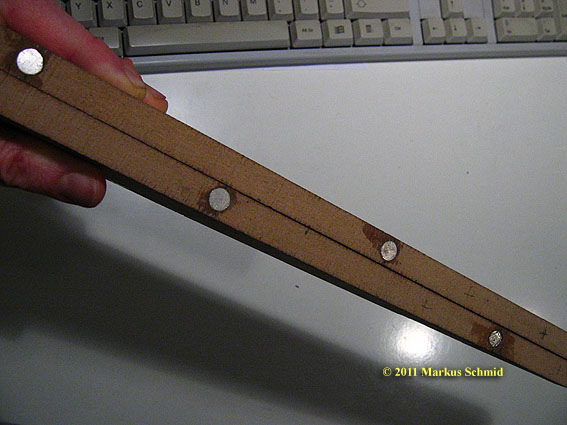
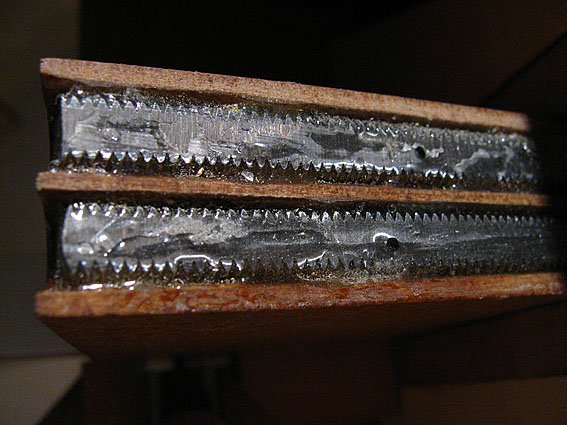
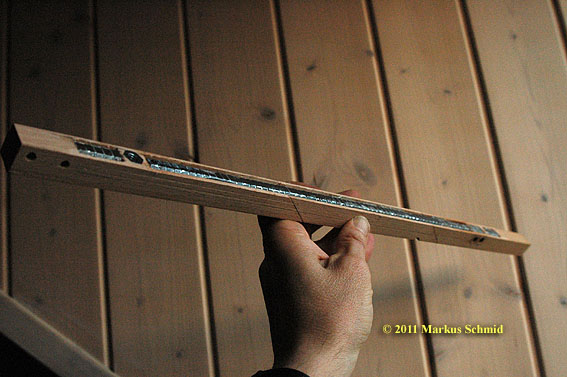
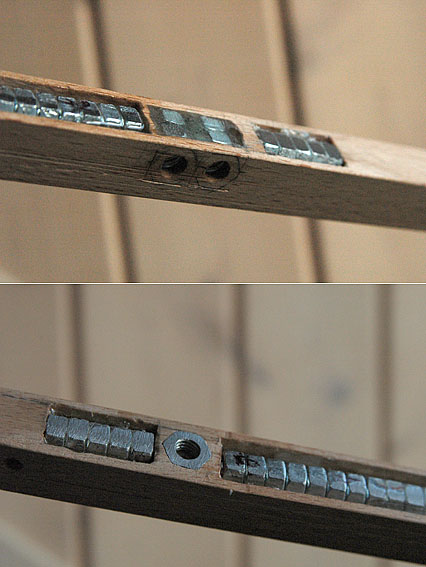
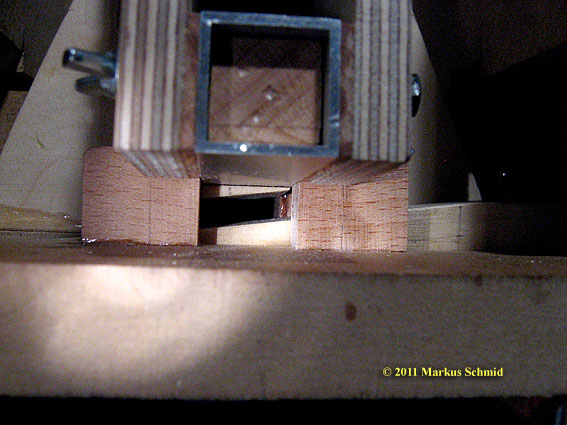
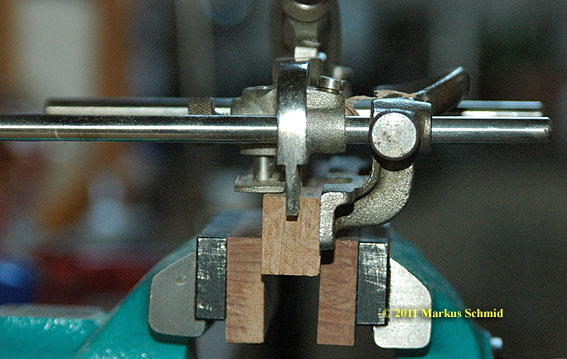
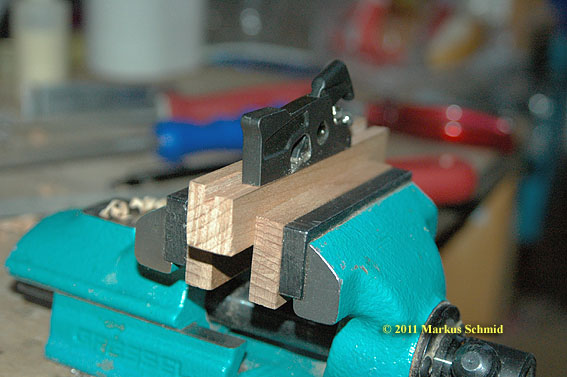
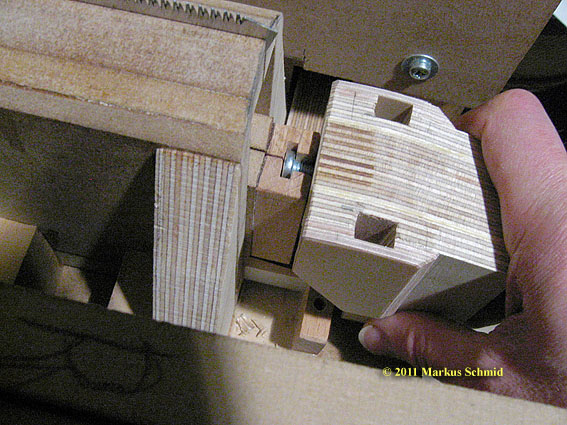
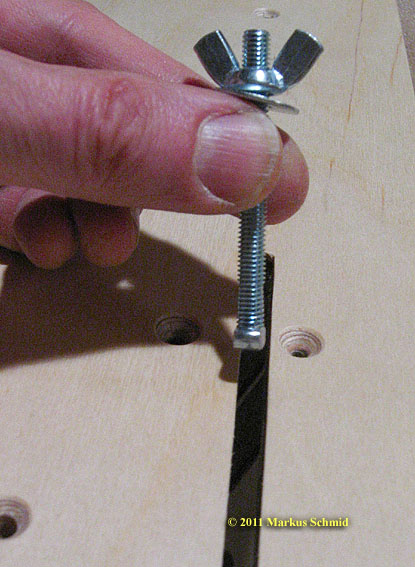
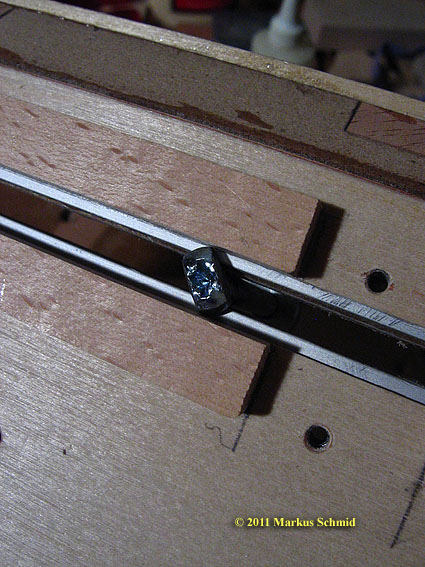
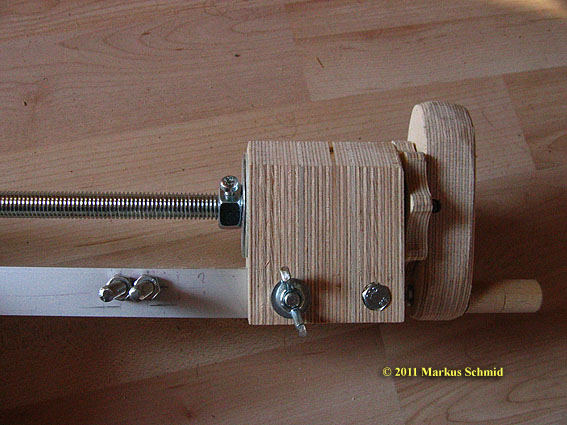
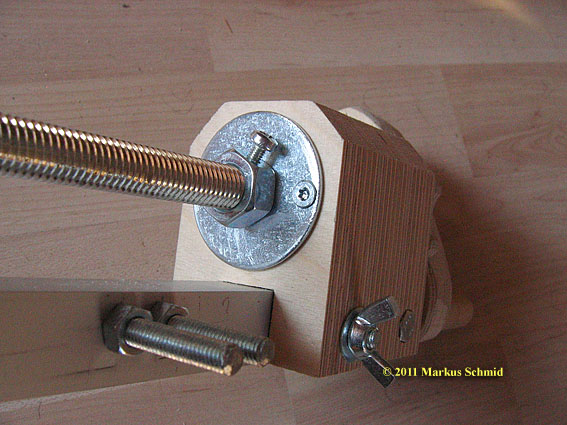
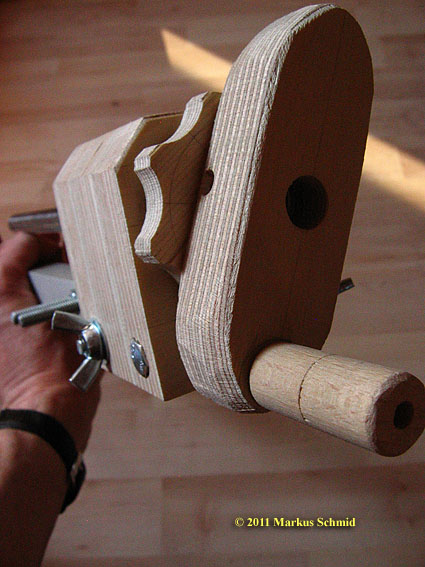
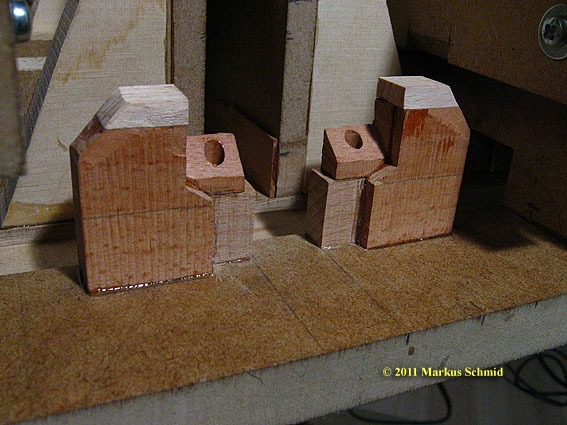
The heart of the saw will be those two wedges,
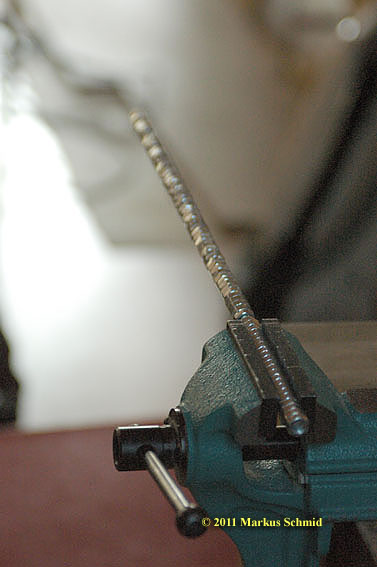
the upper one clamping firmly the Japanese Saw blade Pete Howlett recommended here for his "Fretmaster". Btw, in Australia and New Zealand you can get exactly the same blade from Carbatech, it's this one (according to Pete it's suited for fret slotting).
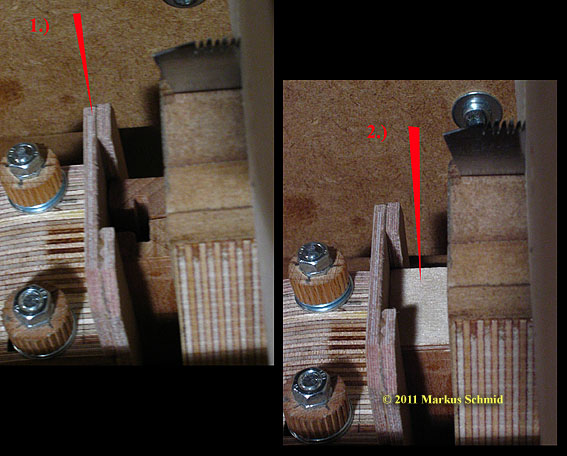
The lower wedge will be sled under the upper stationary wedge, lifting the latter one as needed.
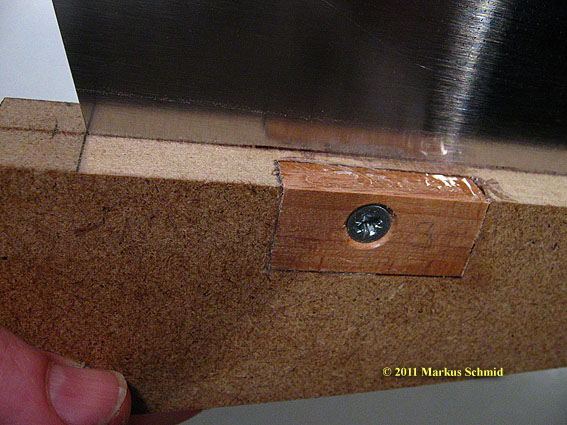
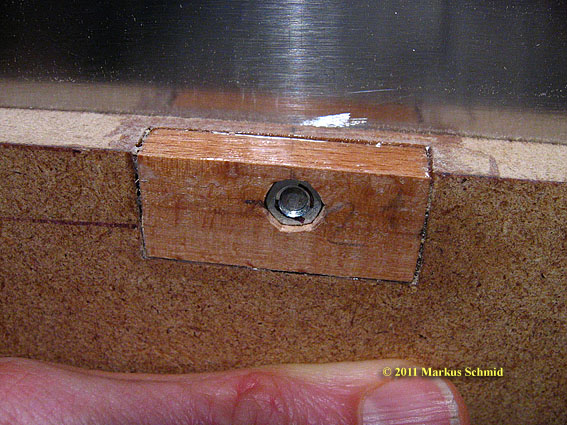
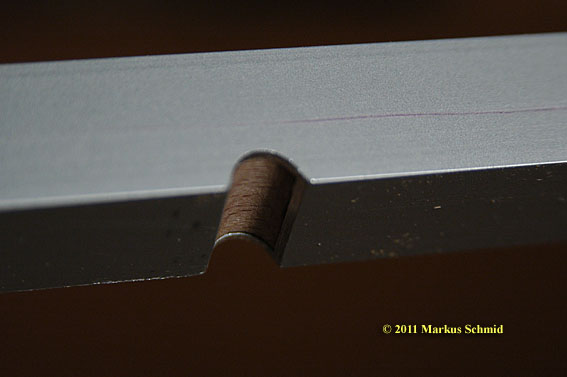
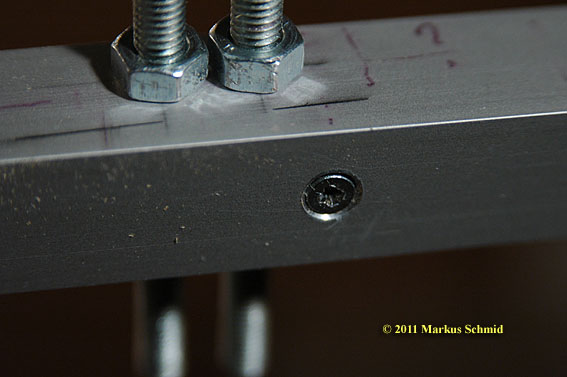
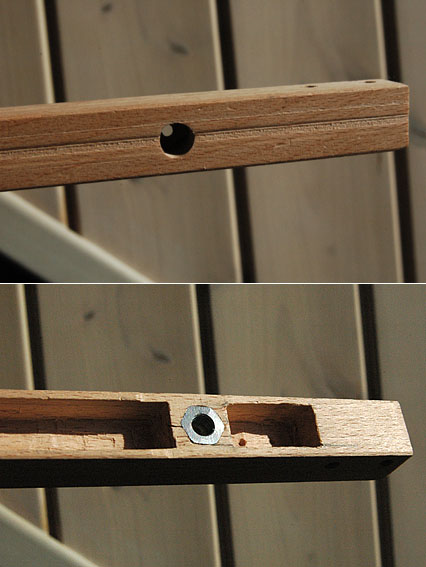
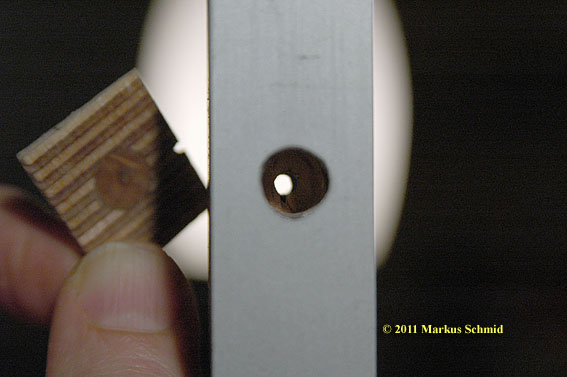
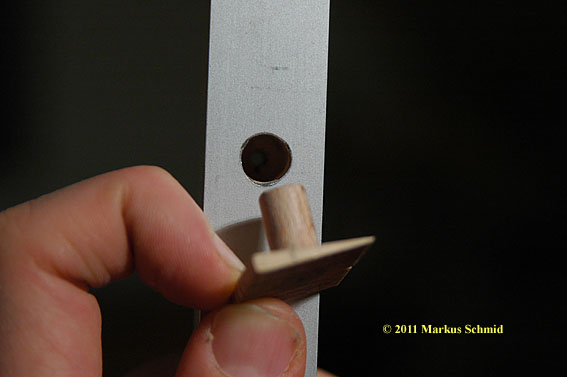
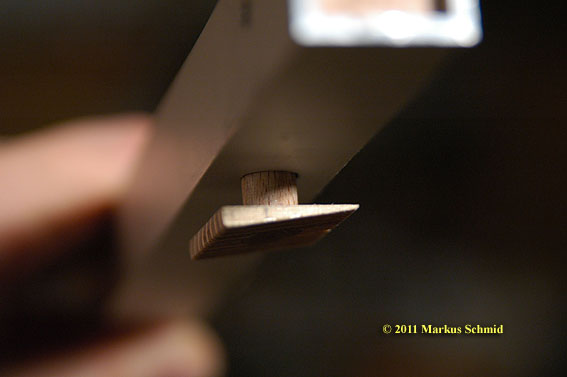
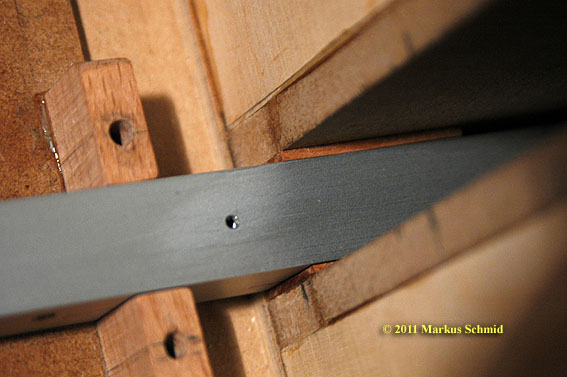
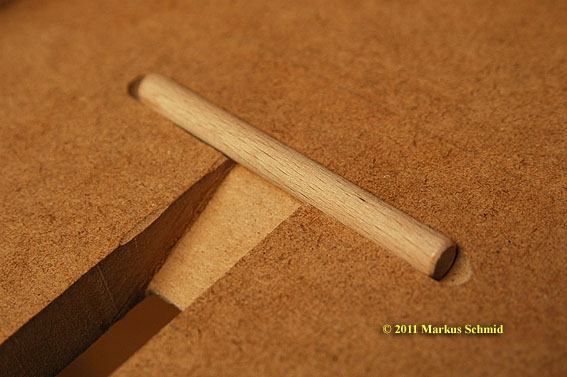
The lower wedge slides on a square aluminium profile which can be angled more or less to adjust the cutting ratio of the saw blade. The pivot point is a 8mm dowel at the lower edge of the aluminium profile at the position of the first tooth of the blade.
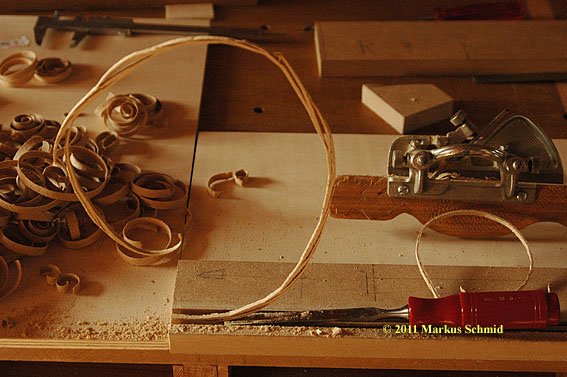
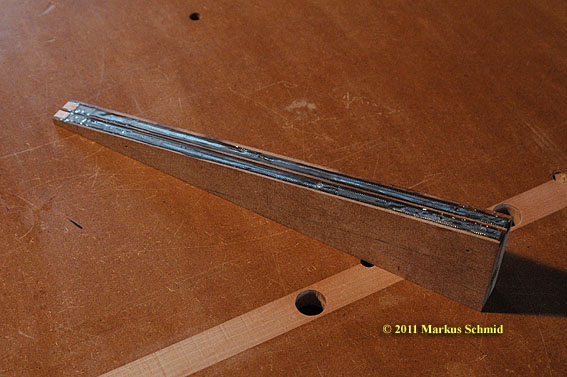
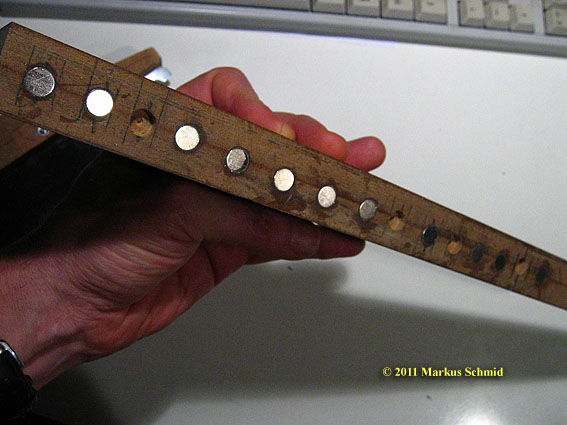
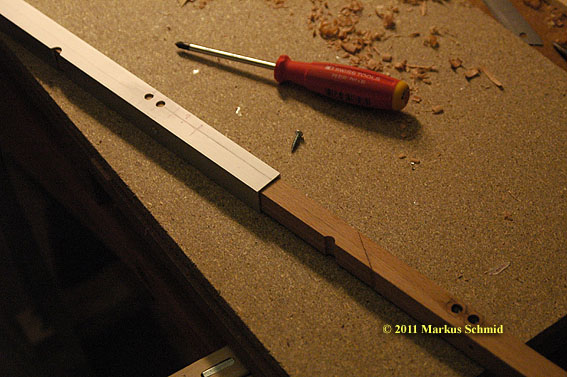
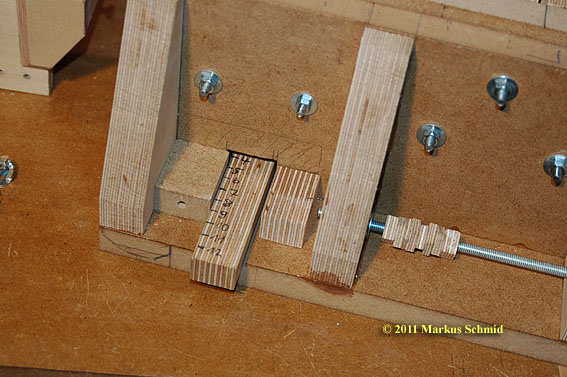
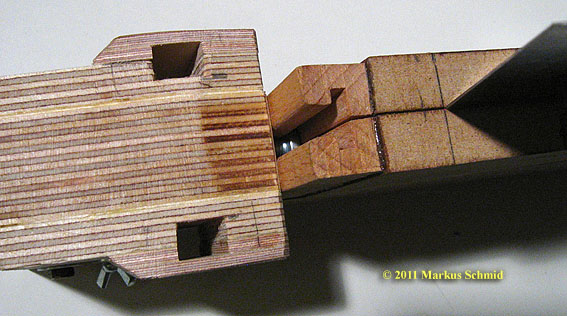
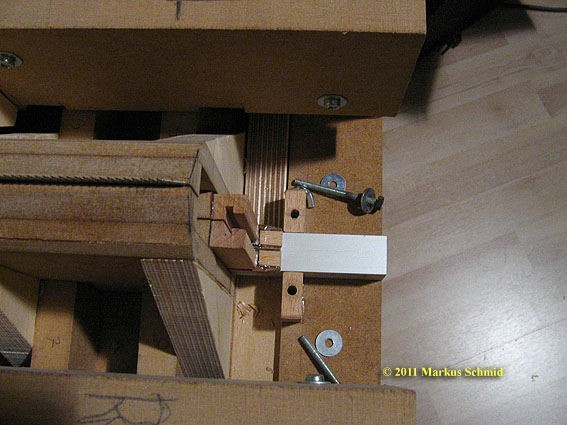
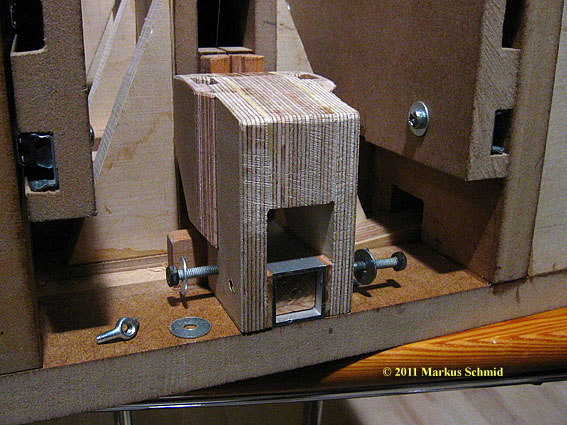
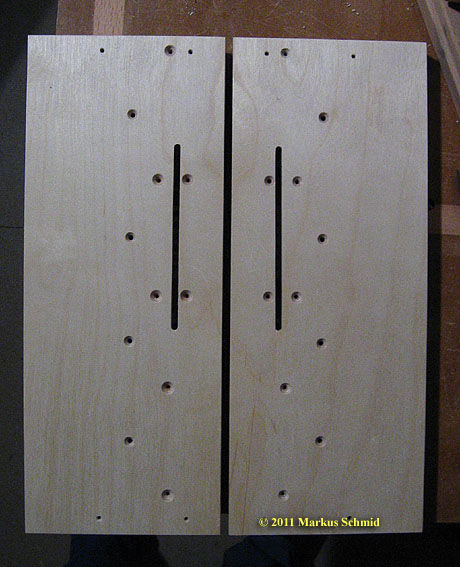
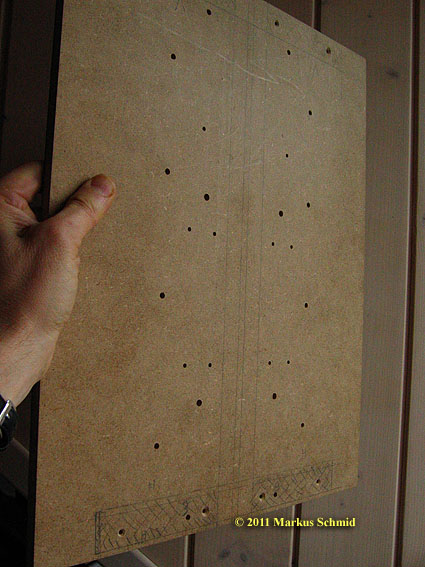
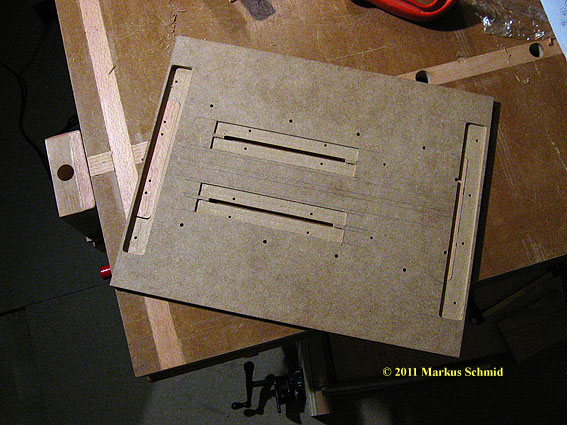
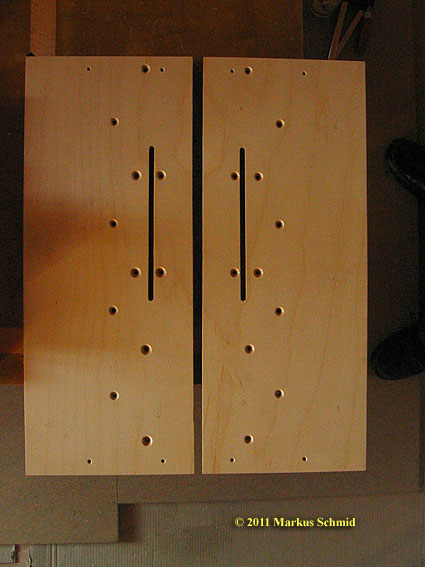
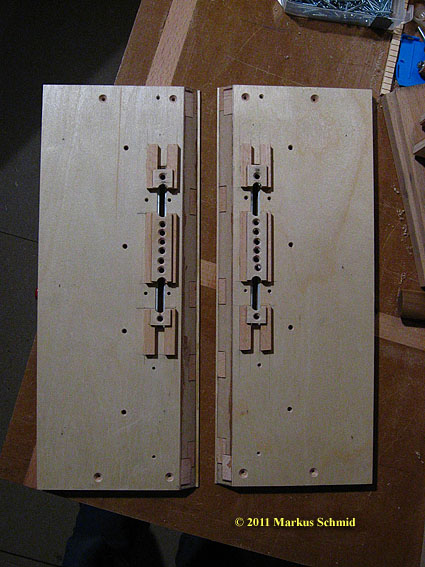
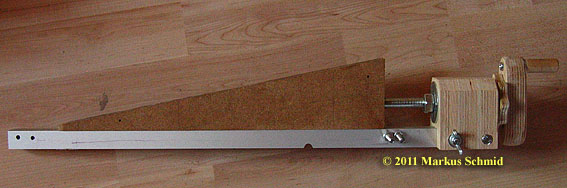
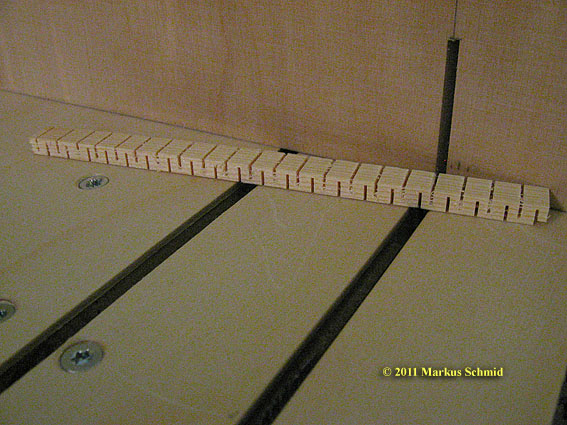
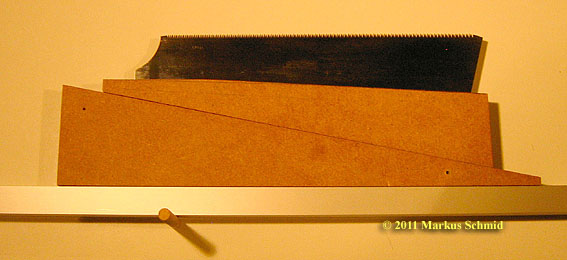
This is the MDF base plate:
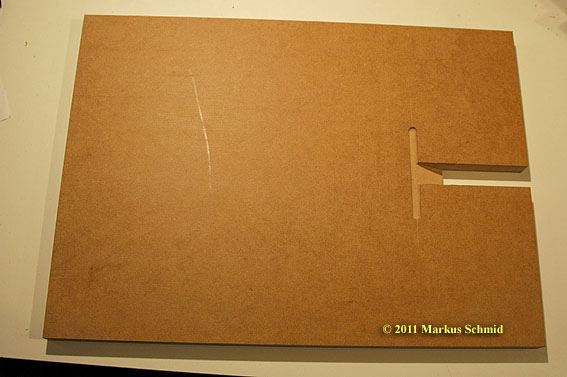
The 8mm dowel mentioned above sits in the groove of the base board, the slot is to accept the pivoting aluminium profile.
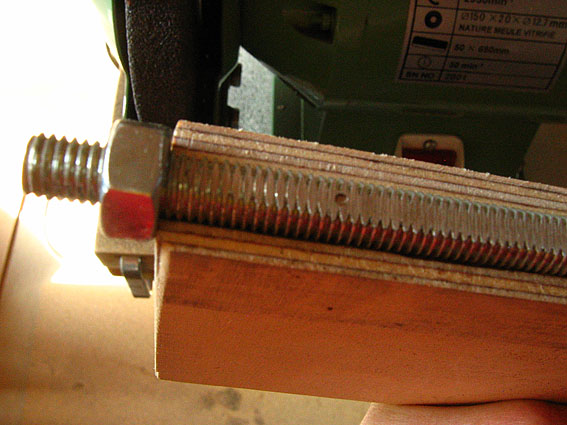
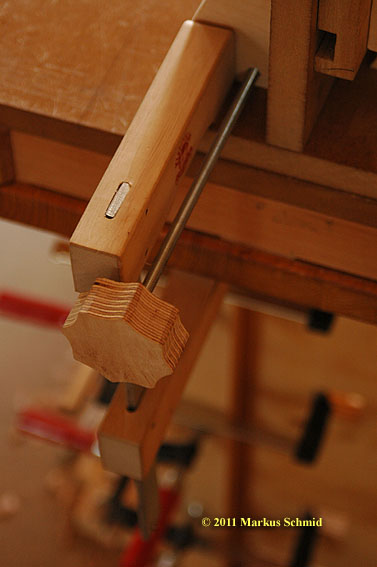
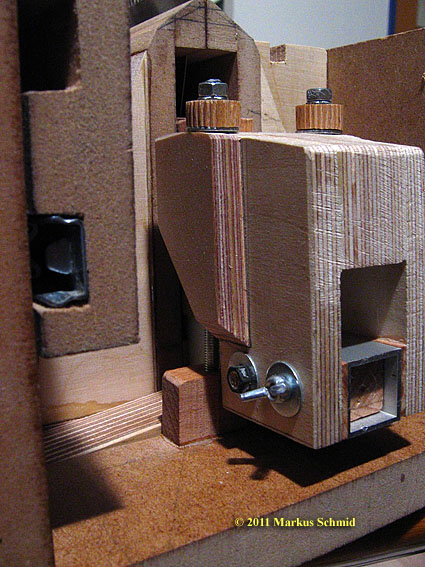
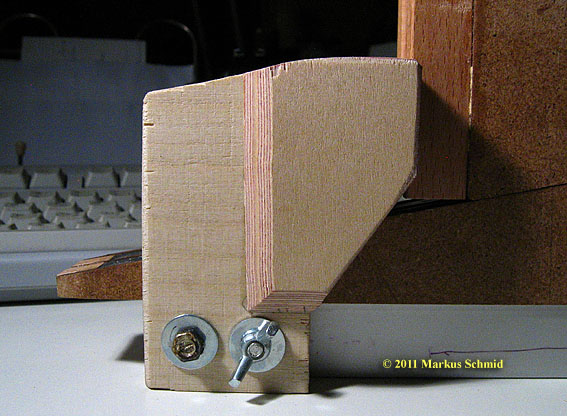
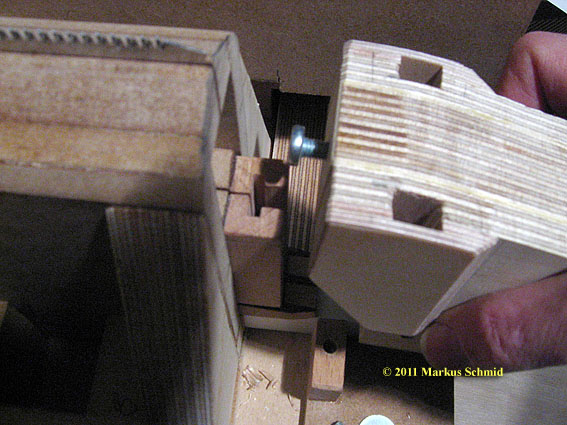
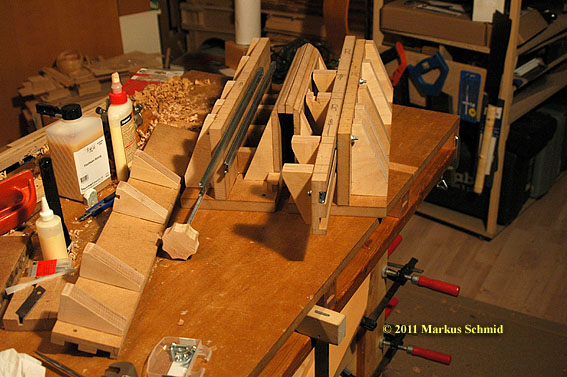
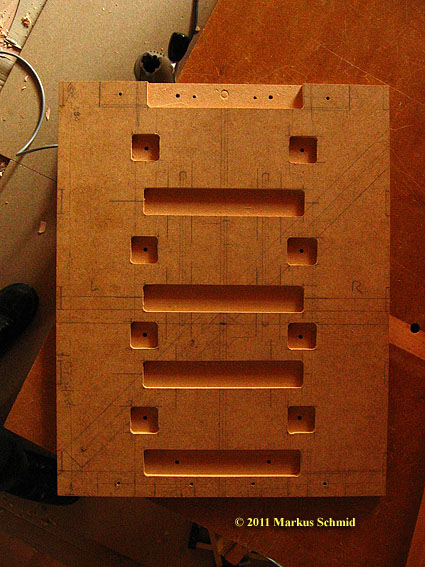
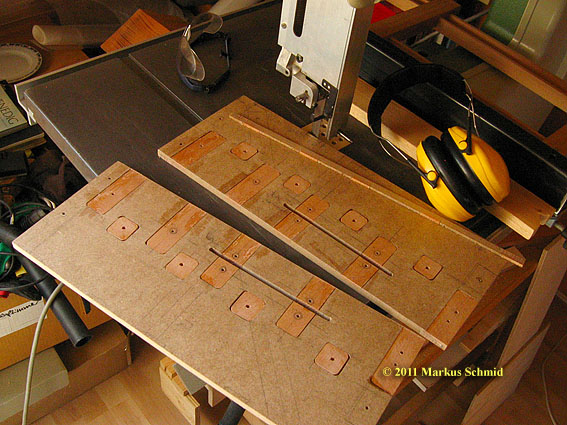
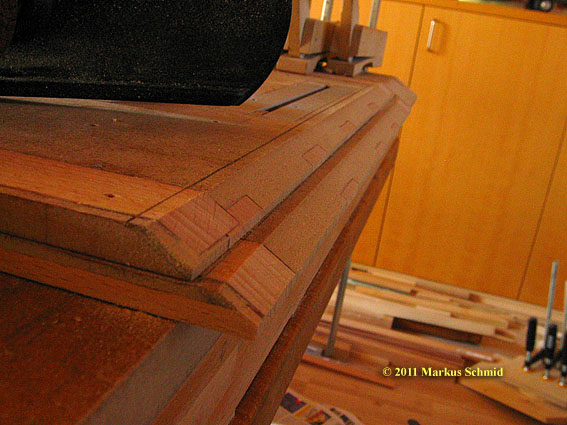
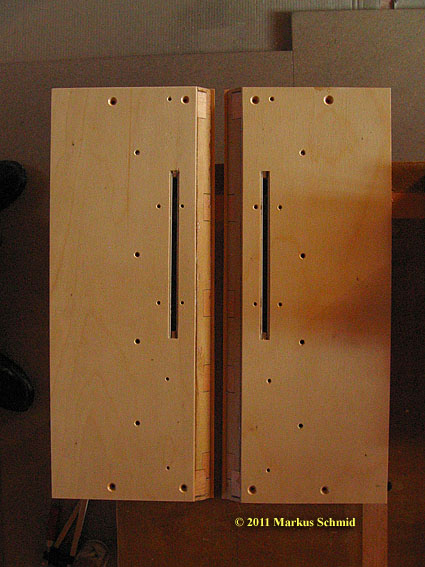
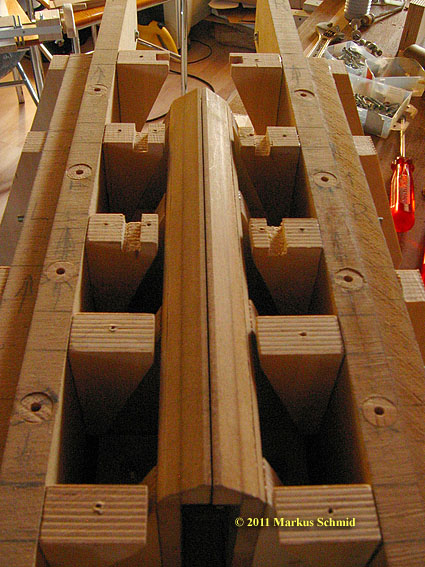
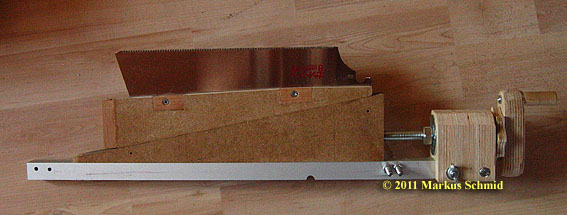
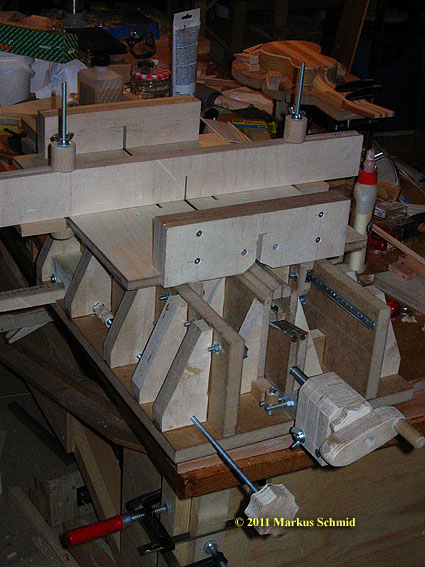
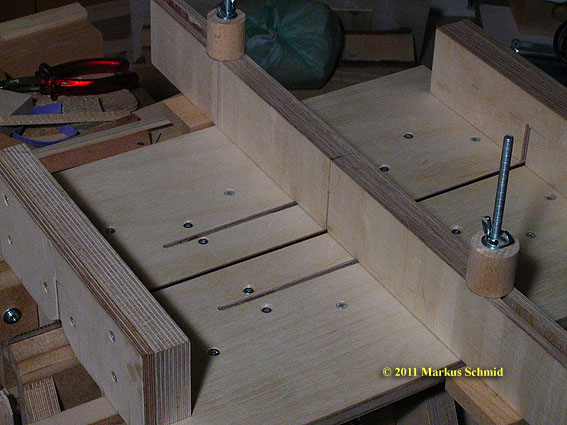
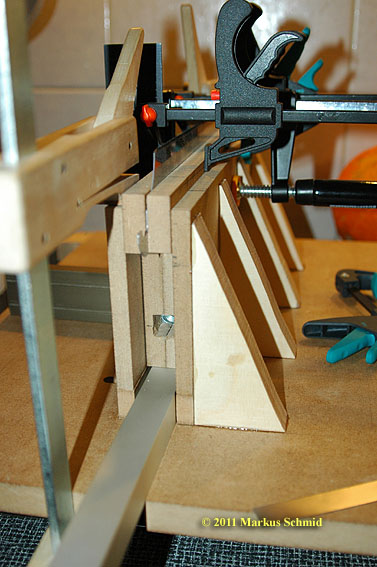
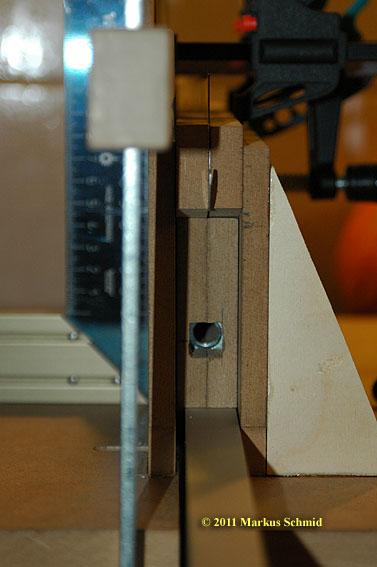
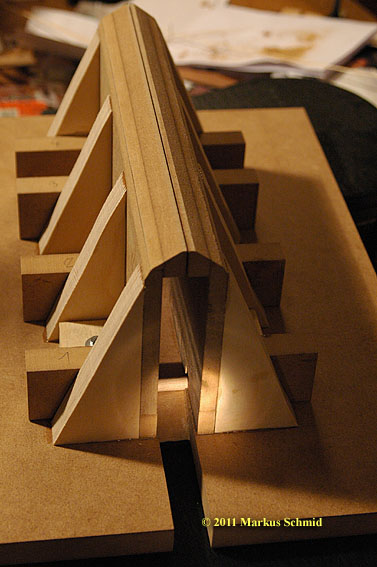
Erecting the guiding walls for the wedges:

Planing MDF
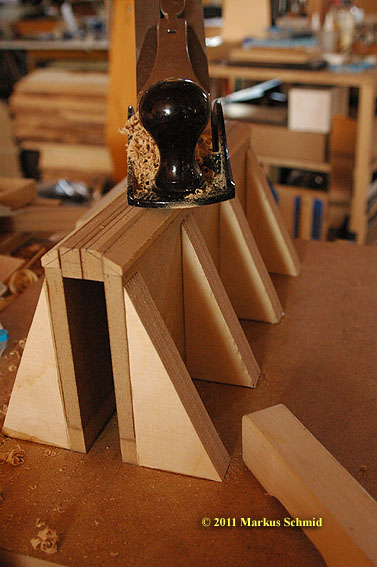
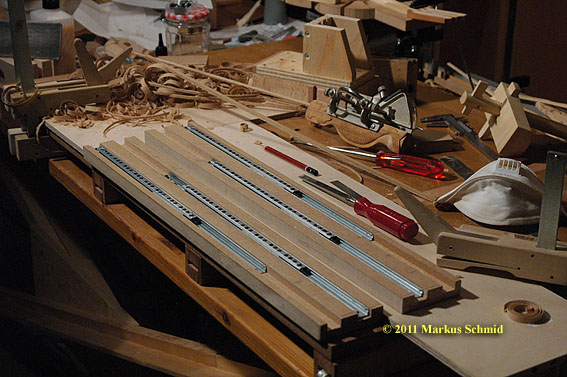
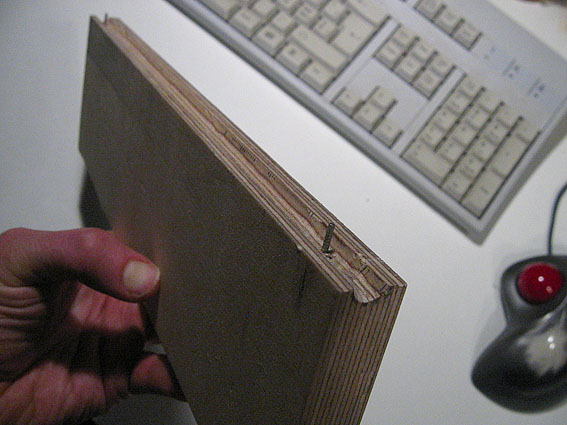
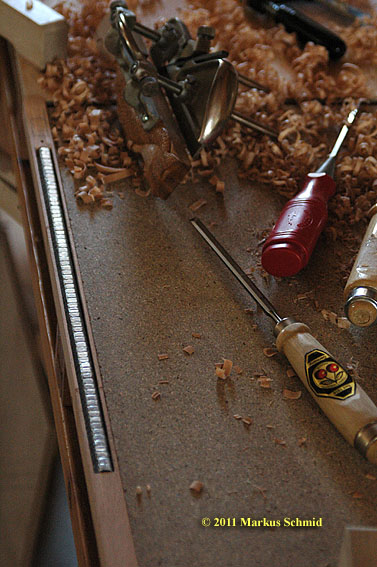
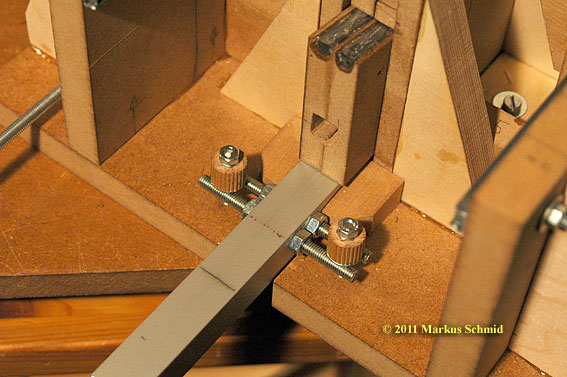
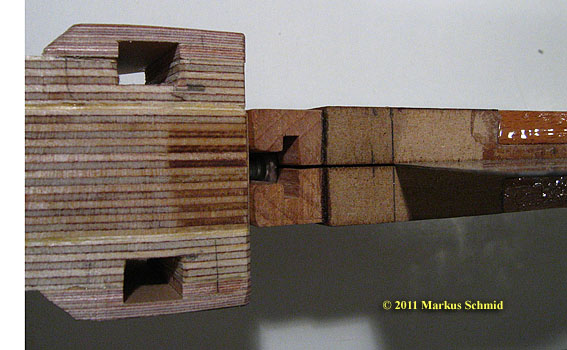
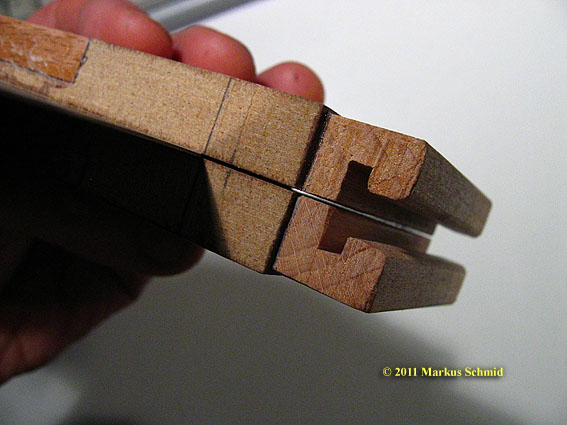
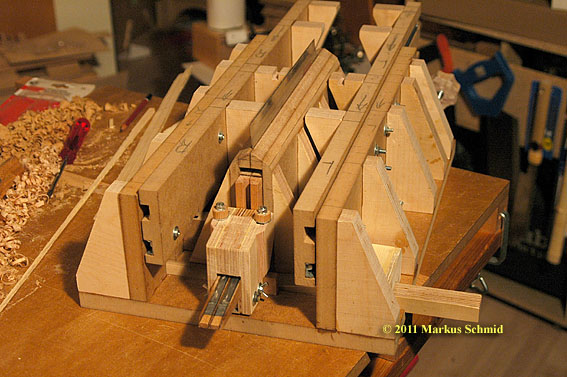
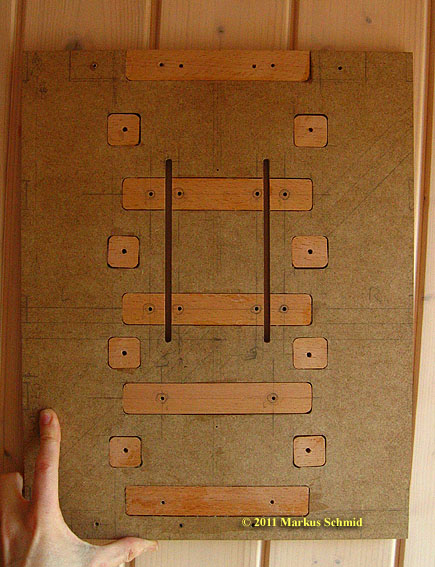
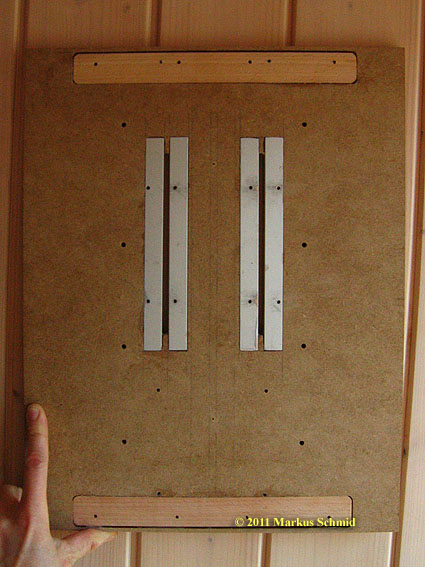
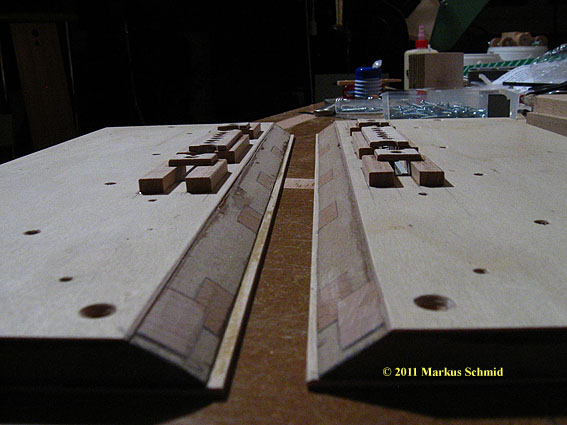
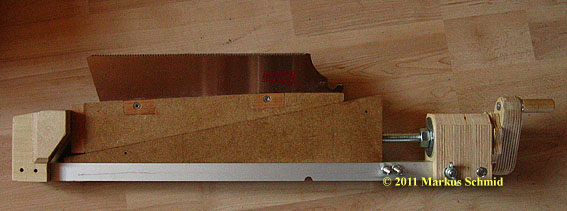
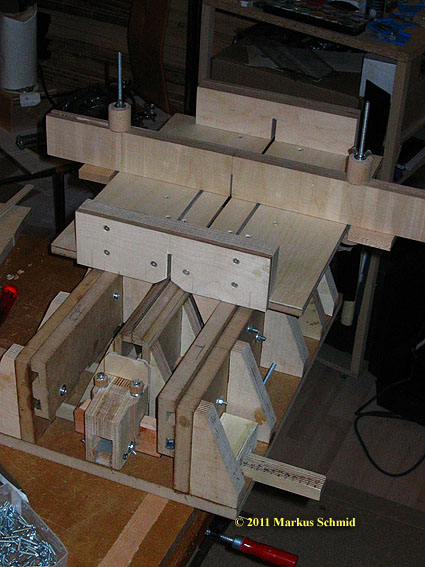
The end of this weekend:
Each of these two pieces will accept two cheap drawer slides which will be mounted to the outer "walls" of the saw.
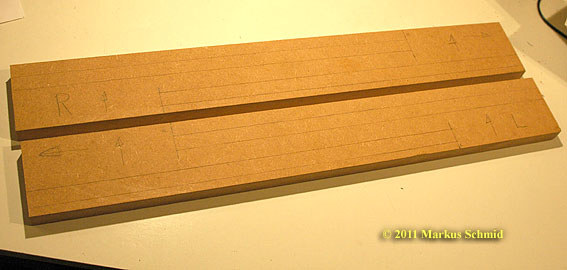
The sliding table of the saw will be mounted on top of the two pieces pictured.