I know and am trained to work on the principle of only changing one thing at a time to see what difference it made but I can't afford cupboard space or cash building 4 or 5 to get where this one will end up so I'm going to include all my idea's on this sucker.
The specs for this one are:
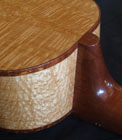
A double backed guitar with Mahogany for the 'outer' back and sides. A Maple 'inner' back (with the idea of giving the tone a bit more cut). Maccaferri used an inner soundbox on his design in order to isolate the back's movement from the dampening factor of the player and hence increase volume. I have used the same principle but just used a seperate back rather than building an inner box.
Sitka spruce for top and bracing, I thought I would use the "grande Bouche" D soundhole on this one.
My favourite 25" scale with a mahogany/ maple laminated neck. Probably stick with Ebony fingerboard & headplate but haven't quite decided that factor yet. Cantilevered from the body.
Headstock access to the trussrod, originals had alloy rods and my two previous petite bouche's had soundbox access but due to the small soundhole it became a pig of a job adjusting it! I'm also changing the non-adjustable bridge for an archtop style adjustable two piece.
So I thought I'd post a few progress pickies and add to them as I go.
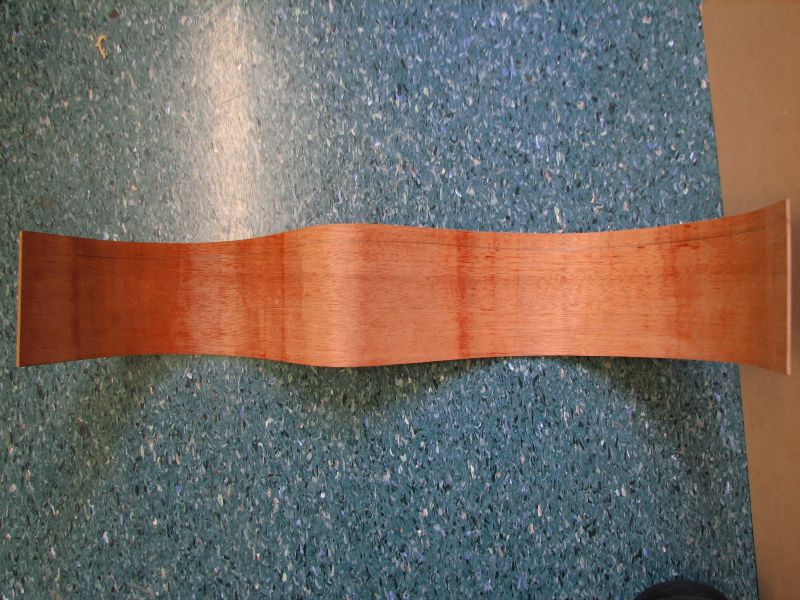
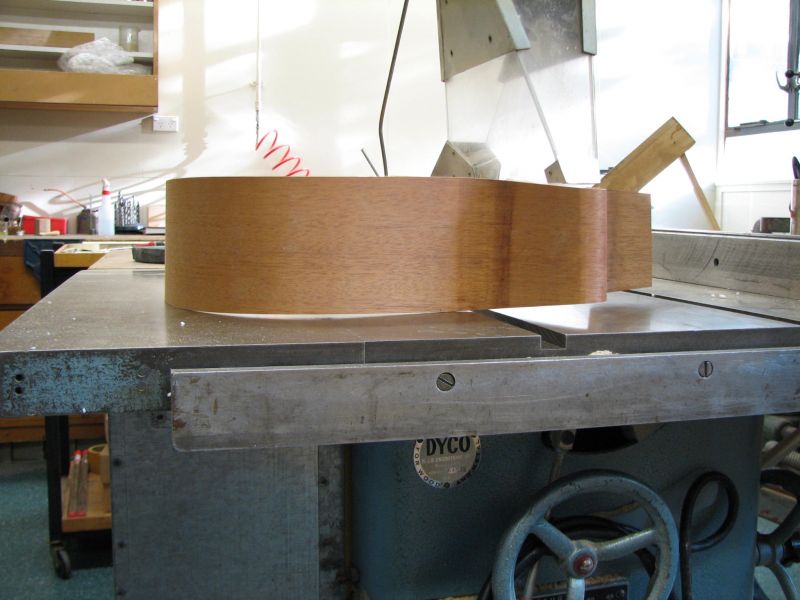
So far I have the sides bent (nothing new in this picture!)
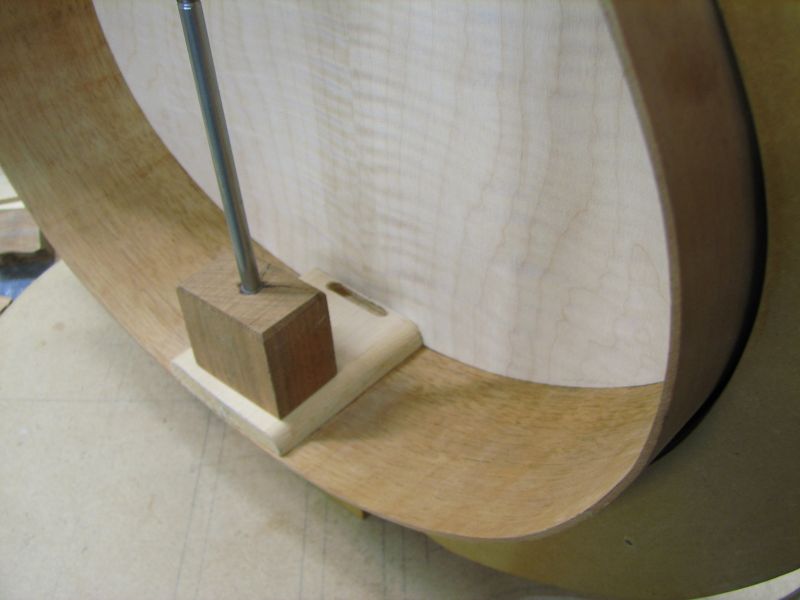
The spare neck & tailblock were just there as packers at this stage.
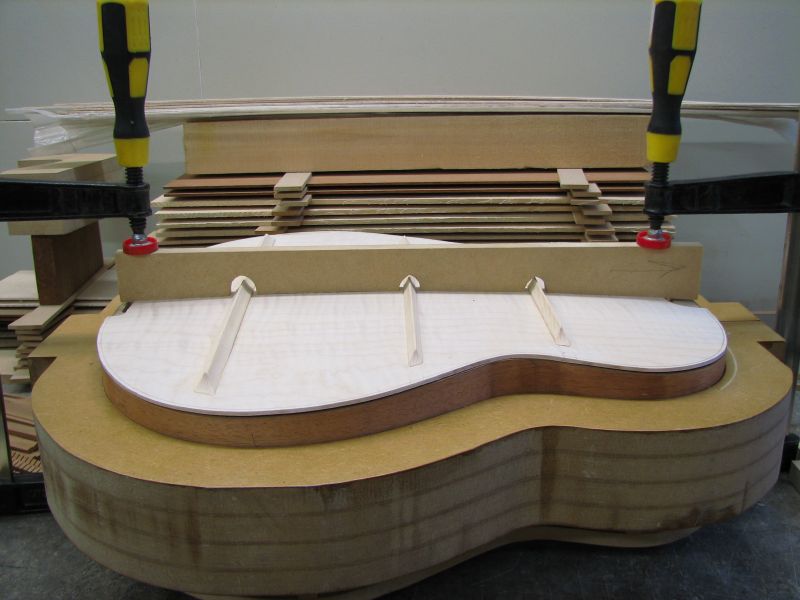
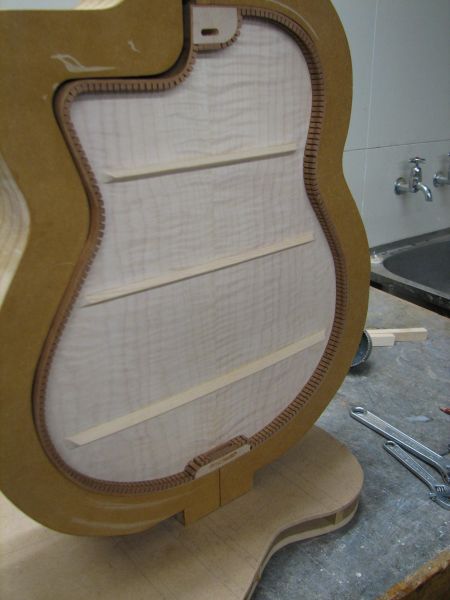
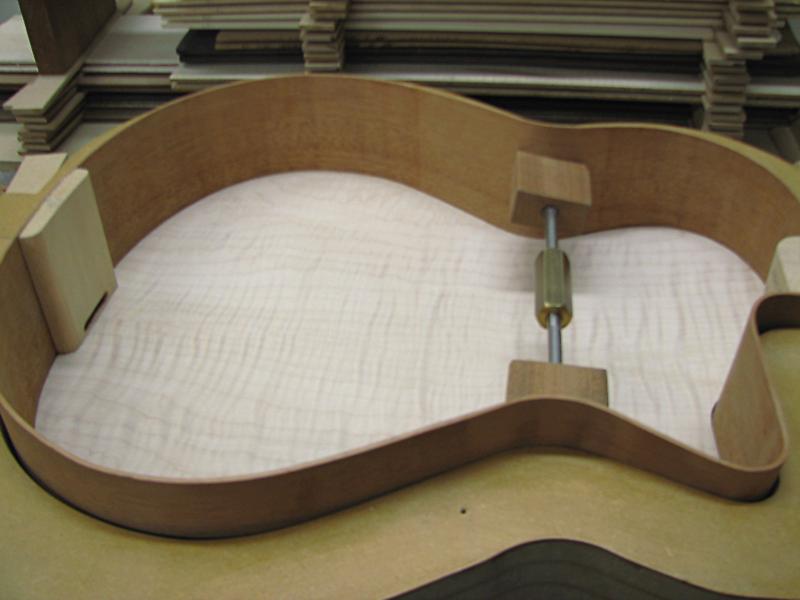
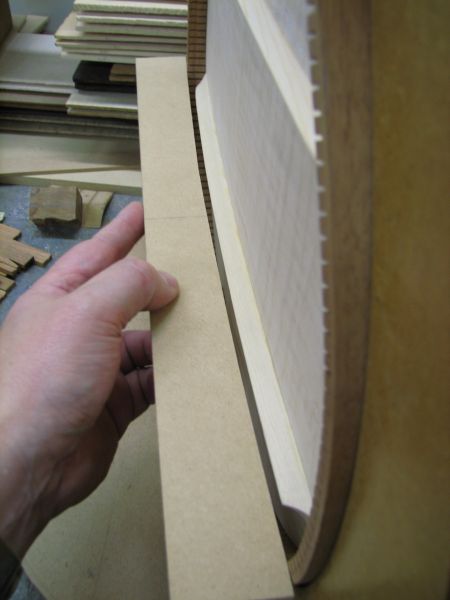
In order to keep the box a reasonable & comfortable size I made the sides wider by 8mm so it didn't feel too big for the player (hopefully they don't feel any difference) but retain most of the original internal volume of the box. I have decided to have 16mm between the two backs so the inner back is in by 8mm from standard. Some shots showing the profile of the sides.

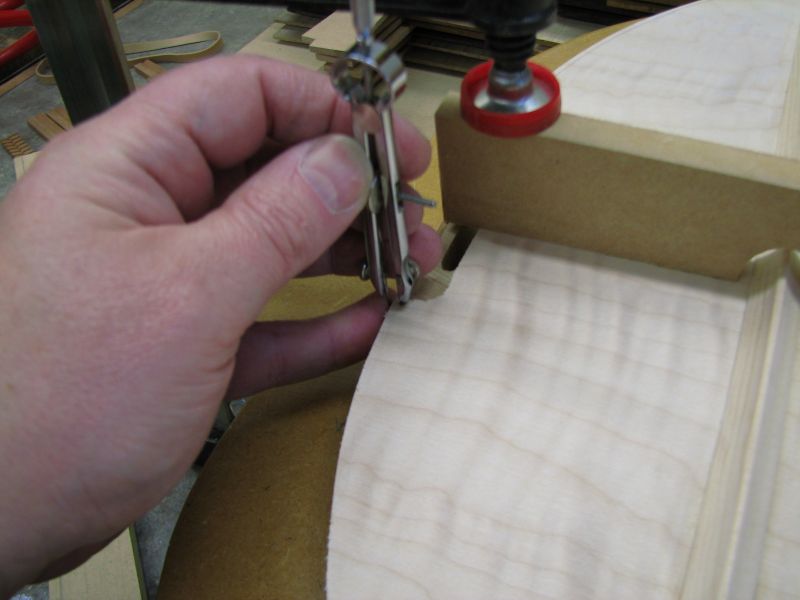
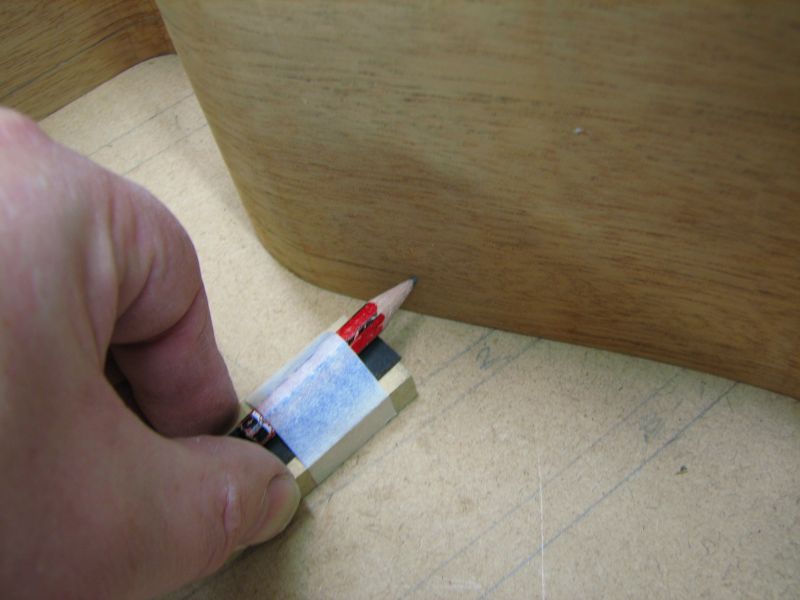
To get the inner back following the outer I marked a line parallel & 13.5mm in from the back (+2.5mm thickness for the maple gives me the 16mm), this gives me a line for the top face of the linings to follow. The sides are sitting in my dish that has the correct arching/shape on it so providing my sides match the dish, the pencil must follow the same profile.
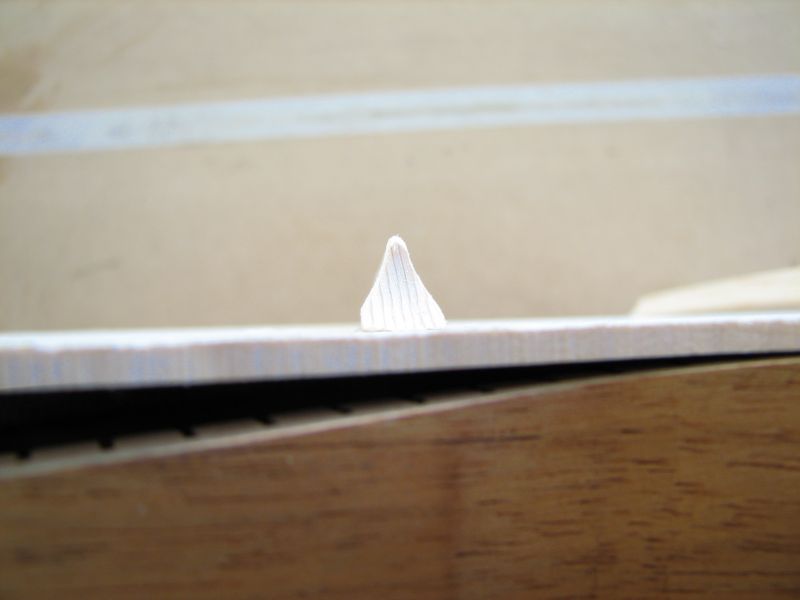
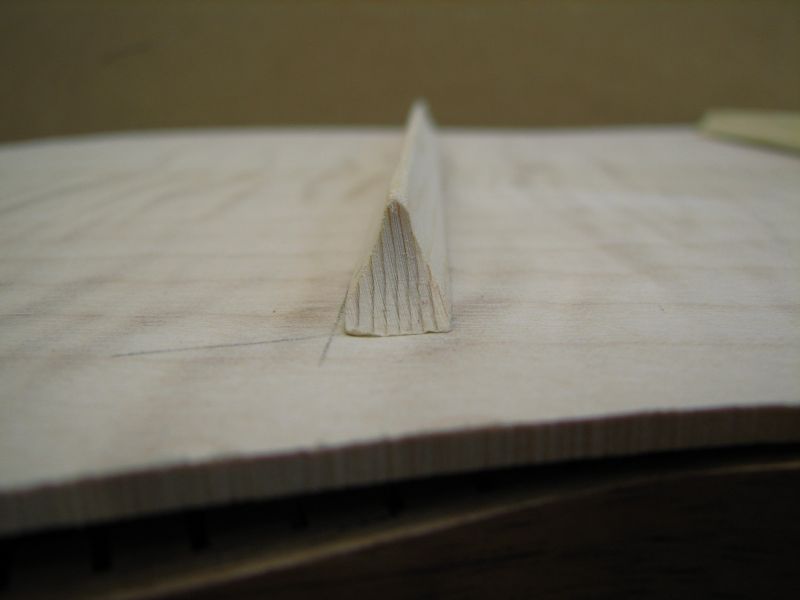
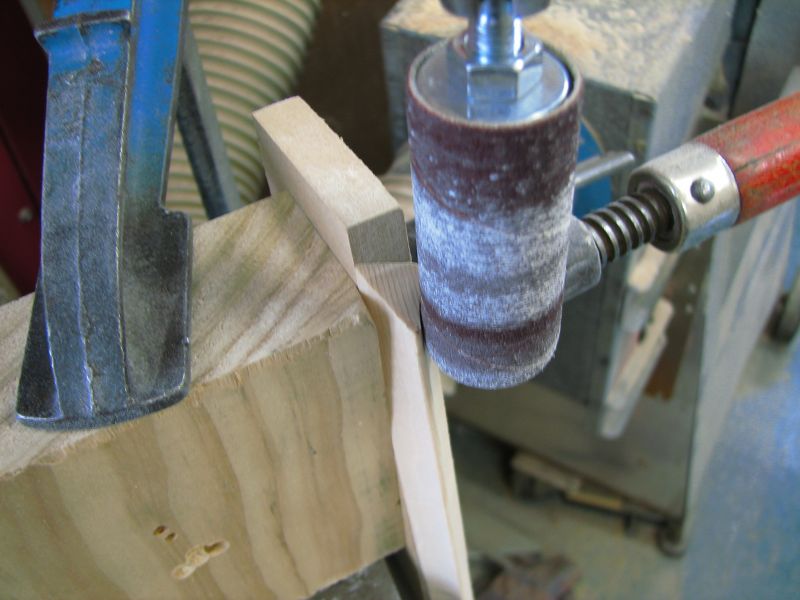
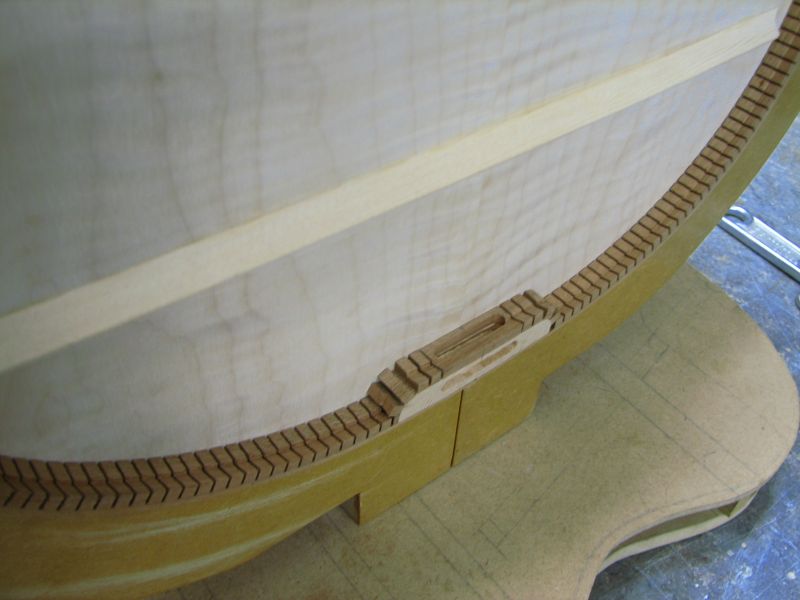
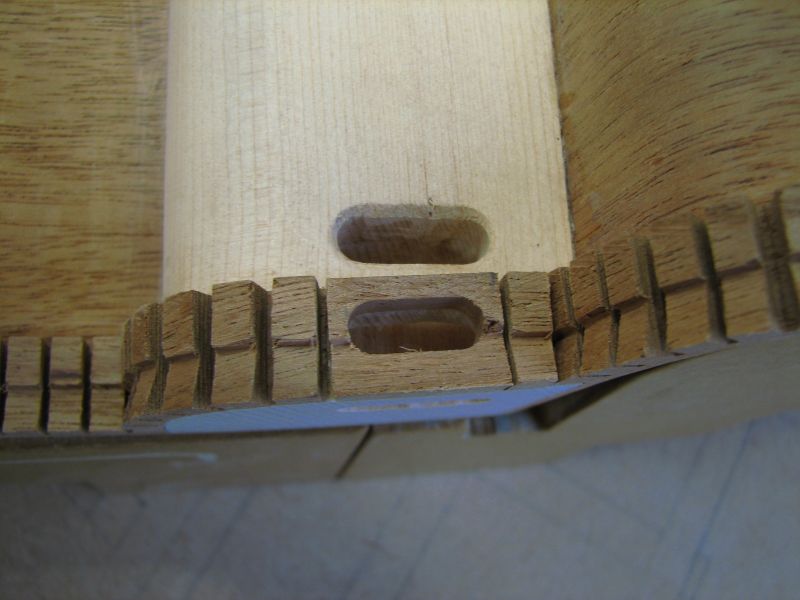
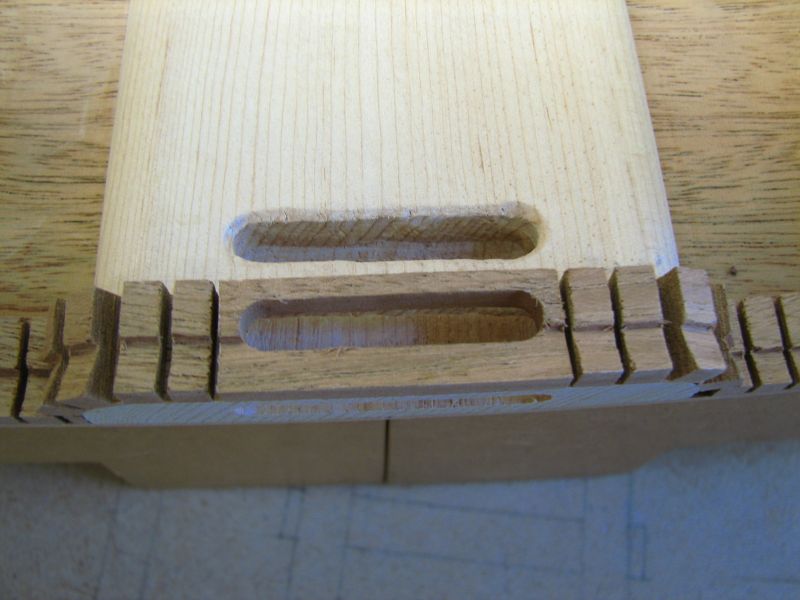
Because the linings act as spacers as well as corner fillets I made my own so that I could put a 'shelf' on the top for the inner face to sit on and glue to.I also made the kerfing 4mm instead of the standard 6mm so that the lining better followed the tight curve of the upper bout cutaway 'point'.
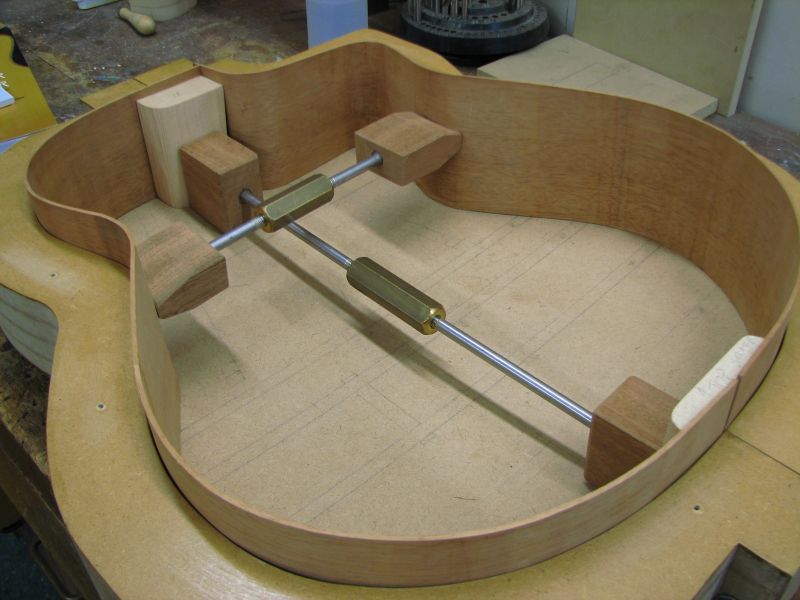
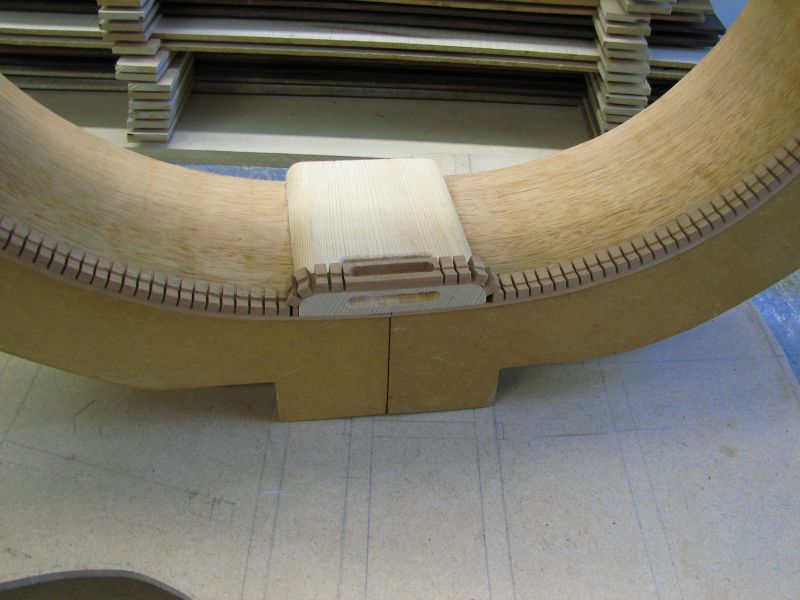
Thinking also that once both backs are glued on, the air space between them would be sealed & effectively a closed chamber, which would act as a dampener/compressor. I added slots at each of the blocks to allow air to move freely between chambers. Here's a shot showing that and also the linings I came up with. I glued them onto the head & Tail blocks to give the inner back something to glue to in these areas.
& a final picky.
I've just joined the inner back plates so will post some more shots as I go if anybody's remotely interested.