I first saw this idea on Sylvan Wells site, but alas that resource is only available to those who want to fork out some cash nowadays. But the spirit of the ANZLF is in sharing information, though you can always buy me a beer should you find this useful.
To start off with the fret board needs to be squared up (no taper to it the way some rough cut boards arrive) and you will need your fret slots cut. Do that in whatever manner that suits you.
This demo show me doing a concert size ukulele board, but the principle is the same for any type of board. My fret board is 34 mm wide at the nut, and a maximum width of 48 mm. I cut the board no more than 10 mm longer than what I need, and exactly 48 mm wide.
Now comes the jig and a little math. As my nut is going to be 34 mm and the board at its maximum width is 48 mm, there is a difference of 14 mm between the two. This tells me that I will need a 7 mm taper cut on each side of the board starting at the nut and finishing off at nothing at the soundhole end of the fret board.
The jig is made by cutting a piece of wood that you dimension either on the table saw, drum sander, or hand plane to be exactly 7 mm thick and long enough to cut a few lengths to build the jig.
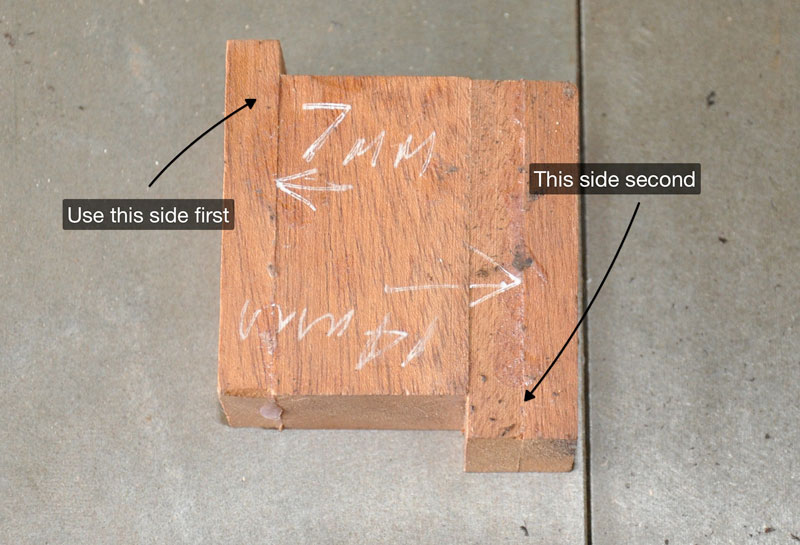
A picture is worth a thousand words, so this will make it a little clearer. I have a block of wood that I laminate one piece of the 7 mm wide material onto one side, and 2 layers of it making 14 mm on the other.
NOTE: The total width of this jig must be less than the width of your fret board, or you will end up cutting it on the first pass, and rendering it useless.
Now in use, you set the fence on your saw to be exactly the width of your fret board. Place the soundhole end of the board closest to the blade, them slip the narrow end of the jig between the fret board and fence for the first cut.
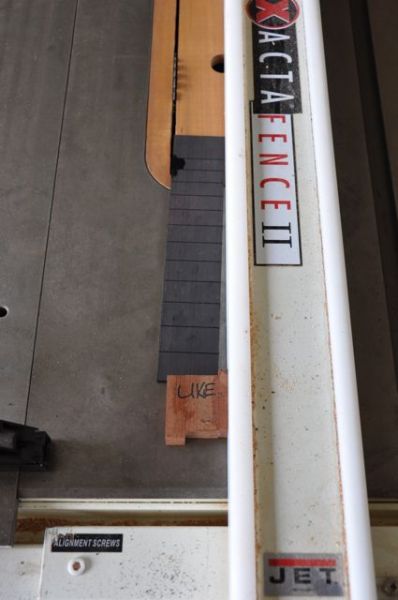
Run it through the saw and you will get a perfect taper starting at the sound hole end of nothing removed, to the nut with the 7 mm removed.
Then just turn the board over to cut the other side. DO NOT TURN IT END FOR END. Now use the 14 mm wide part of the jig to space the fret board out from the fence.
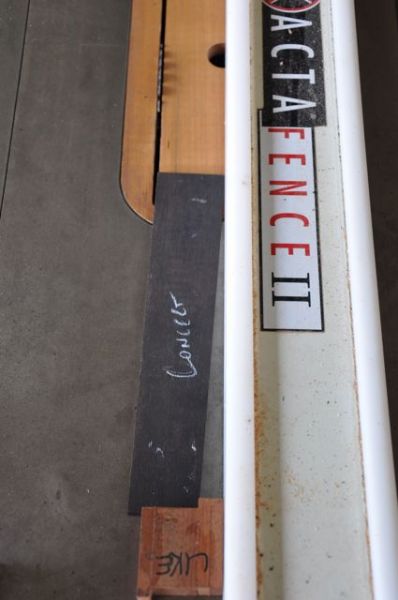
Same deal with running through the saw, and your done.
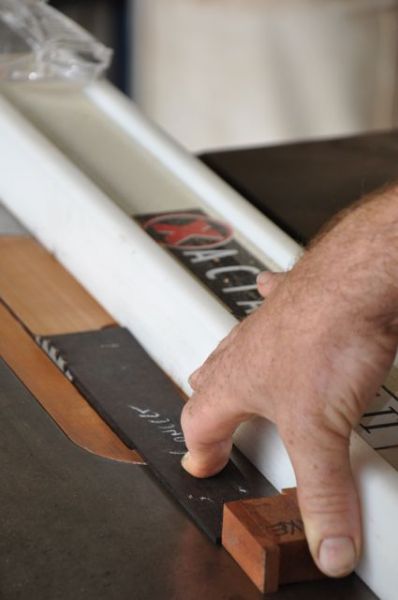
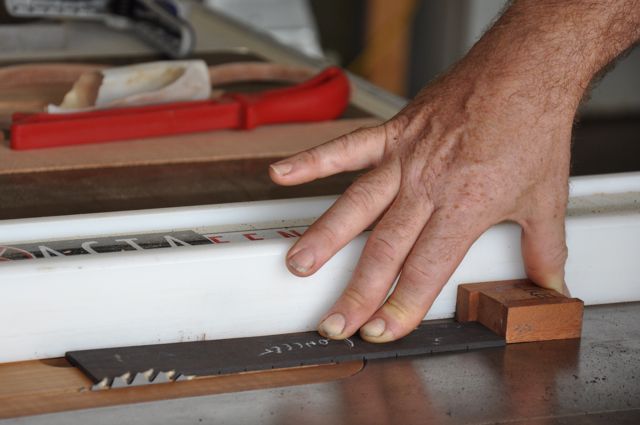
Heres a couple more shots to show you how I hold the jig and fret board to make the cut. You need to keep in mind that there is a saw blade there without a guard, so be mindful of your fingers, and I always stand to the side of the blade, so if something does come flying back I'm not in the direct line of fire. I also have the blade set very low so as to minimise the chance of sticking my fingers into it.
You can make a taper jig like this to suit any taper that you want. Just do the math as in my example and knock together a few for different instruments.