Sanding bench
Posted: Mon Aug 10, 2009 1:07 pm
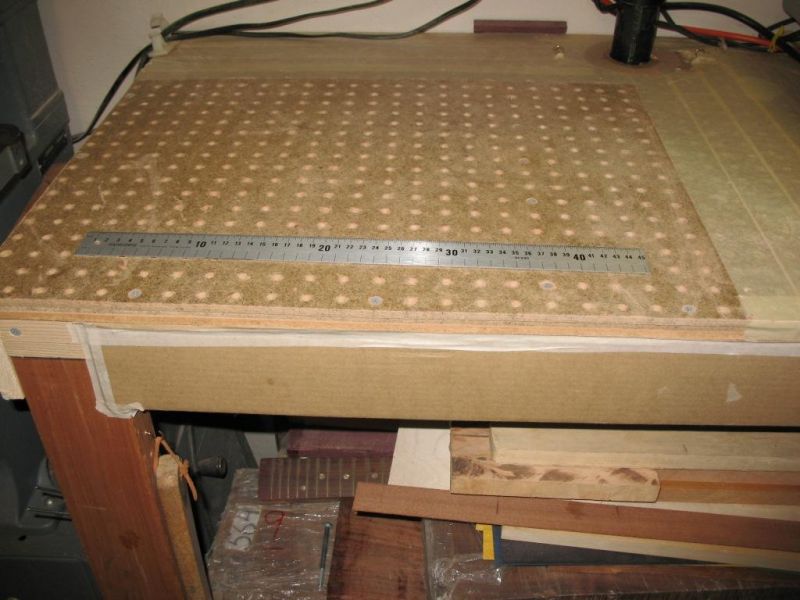
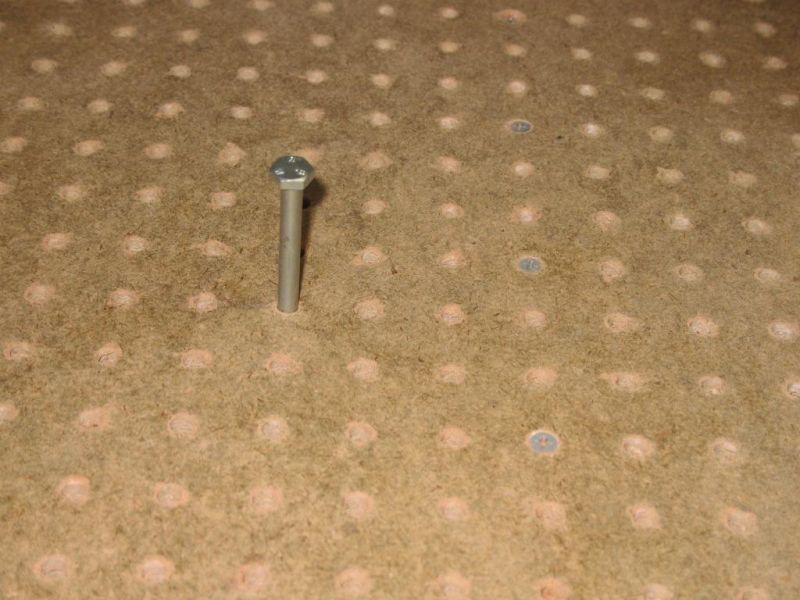
This is my version of a cheap down draft sanding table. I have limited space in my garage but also like to be tidy. I think you guys refer to it as "Heshitus"  (sorry Hesh. I am truely envious) Basically I had some leftover peg-board (.25") and sandwiched it up to match my bench top, which was conveniently .75". I used simple .25" bolts to align things and then screwed down the layers to my bench frame.
Now comes the cheap part; Had some leftover cardboard from a large box. I used that to enclose the bottom of the bench (printed side in, very shiny and smooth) I then cut a hole on the bottom to attached some leftover plastic fittings, ran a length up thru the top. Caulked everything, and attached to my dust collection system. (A shop vac would work, too.)
I'll be dipped if it doesn't work half bad! The pics add a sense of scale and hopefully any important details I left out. I ended up covering some of the holes to increase air flow and because I only needed that much area.
Cheers!
J
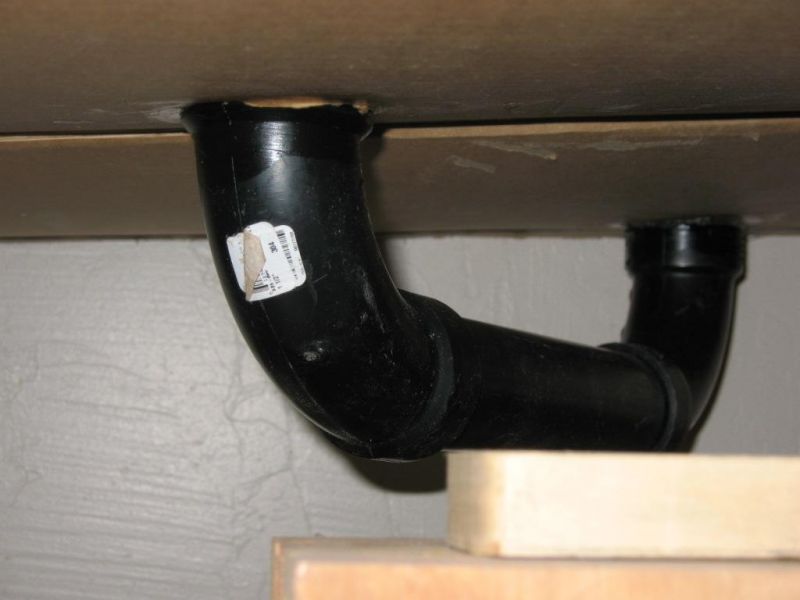