Saddle Slot Routing Jig
Posted: Sun Jul 05, 2009 6:03 pm
After some recent discussion on angling the saddle slot back 7 - 9 degrees, and needing a better set up to route the saddle slots, I embarked on building a new jig, based on some ideas that I got from a trip to Albany and seeing what Maurice was using. And as I don't own a milling machine, but have a laminate trimmer, as most of us do, I thought that you might find this usefull.
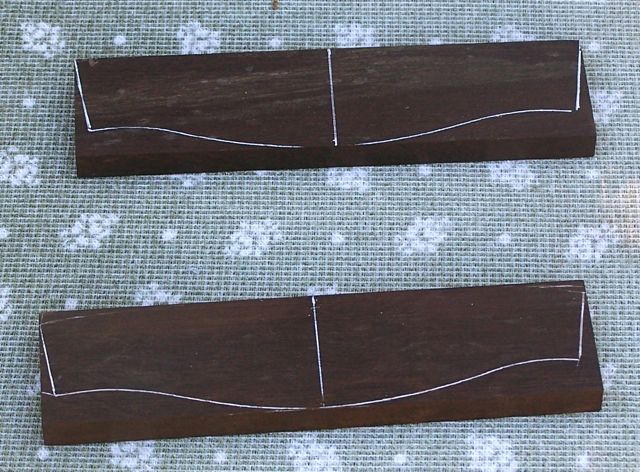
Starting off I size my bridge blank and do some basic layout.
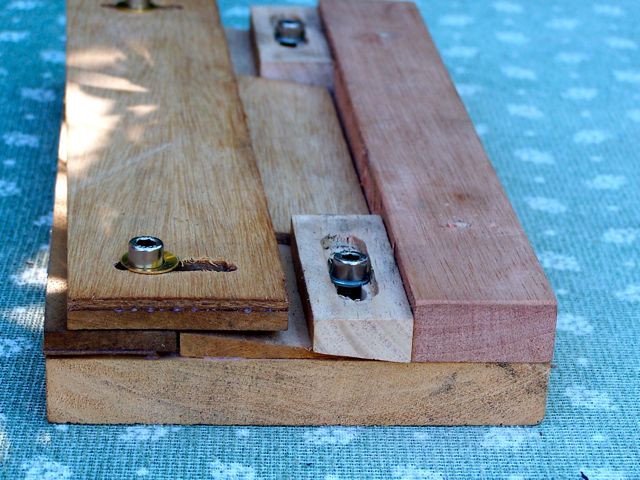
Here is a profile shot of the new jig. You can see that I've cut a ramped base that is about 7 degrees. When the slot is cut, it will be cut 7 degrees back towards the bridge pins. The parts of the jig that don't move are glued together. Those that do move have some threaded inserts with cap head bolts holding the adjustable parts.
I made the jig to take a variety of sizes of bridges, I need a shim to bring these particular bridges up to be able to cut the saddle slot, so you can see that sitting on top of the ramped base.
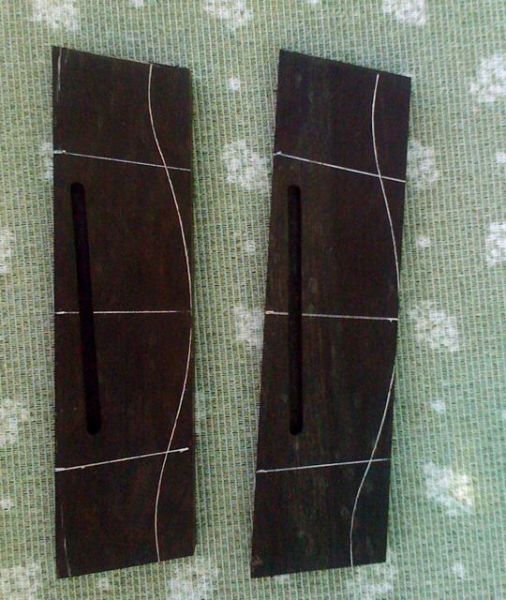
Now the bridge blank is clamped into the jig, with the center line lined up. My laminate trimmer came with a 10 mm pattern collet, so I cut an appropriate sized slot in some scrap perspex for the saddle slot.

Then it's just a matter of making several light cuts to get to the required depth.
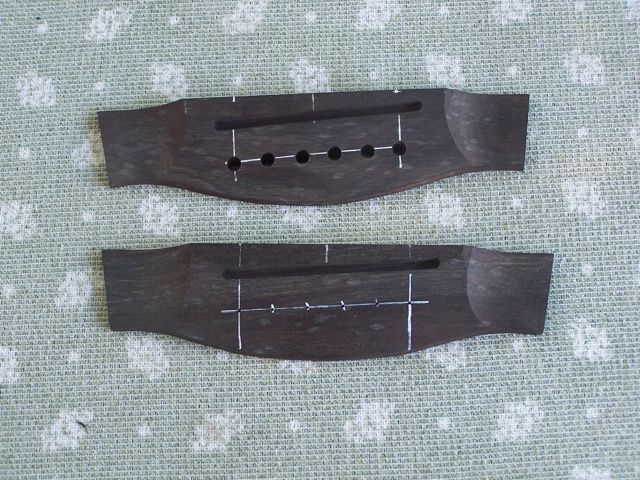
Then some more shaping and drilling the bridge pin holes.
My camera battery died so I don't have any pictures of the finished product before it was glued onto the guitar, but you get the idea.
Starting off I size my bridge blank and do some basic layout.
Here is a profile shot of the new jig. You can see that I've cut a ramped base that is about 7 degrees. When the slot is cut, it will be cut 7 degrees back towards the bridge pins. The parts of the jig that don't move are glued together. Those that do move have some threaded inserts with cap head bolts holding the adjustable parts.
I made the jig to take a variety of sizes of bridges, I need a shim to bring these particular bridges up to be able to cut the saddle slot, so you can see that sitting on top of the ramped base.
Now the bridge blank is clamped into the jig, with the center line lined up. My laminate trimmer came with a 10 mm pattern collet, so I cut an appropriate sized slot in some scrap perspex for the saddle slot.
Then it's just a matter of making several light cuts to get to the required depth.
Then some more shaping and drilling the bridge pin holes.
My camera battery died so I don't have any pictures of the finished product before it was glued onto the guitar, but you get the idea.