probably ignore that one now as I will most definitely
have to put in a filler piece..
Problem is how?
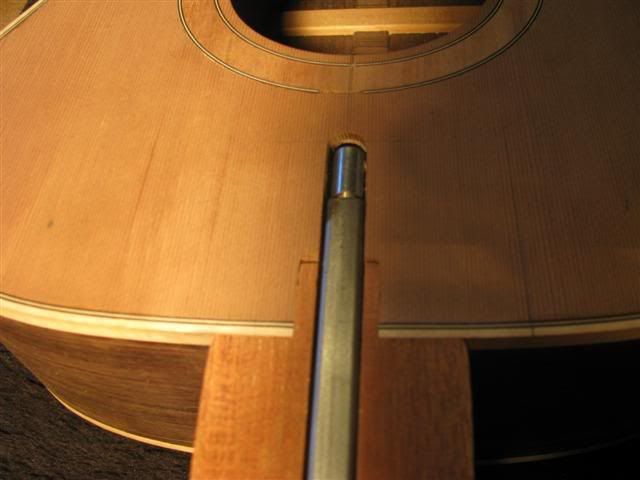
First the problem:- The slot is not deep enough
and the truss-rod adjustment cannot be accessed
through the soundhole because its not low enough to
get below the face and be somewhat accessable through
the brace ..
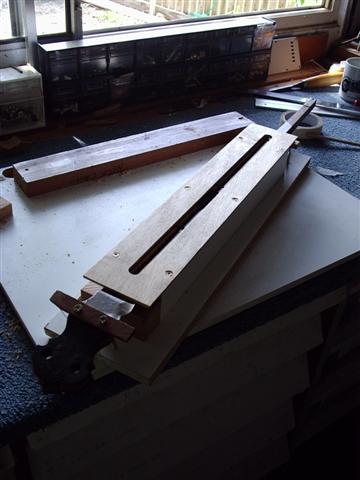
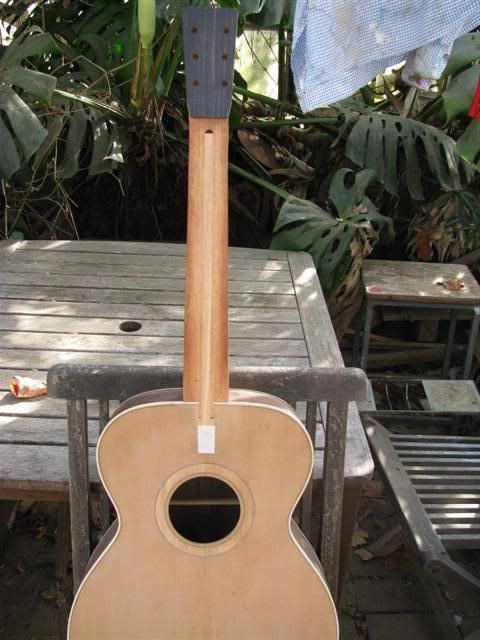
I fitted and glued my neck in last night...
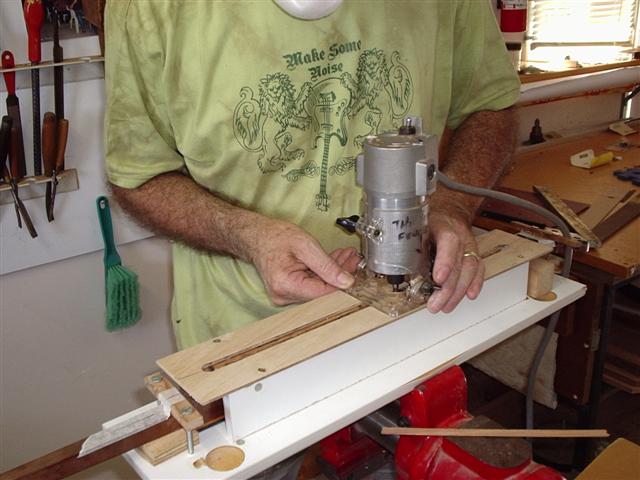
this morning I set up a fence for my router to
continue the channel through the head block and face ..
The truss-rod fits perfectly flush and snug but
This is something I completely overlooked and is going to
be a bit of head scratching needed to remedy..
The main problem is the neck is fitted, tapered, and half
shaped. ...and although its a bolt-on neck I decided to
glue it in place..which now means the truss-rod channel
will have to be routed with the neck connected to the body.
So I'll take a photo of the contraption I concoct to remedy
this situation..It may be quite crude.