first inlay attempt

Talk about musical instrument construction, setup and repair.

Moderators: kiwigeo, Jeremy D

Post Reply
craigsimon
Wandoo
Posts: 10
Joined: Wed May 21, 2008 10:39 pm
Location: Melbourne

first inlay attempt

Post by craigsimon » Sun Aug 10, 2008 6:43 pm

Hi All,

I am half way through my first inlay MOP in a chopping board for the next Aus Barista Championship. I have a few questions there are a few gaps between the MOP and board and to fill I mix sanding dust with the epoxy right? but I am going to stain the board to improve the contrast it is going to be a dark rosewood/black mix do I stain before I glue in the inlay? how do I stain the filler saw dust?

cheers
Craig

Image
Last edited by craigsimon on Mon Aug 11, 2008 9:56 pm, edited 1 time in total.

User avatar
Allen
Blackwood
Posts: 5252
Joined: Thu Oct 11, 2007 5:39 pm
Location: Cairns, Australia
Contact:

Post by Allen » Mon Aug 11, 2008 6:18 am

I suppose there are various ways of going about this. You could use a dye in the epoxy to get the desired color. I have a selection of Color Tone ones from Stew Mac. I've done this a few times and works great. Saw dust works really good with ebony, but on other woods, the mixture always seems to come out much darker than the the surrounding wood. This could work to your advantage if your going to stain it darker.

It's probably worth trying this out on a piece of scrap to see what it's going to look like before you commit. Cut a slot in a bit of scrap, make up some sawdust / epoxy and fill, then sand back and see what color you get. Try out some stain and you'll get your answer. If the gaps are fairly small, like they appear to be, you should be hard pressed to see them if the color is close.

I think that I would be staining the board after you have inlayed the pearl and sanded it all level. Otherwise the stain is going to get into the end grain where you've routed for the inlay and make that much darker. You will also end up sanding a bit of the surface to level out the epoxy and inlay, so will likely screw up the stained wood somewhat.

Be sure to post a picture of the completed project. Nice design so far.
Allen R. McFarlen
https://www.brguitars.com
Facebook
Cairns, Australia

User avatar
Taffy Evans
Blackwood
Posts: 997
Joined: Wed Apr 30, 2008 6:54 pm
Location: Charters Towers North Queensland

Post by Taffy Evans » Mon Aug 11, 2008 8:07 pm

Hi Craig
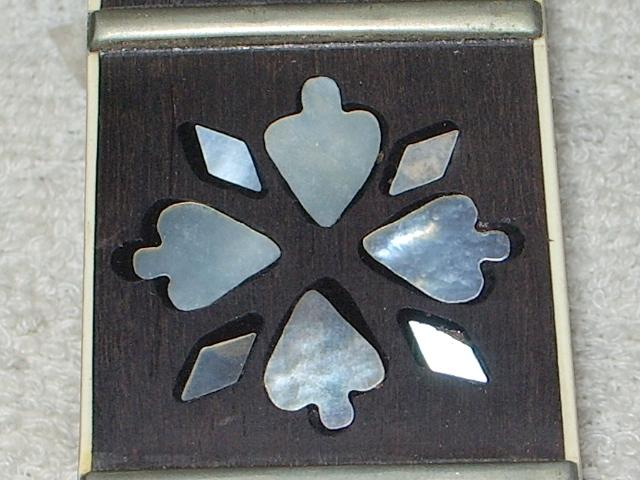
I agree with Allens comments. For me inlaying into lighter coloured timber is a slower procedure to get as close a perfect fit as possible,not always achievable. Even on ebony I try for perfect fits. What I do is route out up to the outline [ but the pearl does not fully fit] then I put a suitable round dental burr in my Dremal and using the shaft as a guide against the edge's of the outline I undercut around the design. I can then make very small controlled cuts to the thin area of wood up to the scribed line with a sharp knife or a specialy modified 1/16 inch chisel. When the inlay is pressed into the recess the epoxy fills any unercut thats left. I'm talking small amounts here.

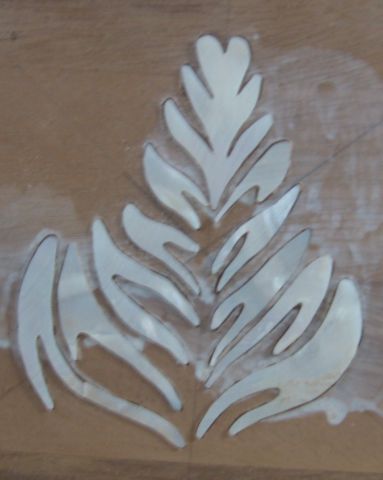
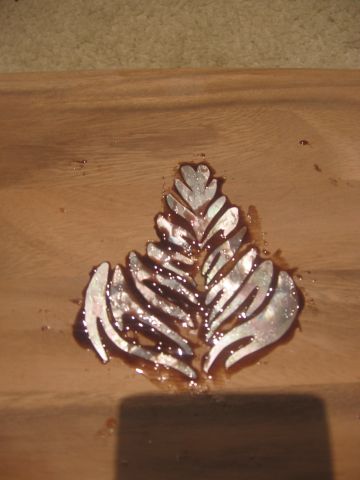
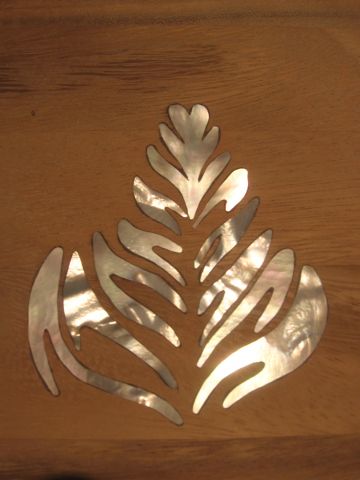
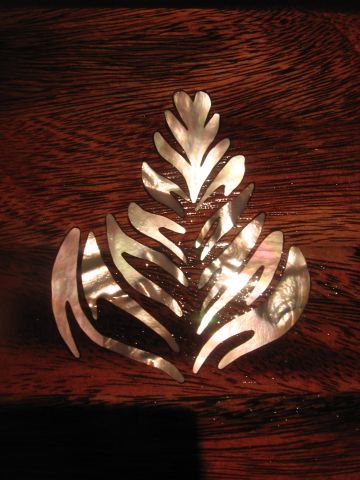
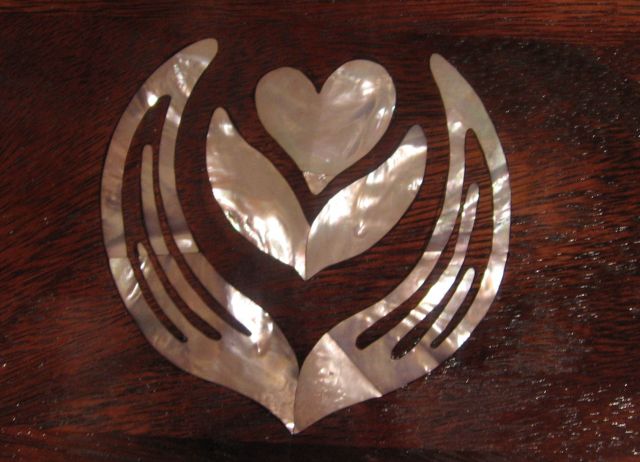
Heres a picture of my next inlay, it's abalone and just layed out to get a good balance, two legs to go and the engraving.

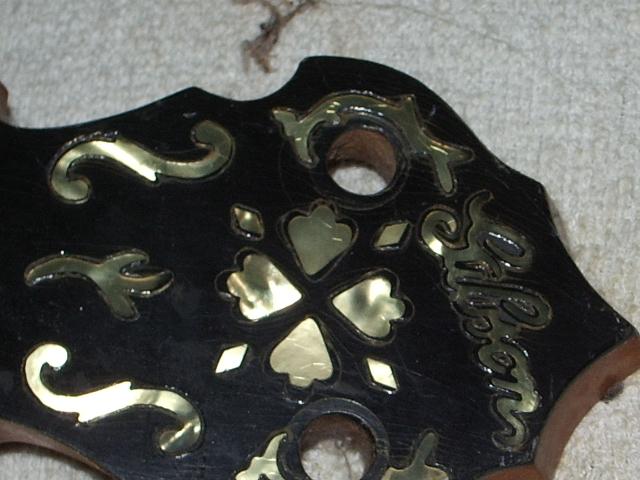
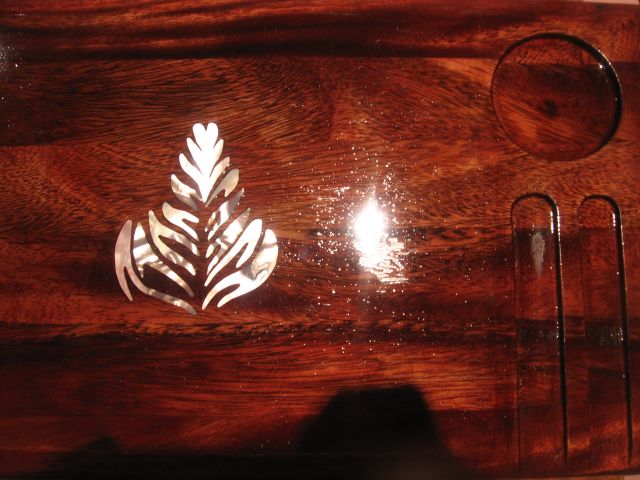
The other picture is of the inlay work on a Gibson Mastertone Banjo, not a cheep little sucker, ya gotta do better than that. Well looks like you have already.

Image

Image
Image
Taff

craigsimon
Wandoo
Posts: 10
Joined: Wed May 21, 2008 10:39 pm
Location: Melbourne

Post by craigsimon » Mon Aug 11, 2008 8:57 pm

Hi Allan and Taffy,

Thanks for the help and advice, Taffy I should have left the final routing fit for another day, I rushed and there are a few gaps, nothing more than 1mm but still I know I could have done better. I have 3 more duplicates to do so I am hoping they get better and better. Photo updates to continue.

cheers
Craig

craigsimon
Wandoo
Posts: 10
Joined: Wed May 21, 2008 10:39 pm
Location: Melbourne

Post by craigsimon » Mon Aug 11, 2008 9:52 pm

glued in place, mixed stained wood sawdust with epoxy hopefully will be pretty close to actual stained wood colour.

Image

here was the inspiration


Image

User avatar
Kim
Admin
Posts: 4376
Joined: Wed Sep 26, 2007 8:32 pm
Location: South of Perth WA

Post by Kim » Mon Aug 11, 2008 10:59 pm

Excellent interpretation Craig, well done. 8)

User avatar
kiwigeo
Admin
Posts: 10596
Joined: Sat Sep 29, 2007 5:57 pm
Location: Adelaide, Sth Australia

Post by kiwigeo » Tue Aug 12, 2008 12:19 am

A Latte art inlay...dandy 8)

craigsimon
Wandoo
Posts: 10
Joined: Wed May 21, 2008 10:39 pm
Location: Melbourne

Post by craigsimon » Tue Aug 12, 2008 9:17 pm

still need to stain and lacquer but am very pleased with outcome so far


Image

craigsimon
Wandoo
Posts: 10
Joined: Wed May 21, 2008 10:39 pm
Location: Melbourne

Post by craigsimon » Tue Aug 12, 2008 9:18 pm

i'm thinking about having a crack at this one for two of the boards


Image

User avatar
Allen
Blackwood
Posts: 5252
Joined: Thu Oct 11, 2007 5:39 pm
Location: Cairns, Australia
Contact:

Post by Allen » Wed Aug 13, 2008 5:40 am

Never mind the inlay, I want to know how you get that to look like that in my cuppa? :shock:
Allen R. McFarlen
https://www.brguitars.com
Facebook
Cairns, Australia

craigsimon
Wandoo
Posts: 10
Joined: Wed May 21, 2008 10:39 pm
Location: Melbourne

Post by craigsimon » Thu Aug 14, 2008 1:18 pm

I wish it was as easy as my first attempt at inlay. I think I have made about 800,000 coffees over the last 4 years. After about 50,000 you have to start finding things to keep you interested!!!! hence practice pretty patterns

User avatar
Kim
Admin
Posts: 4376
Joined: Wed Sep 26, 2007 8:32 pm
Location: South of Perth WA

Post by Kim » Thu Aug 14, 2008 2:45 pm

Craig,

I reckon your patterns are brilliant, there beauty would see me hesitant to drink the coffee...but not for long, I just love gooood coffee.

Cheers

Kim
Last edited by Kim on Thu Aug 14, 2008 3:12 pm, edited 1 time in total.

User avatar
kiwigeo
Admin
Posts: 10596
Joined: Sat Sep 29, 2007 5:57 pm
Location: Adelaide, Sth Australia

Post by kiwigeo » Thu Aug 14, 2008 2:55 pm

Dragging a teaspoon across the froth is one way of making patterns in your coffee.

craigsimon
Wandoo
Posts: 10
Joined: Wed May 21, 2008 10:39 pm
Location: Melbourne

Post by craigsimon » Fri Aug 15, 2008 8:23 pm

more progress first coat of lacquer still wet


Image


Image

User avatar
Allen
Blackwood
Posts: 5252
Joined: Thu Oct 11, 2007 5:39 pm
Location: Cairns, Australia
Contact:

Post by Allen » Sat Aug 16, 2008 5:59 am

Looks pretty swish. The stain really makes that pearl stand out now.
Allen R. McFarlen
https://www.brguitars.com
Facebook
Cairns, Australia

craigsimon
Wandoo
Posts: 10
Joined: Wed May 21, 2008 10:39 pm
Location: Melbourne

Post by craigsimon » Sun Aug 31, 2008 9:29 pm

got 2 more done. One a duplicate of the first and the other of my second design. here is a pic


Image

User avatar
Sam Price
Blackwood
Posts: 124
Joined: Sat Sep 29, 2007 6:27 am

Post by Sam Price » Sun Aug 31, 2008 11:18 pm

I really don't pop in here often these days, but I REALLY had to log into comment on this fabulous inlay work!!

A fantastic way to find inspiration; I want to ask also-how DID you get the lattes to look like that. DO you use a cocktail stick and swirl the stuff around?

Post Reply

Who is online

Users browsing this forum: No registered users and 277 guests