What's on your bench? - October 2009

Talk about musical instrument construction, setup and repair.

Moderators: kiwigeo, Jeremy D

User avatar
Bob Connor
Admin
Posts: 3132
Joined: Mon Jul 09, 2007 9:43 pm
Location: Geelong, Australia
Contact:

What's on your bench? - October 2009

Post by Bob Connor » Sat Oct 17, 2009 6:00 pm

Haven't had one of these threads for a while and i haven't built anything since February due to wet weather and building a climate controlled room in the shed.

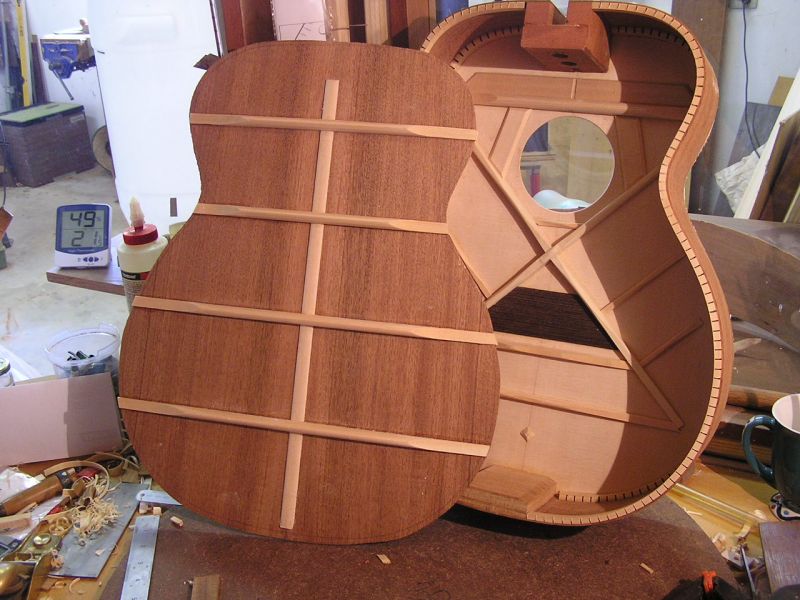
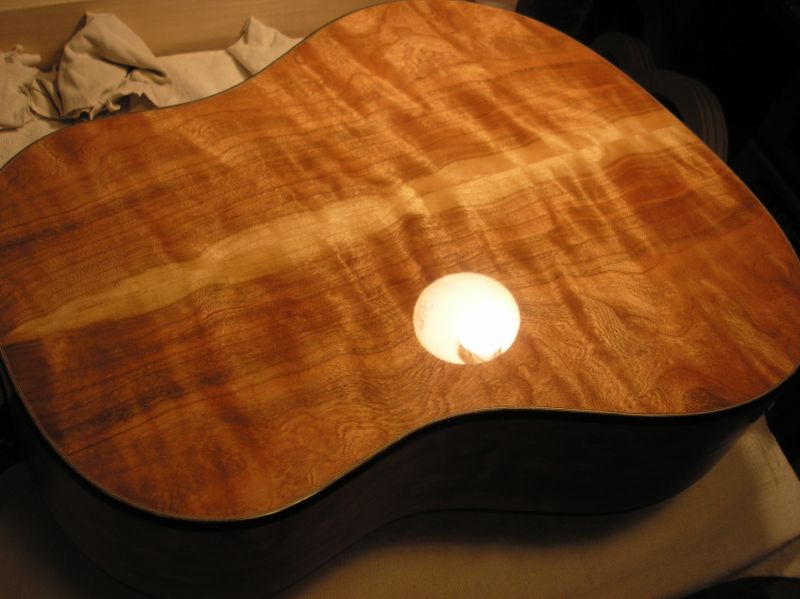
I started this yesterday. It's bound for Britton Brothers (sawmillers in Tasmania) and is supposedly to hang in their office. I'm reliably informed by one of the blokes in the mill that this'll probably end up at the bosses house. :D

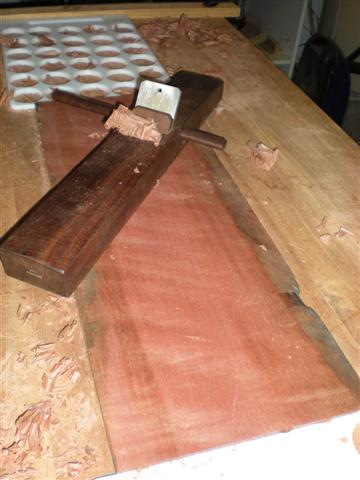
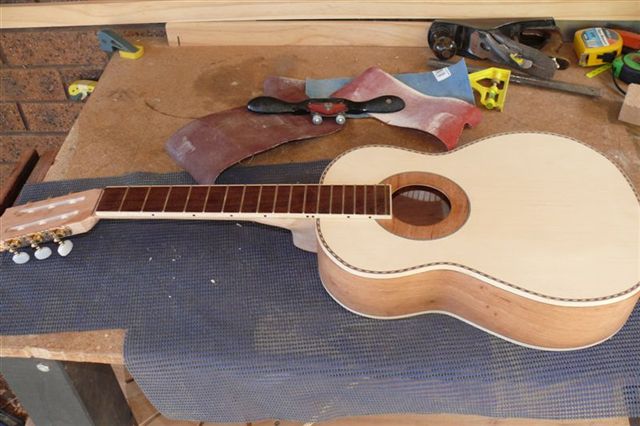
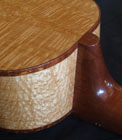
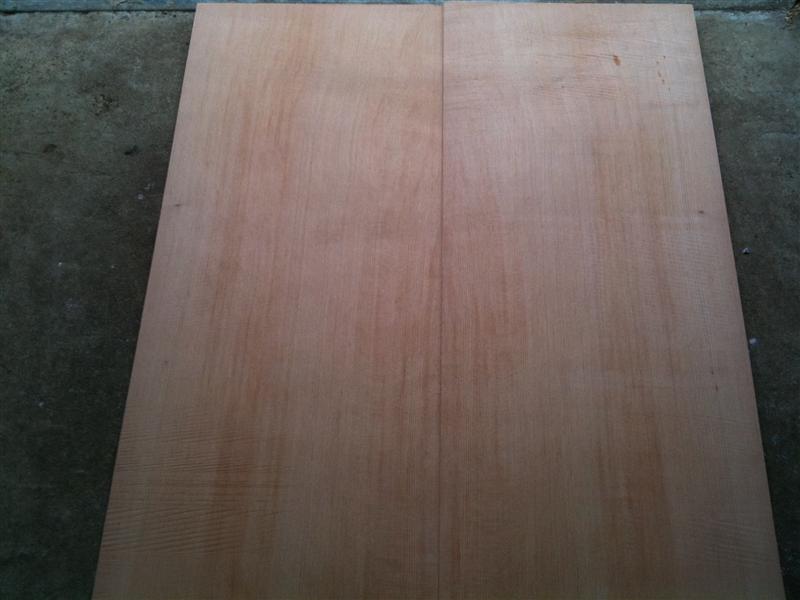
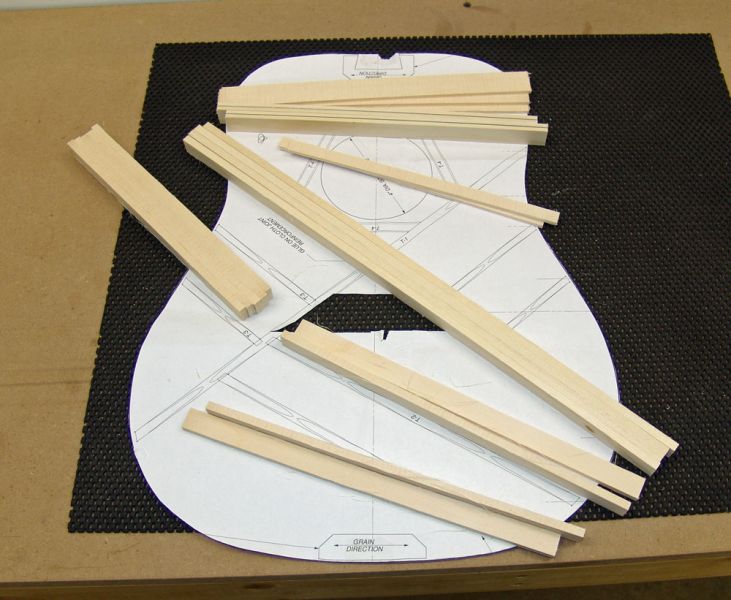
It's a OOO with Blackwood and King Billy that'll end up with Cheesewood bindings (all the wood is from Britton's of course)

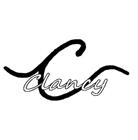
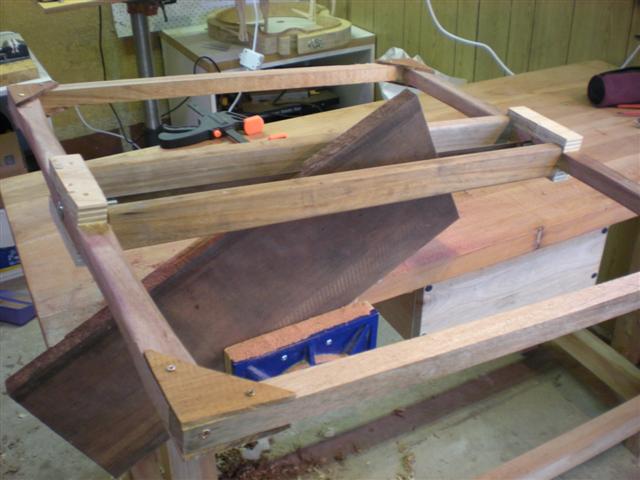
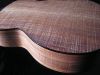
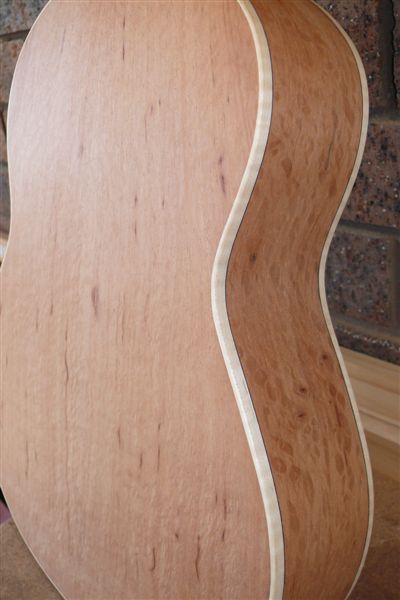
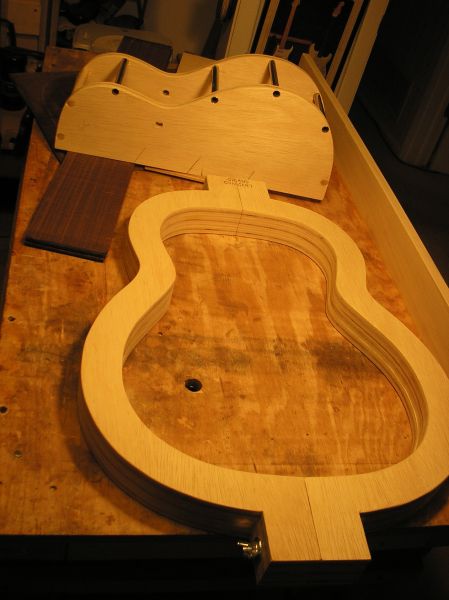
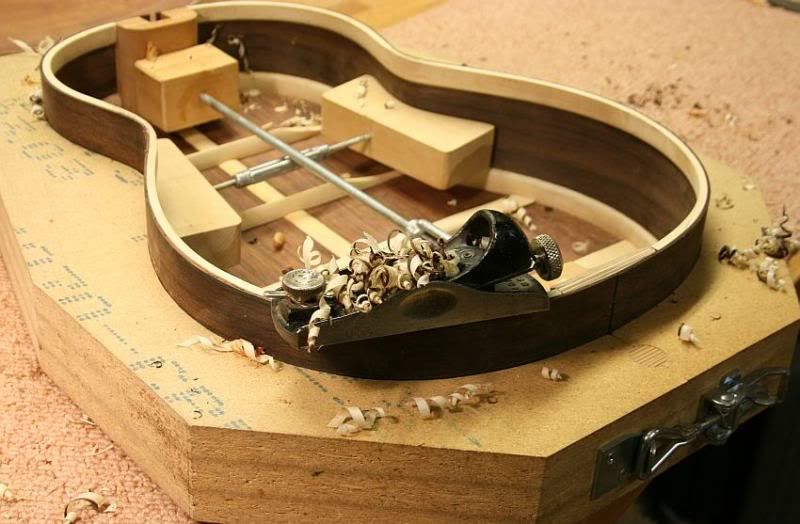
The sides are doubled (laminated). Each layer .060" for a total of a little over .120".

Because they are so thin when I bent them I didn't bother to spritz with water, just wrapped them in butchers paper and bent them dry. I think they tend to warp less with no water.

Image

Image

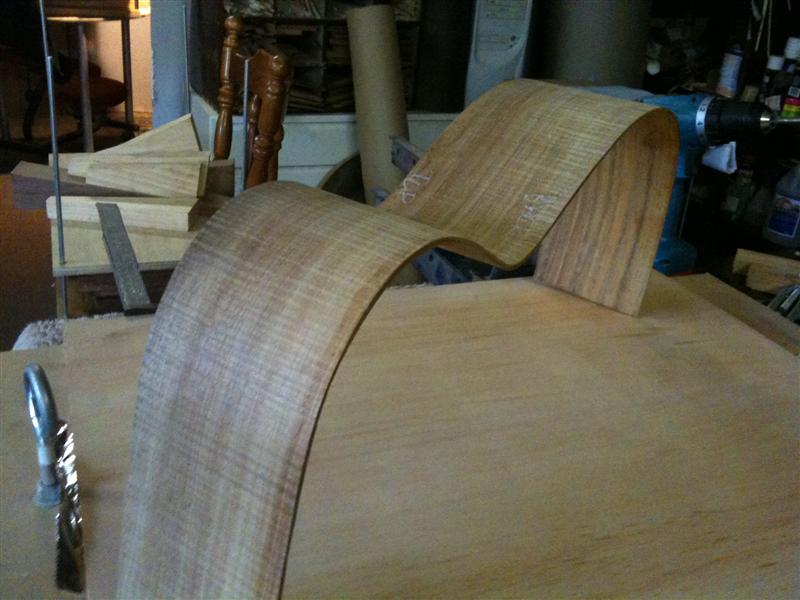
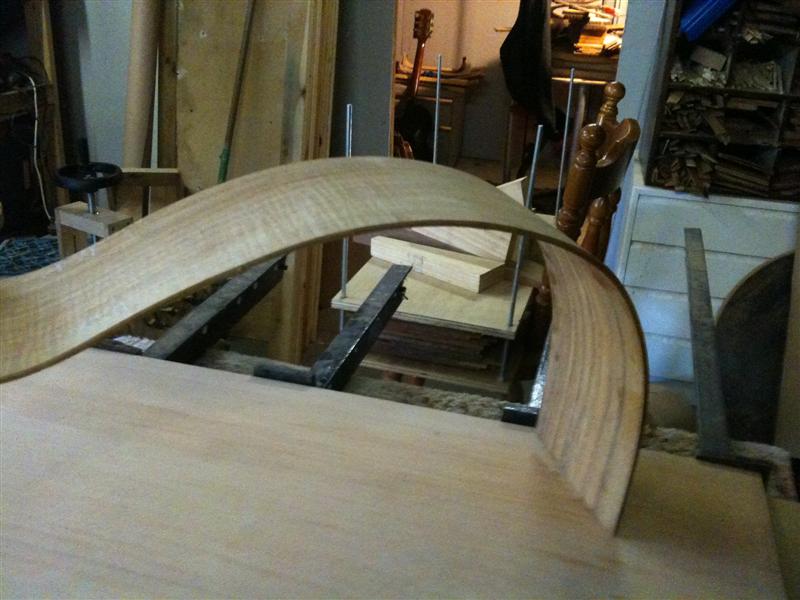
They hold their shape pretty well.

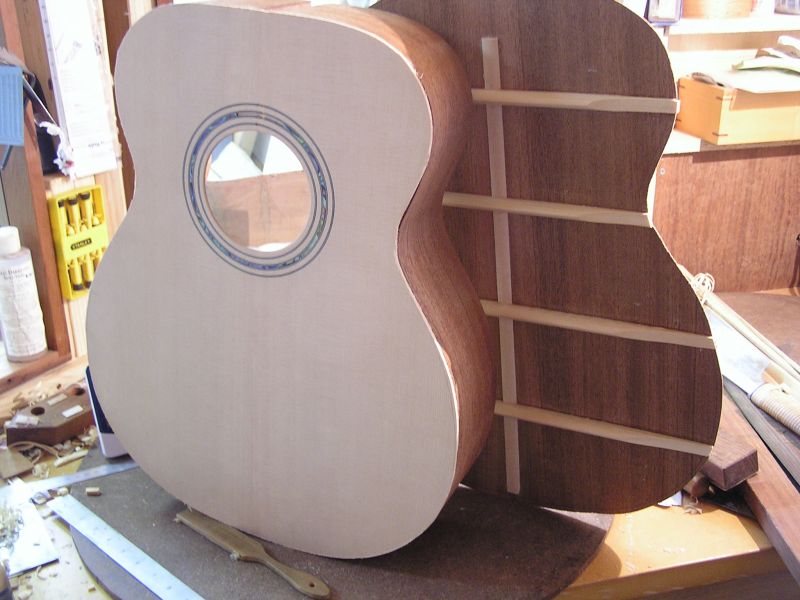
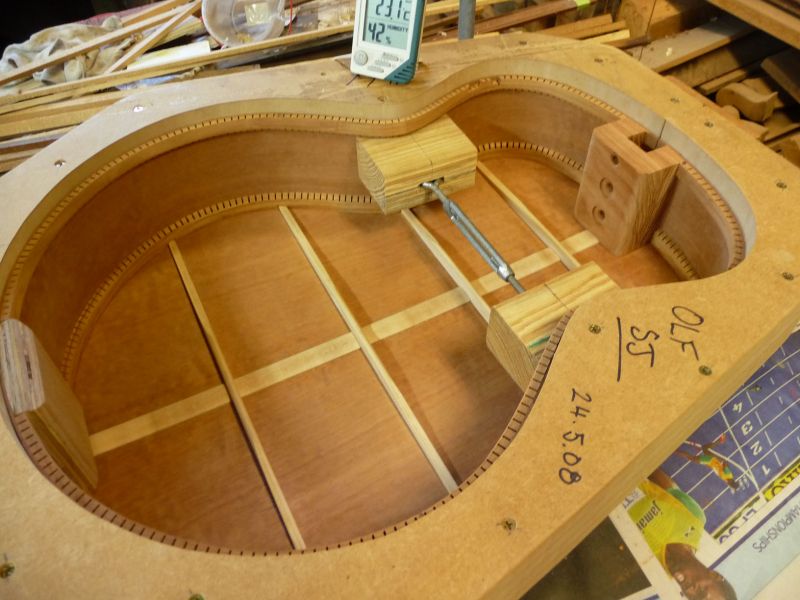
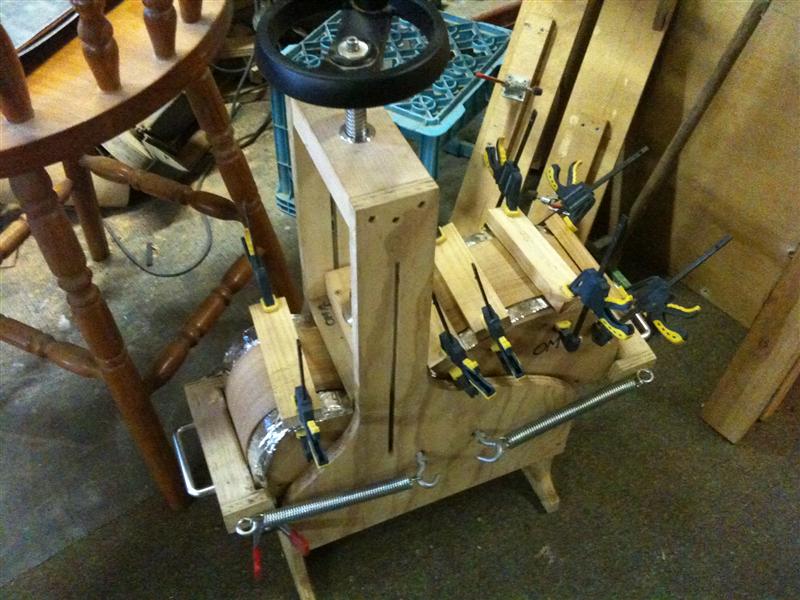
I glued them with Titebond and just strapped them into the Fox bender. I'm looking forward to getting hold of a vacuum setup in the next couple of weeks.
Image

Image

Image
Bob, Geelong
_______________________________________

Mainwaring and Connor Guitars

Hesh1956
Blackwood
Posts: 1420
Joined: Thu Sep 27, 2007 9:58 am

Post by Hesh1956 » Sat Oct 17, 2009 11:00 pm

That's some beautiful Blackwood Bob my friend!!

So you used Titebond to laminate the sides - interesting. The main thing that has been holding me back from double sides is that I was not looking forward to using a large quantity of epoxy and I thought that I needed to build a gluing form (solid) to do this. Your method eliminates both of these things.

Thanks for sharing.

I actually was productive yesterday for the first time in a while.... Here are some braces destined for this stinkin dreadn*ught. These days when ever I do an operation I try to make extras for at least one other guitar. I have bracing bundles for OMs and SJs and now I am starting to build a back stock of dreadn*ught braces.

At least for me there is something very relaxing about repetitive tasks so I was enjoying myself.


Image

User avatar
Cam
Myrtle
Posts: 95
Joined: Sat Feb 28, 2009 3:37 pm
Location: Townsville

Post by Cam » Sat Oct 17, 2009 11:33 pm

Something a bit different to what you guys usually do but I've got a mini electric and a les paul acoustic build going on at the moment:
Image
Image

I've done a bit more progress on both, but unfortunately no pictures. Maybe some tomorrow :)
Previously known as "guitarcam" :D

Paul B

Post by Paul B » Sun Oct 18, 2009 8:45 am

I've been doing nothing but wait for the RH to come up. It's been around 27% for the last couple days (ever since I was ready to close up the box). Had some rain last night so today might be the day.

pat foster
Myrtle
Posts: 79
Joined: Tue Apr 14, 2009 8:41 am
Location: Eastern Washington, USA
Contact:

Post by pat foster » Sun Oct 18, 2009 9:04 am

Bob,

That's some gorgeous zoot!

I just finished up a repair on a plywood cheapo dread for a friend who is pretty broke. It was bellying up pretty badly, and caving near the soundhole. Split bridge plate, separated x-brace, peeling bridge, the works. Got it all patched up, put in a JLD Bridge system and it seems stable. Action's not too bad and it actually sounds pretty good. I think the bridge system helped stiffen things up to get rid of the tubby sound along with keeping the top from pulling up more. I suspect a new 'one-piece' bridge plate, securely glued bridge and x-braces helped the sound too.

Pat

User avatar
Arnt
Blackwood
Posts: 134
Joined: Tue Oct 02, 2007 4:13 am
Location: Trondheim, Norway

Post by Arnt » Sun Oct 18, 2009 10:06 am

I am making a 000 12 fret, here is what the inside of the top looks like

Image


The back and sides are Madagascan rosewood, linings are willow.


Image
Arnt Rian,
Norway

User avatar
Dennis Leahy
Blackwood
Posts: 872
Joined: Wed Oct 10, 2007 12:32 am
Location: Duluth, MN, US
Contact:

Post by Dennis Leahy » Sun Oct 18, 2009 11:33 am

Three cutaway guitars just started:

Cocobolo, Osage Orange (to be "ebonized" black using quebracho bark tea and ferrous acetate), and Claro Walnut.

Image[/img]

Dennis
Another damn Yank!

User avatar
Clancy
Blackwood
Posts: 620
Joined: Wed Dec 17, 2008 10:26 am
Location: Canberra

Post by Clancy » Sun Oct 18, 2009 12:26 pm

Had another crack at resawing some tassie myrtle after modifying the farme saw. the saw looks more like a "proto-type" than a real tool, but it did the job.

Image


Image

Image

User avatar
woodrat
Blackwood
Posts: 1155
Joined: Tue Nov 25, 2008 6:31 am
Location: Hastings River, NSW.
Contact:

Post by woodrat » Sun Oct 18, 2009 12:32 pm

I am working on an OM with AAA sitka top and Brazilian Mahogany back and sides. The binding will be figured blackwood and ebony bridge and fingerboard.
Its nice to see others work. Arnt your 12 fretter looks like its nice and light, should be very responsive, let us know how it turns out. Its about time I built another 12 fret too.
Hesh, I do the same thing, make a lot of braces at the same time it gives me a head start into each successive build. Good thinkin!

Image
Image

Thanks for showing everyone!
"It's never too late to be what you might have been " - George Eliot

Rick Turner
Blackwood
Posts: 311
Joined: Sun Jan 13, 2008 10:22 am
Location: Santa Cruz, Ca.
Contact:

Post by Rick Turner » Sun Oct 18, 2009 2:23 pm

There's an interesting reason to build putting the back onto the sides first...

When people look inside the guitar, the glue joints they'll see will not be top to sides...they'll be back to sides. OK, if you've ever looked inside a "golden era vintage Martin or Gibson) you'll see a ton of glue squeeze-out, and it doesn't mean shite. The guitars still sound great. But we're in an era of anal-retentive witch-hunting clients...and fellow luthiers. If it doesn't look as perfect on the inside as on the outside, it must not sound any good...once again a load of shite...but a load of shite that can cost you, the luthier, several hundreds...or thousands of dollars worth of "perceived value".

If you put the back on first, you can clean the interior up to truly stupid levels. You can spend days getting it to look like a surgeon could work in there. Of course, it won't make the guitar sound like that '34 OM...

All bets are off, of course, once you cut in that side port. It's got to stun at 100 meters and kill at 25.
Rick Turner
Guitar Maker, Experimenter, Diviner
www.renaissanceguitars.com
www.d-tar.com

Steve
Blackwood
Posts: 165
Joined: Sat Oct 18, 2008 10:18 pm
Location: Coffs Harbour, NSW

Post by Steve » Sun Oct 18, 2009 3:49 pm

Getting closer to finishing a kids-sized classical. Put on the fret wire, attached the fret board & shaped the neck this weekend.
Image

Steve

User avatar
woodrat
Blackwood
Posts: 1155
Joined: Tue Nov 25, 2008 6:31 am
Location: Hastings River, NSW.
Contact:

Post by woodrat » Sun Oct 18, 2009 4:13 pm

Rick Turner wrote:There's an interesting reason to build putting the back onto the sides first...

When people look inside the guitar, the glue joints they'll see will not be top to sides...they'll be back to sides. OK, if you've ever looked inside a "golden era vintage Martin or Gibson) you'll see a ton of glue squeeze-out, and it doesn't mean shite. The guitars still sound great. But we're in an era of anal-retentive witch-hunting clients...and fellow luthiers. If it doesn't look as perfect on the inside as on the outside, it must not sound any good...once again a load of shite...but a load of shite that can cost you, the luthier, several hundreds...or thousands of dollars worth of "perceived value".

If you put the back on first, you can clean the interior up to truly stupid levels. You can spend days getting it to look like a surgeon could work in there. Of course, it won't make the guitar sound like that '34 OM...

All bets are off, of course, once you cut in that side port. It's got to stun at 100 meters and kill at 25.
I've done it both ways Rick and I understand that reason for putting the back on very well but I prefer to be able to tweak the bracing after its glued to the rims and although its more difficult to do I can get a clean finish. Yes its a superficial world but some of us get by despite it! I'd rather try to get that 34 OM sound anyday! Thanks for commenting! :D
"It's never too late to be what you might have been " - George Eliot

User avatar
kiwigeo
Admin
Posts: 10587
Joined: Sat Sep 29, 2007 5:57 pm
Location: Adelaide, Sth Australia

Post by kiwigeo » Sun Oct 18, 2009 4:56 pm

Arnt wrote:I am making a 000 12 fret, here is what the inside of the top looks like

Image
I just looooove neat and tidy bracing. Pity its all going to be hidden once the top goes on.

Oh and that self propelled block plane is really nifty too.

Cheers Martin

User avatar
kiwigeo
Admin
Posts: 10587
Joined: Sat Sep 29, 2007 5:57 pm
Location: Adelaide, Sth Australia

Post by kiwigeo » Sun Oct 18, 2009 4:59 pm

Steve wrote:Getting closer to finishing a kids-sized classical. Put on the fret wire, attached the fret board & shaped the neck this weekend.
Image

Steve
Interesting look there Steve.....its very blonde :D

What are the woods?

Steve
Blackwood
Posts: 165
Joined: Sat Oct 18, 2008 10:18 pm
Location: Coffs Harbour, NSW

Post by Steve » Sun Oct 18, 2009 5:54 pm

kiwigeo wrote: Interesting look there Steve.....its very blonde :D

What are the woods?
WA Sheaoak, Engleman Spruce, silky oak neck, gidgee fretboard & some maple bindings. I've been looking for a local equivalent to maple for bindings - any suggestions? I saw some silver ash (?) in some marquetry once that looked similar.

Image

User avatar
Localele
Moderator
Posts: 373
Joined: Tue Aug 12, 2008 6:54 am
Location: Corndale,NSW
Contact:

Post by Localele » Sun Oct 18, 2009 6:12 pm

Silver Ash , the one from north QLD is beautiful wood. (Botanical is Flidersia Bourjotiana ) Very fine pores and is quite white.It does yellow with the lacquer and age but still great wood.
Cheers from Micheal.

Remember the "5P Rule".
Preparation Prevents Piss Poor Performance.

User avatar
Bob Connor
Admin
Posts: 3132
Joined: Mon Jul 09, 2007 9:43 pm
Location: Geelong, Australia
Contact:

Post by Bob Connor » Sun Oct 18, 2009 8:29 pm

Cheesewood.

viewtopic.php?t=87
Bob, Geelong
_______________________________________

Mainwaring and Connor Guitars

Joe Sustaire
Myrtle
Posts: 92
Joined: Sun Nov 23, 2008 1:23 am
Location: Talihina Oklahoma
Contact:

Post by Joe Sustaire » Mon Oct 19, 2009 12:18 am

Boy Craig, I'm impressed!!!
That's really getting to know your wood, sure turned out nice!
What are you using for the blade in your saw? I don't have a large enough bandsaw for re-sawing backs either, may have to give this a go.

Joe
The only safe thing to do, is to take a chance! Mike Nichols

User avatar
Dave Anderson
Blackwood
Posts: 260
Joined: Sun Sep 30, 2007 2:38 pm
Location: Florida, USA

Post by Dave Anderson » Mon Oct 19, 2009 1:39 am

Hi fellow wood monkeys,
I'm wet sanding /buffing this same cherry "Concert Jumbo" I've been farting around with for the last few Months!
And I made the mold and bend pattern for my next - Grand Concert.
Nice work everyone !
Image
Image
Image
Dave Anderson
Port Richey,Florida

User avatar
Lillian
Blackwood
Posts: 1705
Joined: Fri Sep 28, 2007 10:31 pm
Location: New Mexico, USA
Contact:

Post by Lillian » Mon Oct 19, 2009 2:55 am

Steve, I'd second the cheesewood. Tim Spittle sent along a sample of it with an order. It reminds me of old ivory under finish. Its great stuff.

Steve
Blackwood
Posts: 165
Joined: Sat Oct 18, 2008 10:18 pm
Location: Coffs Harbour, NSW

Post by Steve » Mon Oct 19, 2009 7:04 am

Thanks for the tips on silver ash & cheesewood folks.
Nice looking Cherry, Dave.
Steve

Paul B

Post by Paul B » Mon Oct 19, 2009 9:14 am

I got the back on yesterday! After waiting forever for the RH, the rain the night before did the job. And since I'm currently employment challenged, I'll close it up today, I'll try to take a pic.

Craig, those frame saws really give you a great upper body workout don't they? I built one and resawed a set of jarrah backs. Never again! I went out and bought a 18" Jet bandsaw after that.

User avatar
matthew
Blackwood
Posts: 1190
Joined: Mon Oct 08, 2007 1:16 pm
Location: Sydney, Inner West
Contact:

Post by matthew » Mon Oct 19, 2009 9:41 am

nothing to show for the moment but i have two projects going on.

The huon pine bass - the rib stock once resawn has several resin pockets which won't look that great so I've cut out little lozenge-shapes around the crumbly bits and filled with rib stock from the edges of the plate. Glued with hide glue; not sure how this will stand up when bending, but we'll see.

The other project on the repairs bench is a german double bass with carved back. The centre joint has opened up due to shrinkage. I've removed the back entirely - not without some damage to the edges of the plate that will have to be replaced. Some idiot had use white glue, then araldite, to attempt repairs in the past.

The big challenge of this job - and it looks to be the most challenging repair i've done to date - is to re-shoot the centre seam and glue back together, keeping the preimeter edges of the plate flat. Complicating the issue is that the uppeer shoulder of the back, as per standard practice in basses, is not flat, but curves inwards a little. So I think I'm going to have to make a frame for each half plate and tack the halves to the frame, so that I can place these on a flat workbench and align the edges of the plate exactly. Then and only then can I improvise a shooting board arrangement to redo the center seam one side at a time.

Unless someone has a better suggestion?

yeah I'll post pics eventually :)

Paul B

Post by Paul B » Mon Oct 19, 2009 12:23 pm

Blistered sapele OLF SJ with a lutz top that will probably go on today.

Image

User avatar
Ron Wisdom
Blackwood
Posts: 420
Joined: Sat Sep 29, 2007 1:18 am
Location: Arkansas, USA

Post by Ron Wisdom » Mon Oct 19, 2009 12:45 pm

Some nice looking stuff here. I finished up three rosettes and a bridge this weekend.

Ron

Bloodwood

Image

Snakewood

Image

Blingwood (in macassar)

Image

Macassar bridge

Image

Post Reply

Who is online

Users browsing this forum: johnparchem and 154 guests