What's On Your Bench?

Talk about musical instrument construction, setup and repair.

Moderators: kiwigeo, Jeremy D

Hesh1956
Blackwood
Posts: 1420
Joined: Thu Sep 27, 2007 9:58 am

What's On Your Bench?

Post by Hesh1956 » Sat Aug 22, 2009 9:01 am

It's still summer here in Michigan and I don't build much in the summer these days.... But today it rained so I spent some time in the shop and picked up where I left off last spring with this stinkin dread*ought.

Today it was install and shape the back joint reinforcement, join some scrap for a rosette, and kind of get back in the swing of building since the weather will begin to suck here soon....

Anyway it was a good time and here is a pic:

Image

So my friends what's on your benches? :)

Thanks

User avatar
Stu
Blackwood
Posts: 245
Joined: Sun May 11, 2008 7:15 pm
Location: Melbourne, Australia
Contact:

Post by Stu » Sat Aug 22, 2009 10:06 pm

Nice work Hesh , although I noticed a few specs of what may be dirt something similar on the padded table surface. Your hygiene standards are slippin' :lol:

I've just finished cutting out this firebird motif out of recon. stone and ready to inlay into a wandoo board. Fun times .


Image

Image


cheers, Stu

User avatar
Allen
Blackwood
Posts: 5252
Joined: Thu Oct 11, 2007 5:39 pm
Location: Cairns, Australia
Contact:

Post by Allen » Sun Aug 23, 2009 6:09 am

Nice work there Stu. Where are you getting the recon from? And how does it cut?

He Hesh, it's summer here all year round. Might be a good place to retire too. :lol:
Allen R. McFarlen
https://www.brguitars.com
Facebook
Cairns, Australia

User avatar
WaddyT
Blackwood
Posts: 231
Joined: Tue Apr 15, 2008 1:49 am
Location: Charlotte NC
Contact:

Post by WaddyT » Sun Aug 23, 2009 8:53 am

#3 is reaching the binding stage.
Image
Image
Waddy

Build Albums 12 done - 1 in process

Clip for #1 Barrios' "Una Limosna por el Amor de Dios" - Not me playing

User avatar
John Steele
Blackwood
Posts: 152
Joined: Fri Mar 06, 2009 4:58 pm
Location: Wilson, NY. 14172
Contact:

Post by John Steele » Sun Aug 23, 2009 11:24 am

It is so cool to see what everyone's up to. Hesh, I gotta tell you I am looking forward to seeing more of your mighty dread. (I'm gearing up for a dread run too!) Is that my little Kunz in your pic that I've been trying to find for 3 weeks? :wink:
Stu, nice bird inlay. I will have to look into "recon stone" as it looks like a good medium. Waddy, those little rounds on your bridge profile look great. Tho I'm sure the "classical purists" might frown, I think it is a subtle, yet distinctive touch. My bench is utter chaos as I've been routing binding and neck dovetails. I've been taking pics of my neck join process. If anyone is interested I will post.
Keep up the good work!
J
"People who say it cannot be done should not interrupt those who are doing it"
George Bernard Shaw

User avatar
Clancy
Blackwood
Posts: 620
Joined: Wed Dec 17, 2008 10:26 am
Location: Canberra

Post by Clancy » Sun Aug 23, 2009 2:28 pm

Well, it's been 2 weeks since I had a brain tumor removed and while it's been all good news following the surgery, I've been left feeling a little flat.
I had thought that I would use the time off recovering by pottering in the workshop (no power tools!).
Instead I'm just too weary to be bothered, which was probably to be expected.
When I do get the motivation up again I've got an archtop too complete for my brother in law.
Shown in the pic is the Qld Kauri top & Qld Maple back & sides sitting as I left them about 3 weeks ago.
The Kauri is an experiment in avoiding the high cost of buying spruce wedges from OS.
It rings nicely to a tap, is very staright grained but looks kinda like bunya and is heavier than spruce.
Anyone else had experience with non kiwi non ancient kauri?


Image
Image

User avatar
kiwigeo
Admin
Posts: 10593
Joined: Sat Sep 29, 2007 5:57 pm
Location: Adelaide, Sth Australia

Post by kiwigeo » Sun Aug 23, 2009 4:18 pm

Whats on my bench....*****ng tonewood!!! Building has been confined to the island bench in recent times. next time back from work some serious shelving has to go in and I also have to dredge through the piles of wood and work out what is what. Might need some help identifying some of the stuff at the bottom of the pile.

User avatar
Allen
Blackwood
Posts: 5252
Joined: Thu Oct 11, 2007 5:39 pm
Location: Cairns, Australia
Contact:

Post by Allen » Sun Aug 23, 2009 4:18 pm

Do hope your recovery is speedy Craig.

I've only use Qld. Kauri for bracing and linings. Tests I did against spruce for deflection tests showed it to be stiffer in my samples than the spruce. Bit heavier though not by much. My biggest problem with it is that it has sort of a drab, dirty look that I don't find particularly appealing. But beauty is in the eye of the beholder.

Heck of a dilemma you have there Martin. I found that I had to write on each board what it was, where and when I got it, or it was just too hard to remember even 6 months down the track.

I've been working on a pair of ukes. One concert size and the other tenor. Both with Spanish heels, as these are prototypes for the uke building class I'm instructing next month. Not having built with a Spanish heel, I thought it would be a good idea to work out the details before hand. :lol:

Got them all done and pore filled 1/2 hour ago. Will have some photos in a couple of days when I can handle them again, and I've got time to get back to them.
Last edited by Allen on Sun Aug 23, 2009 4:24 pm, edited 2 times in total.
Allen R. McFarlen
https://www.brguitars.com
Facebook
Cairns, Australia

User avatar
kiwigeo
Admin
Posts: 10593
Joined: Sat Sep 29, 2007 5:57 pm
Location: Adelaide, Sth Australia

Post by kiwigeo » Sun Aug 23, 2009 4:21 pm

Craig Clancy wrote:Well, it's been 2 weeks since I had a brain tumor removed and while it's been all good news following the surgery, I've been left feeling a little flat.
Ya kept that quiet mate! And here's me complaining about a sore arse after a 70km bike ride! Hope you soon get over the flat spot and get back into the swing of things out in the workshop.

User avatar
Bob Connor
Admin
Posts: 3132
Joined: Mon Jul 09, 2007 9:43 pm
Location: Geelong, Australia
Contact:

Post by Bob Connor » Sun Aug 23, 2009 5:08 pm

Hope things improve quickly for you Craig.

We've been building nothing, nada, zip because the sheds too full so today was the day the renos started.

It's just a framed, insulated and plastered room that will be humidity controlled so that our wood will dry to an acceptable MC and we can be a bit more consistent in building year round and not be subject to the vagaries of the weather.

The gobar deck will be living in here as well.

The roof of this erection will be storage area for spare backs and sides and other lumps of wood that usually get stacked against the wall. A lot of these are leftovers from resawing.

The average humidity year round in Melbourne and surrounds is around 65% so most of the work in here will be done by a dehumidifier.

Total room size is 5 x 3 metres.

Image

Image

Image

Image
Last edited by Bob Connor on Sun Aug 23, 2009 5:11 pm, edited 2 times in total.
Bob, Geelong
_______________________________________

Mainwaring and Connor Guitars

User avatar
Nick
Blackwood
Posts: 3642
Joined: Thu Feb 26, 2009 11:20 am
Location: Christchurch, New Zealand
Contact:

Post by Nick » Sun Aug 23, 2009 5:10 pm

Speedy recovery Craig and as Martin said, hope it's not too long before you're back in the shop creating Clancy magic :wink:

Martin, any unidentified wood you aren't sure of, you can't take the chance of incorporating it into one of your quality builds so just tuck it under your arm and bring it across the Tassy. I'm not averse to building with unknown timbers :wink: :lol:
"Jesus Loves You."
Nice to hear in church but not in a Mexican prison.

User avatar
Allen
Blackwood
Posts: 5252
Joined: Thu Oct 11, 2007 5:39 pm
Location: Cairns, Australia
Contact:

Post by Allen » Sun Aug 23, 2009 5:56 pm

Have you added on to the shed Bob, or is this just dividing up and utilizing the space more efficiently?
Allen R. McFarlen
https://www.brguitars.com
Facebook
Cairns, Australia

User avatar
Lillian
Blackwood
Posts: 1705
Joined: Fri Sep 28, 2007 10:31 pm
Location: New Mexico, USA
Contact:

Post by Lillian » Sun Aug 23, 2009 8:35 pm

Good to see you building outside your comfort zone Hesh. At this rate, one day you might even be able to type the entire word out without shuddering.
What's the back wood?

Stu, have you found any issues working with recon stone? Allen, I know there a few places over here that carries it. Check out places that carry supplies for making custom knives.

Waddy, if I didn't know better I would swear you apprenticed to Colin. Nice work.

Glad to hear the post-op comments were positive Craig. Unfortunately we aren't as young as we used to be, healing takes more out of us and goes on longer than we want it to. You'll be back soon though.

Gearing up to go full time Bob? Having an insulated room will make a big difference. Good to see the elusive Dave.

Martin, what a terrible problem to have. I will admit to having to paw through emails and/or threads to figure out what it was that I bought. Some of it is easy, like walnut, but some may just go unknown. They say the memory is the first thing to go, or is that the second?

User avatar
Stu
Blackwood
Posts: 245
Joined: Sun May 11, 2008 7:15 pm
Location: Melbourne, Australia
Contact:

Post by Stu » Sun Aug 23, 2009 8:50 pm

Glad to hear you're on the mend, Craig
(and Martin's sore bike riding date)

Ooh yes, about the recon stone.............

I couldn't find a supplier with my searches on the net within Oz,
though I did find a few in the U.S. and one in the U.K.

I went through here
http://www.customluthier.com/shop/cart. ... gory_id=91

I got six different blanks and landed in Oz for about A$90.

Workability is very much like abalam with the finer pieces prone to
breakage if heavy handed. Overall it is a great product when requiring colouring other than standard mop varieties. I'll be using it again for sure.

If anyone has another source for Recon stone, I'd be interested in finding out who else has it.

Inlay is over half way done with the bird finished in the Wandoo FB
and the wings still to go in.

cheers, Stu

User avatar
Lillian
Blackwood
Posts: 1705
Joined: Fri Sep 28, 2007 10:31 pm
Location: New Mexico, USA
Contact:

Post by Lillian » Sun Aug 23, 2009 10:25 pm

http://reconstone.com/

http://www.masecraftsupply.com/html/recon_stone.html

Crushed materials are also an option. Route out the inlay, pour in the material of choice and add binder.
http://www.woodturnerscatalog.com/store ... _Materials

Joe Sustaire
Myrtle
Posts: 92
Joined: Sun Nov 23, 2008 1:23 am
Location: Talihina Oklahoma
Contact:

Post by Joe Sustaire » Sun Aug 23, 2009 11:21 pm

Yes John, I would like to see some pics of your neck join process! I'm exploring options at this point, not really satisfied with what I've been doing.

I hope you're back at it soon Craig, hang in there!

I'm just trying out a new, to me, kerfing system. Needed to run a new batch of kerfing. I normally make a reverse kerfing, so after profiling my blanks I pulled out the K sled, except this time I kerfed them on the opposite side, similar to standard kerfing, and cut and sanded some slats to overlay after the kerfing is on.

Image

Image
After the kerfing is glued and dried then I soaked the slats for a bit and glued them on over the top.

Image
Kind of doubles the kerf gluing process but does make a nice strong set of rims, and I think looks pretty sharp also.

Image

I had read about someone doing something similar and Arnt tells me that C. Fox does his this way but I believe he cuts a rabbit in his so the overlay is flush.

Joe
The only safe thing to do, is to take a chance! Mike Nichols

User avatar
Kim
Admin
Posts: 4376
Joined: Wed Sep 26, 2007 8:32 pm
Location: South of Perth WA

Post by Kim » Sun Aug 23, 2009 11:32 pm

Craig,

Good to hear that your getting on top after the op, must have been a harrowing time for you and the family. Take it easy mate but do get back in the shop soon, the archie looks dapper.

Hesh,

Looks good buddy, bout time you got of your rear again, I have missed your builds after seeing you knock out what seemed like '1 a month' for so long.

Stu,

Love the stone work, unique and very fetching.


Waddy,

First class as always mate, hope you do another presentation when this ones done.


John,
I look forward to you posting your neck joints as well.

Allen,

Your a bloodly machine.

Bob,

Are you going to have a second fridge in the glue room??


Joe,

Your one heck of a progressive builder mate, always something new on the boil, well done.

Lillian,

Pull you bloody finger out girl :lol:

Seriously, thanks for helping out my friend Dempsey, I owe you a few now.

Cheers all

(self-moderated)

Kim
Last edited by Kim on Mon Aug 24, 2009 7:17 am, edited 1 time in total.

Hesh1956
Blackwood
Posts: 1420
Joined: Thu Sep 27, 2007 9:58 am

Post by Hesh1956 » Mon Aug 24, 2009 12:38 am

So tell me Bob buddy do you let your shop get THIS dirty to cut down on the need to pore fill? :D :lol:

Image

Thanks Kim - I plan to make a j*b of guitar building starting this fall. It's funny, at least to me, that the things that I love to do it's all to easy to forget how much you love doing them if you get away from it for a while... But when I force myself to dig in so-to-speak the reasons that I have for loving guitar building come back to me very quickly.

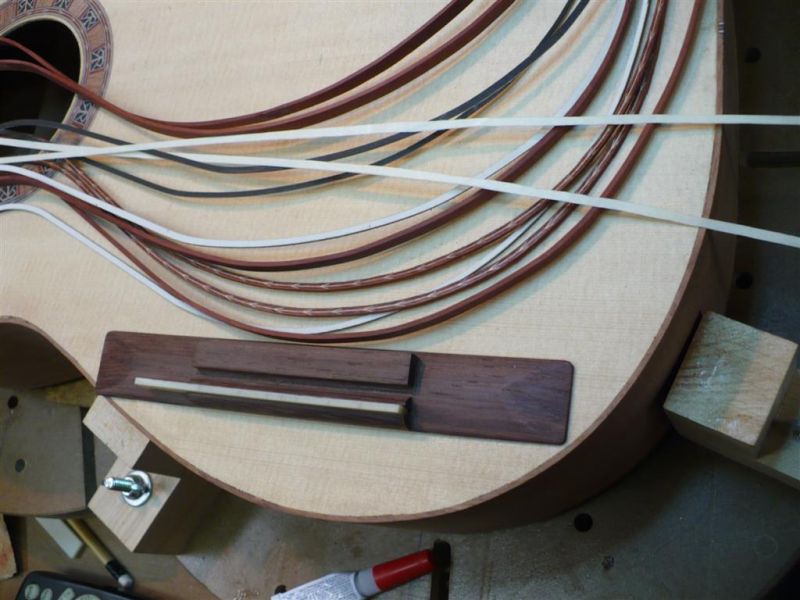
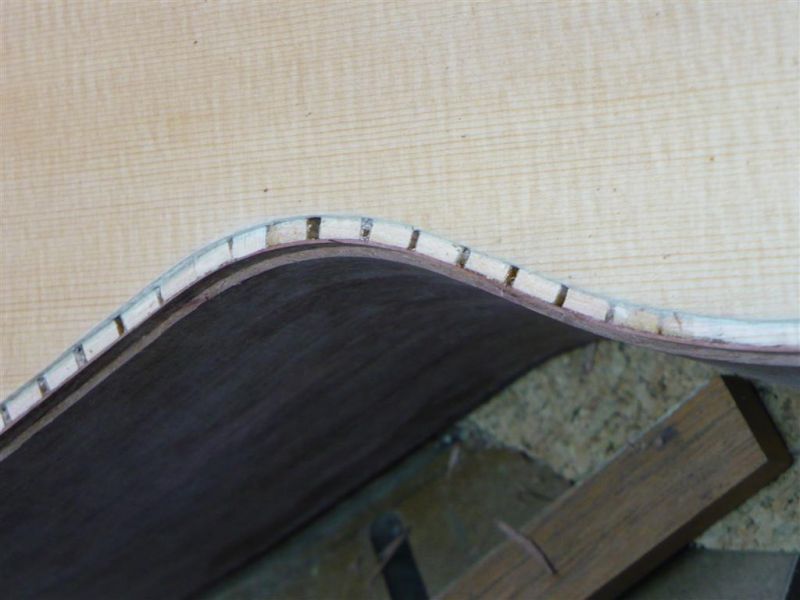
Joe great looking linings!!

Sister Lillian I really don't hate d*eads at all... :D 
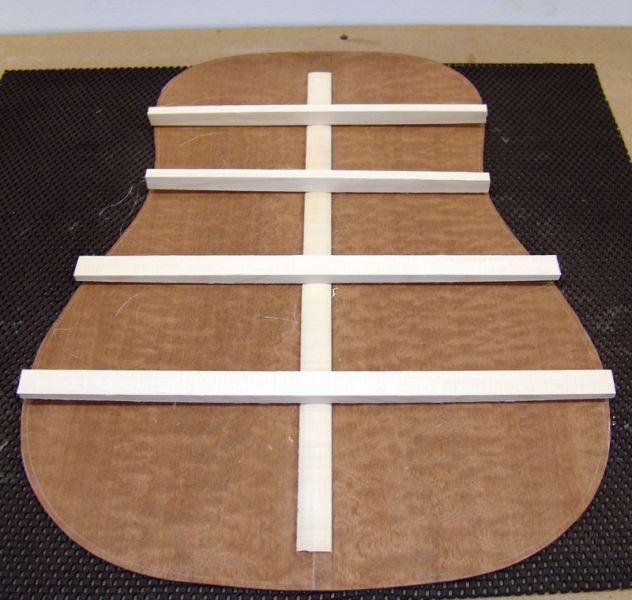
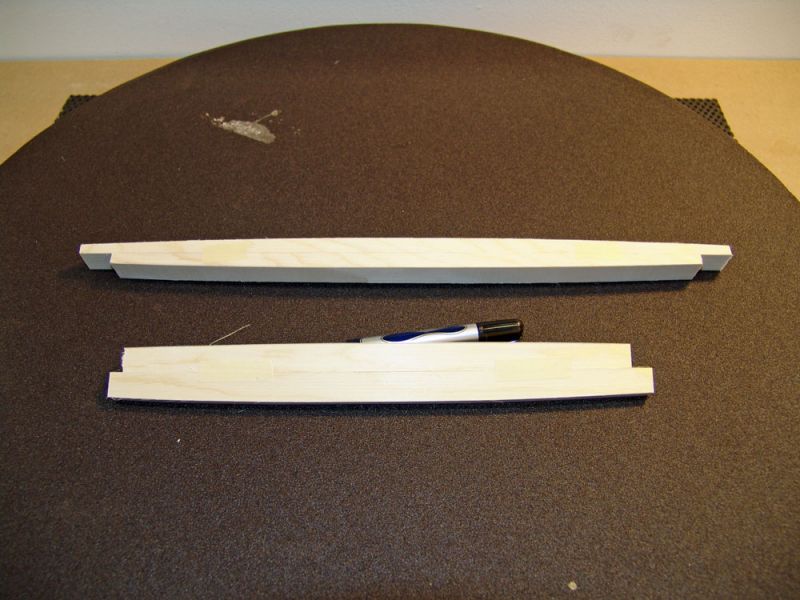
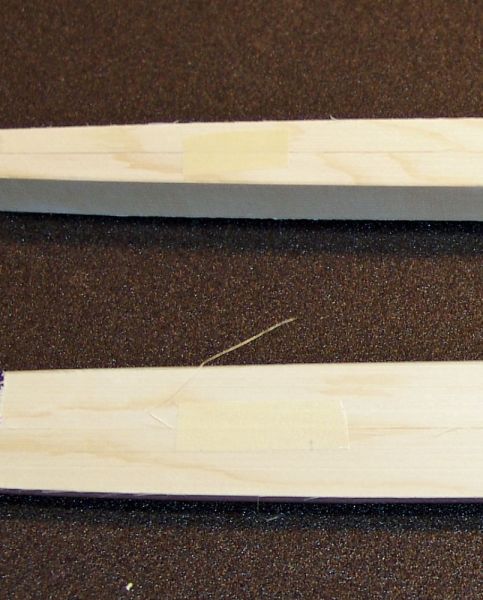
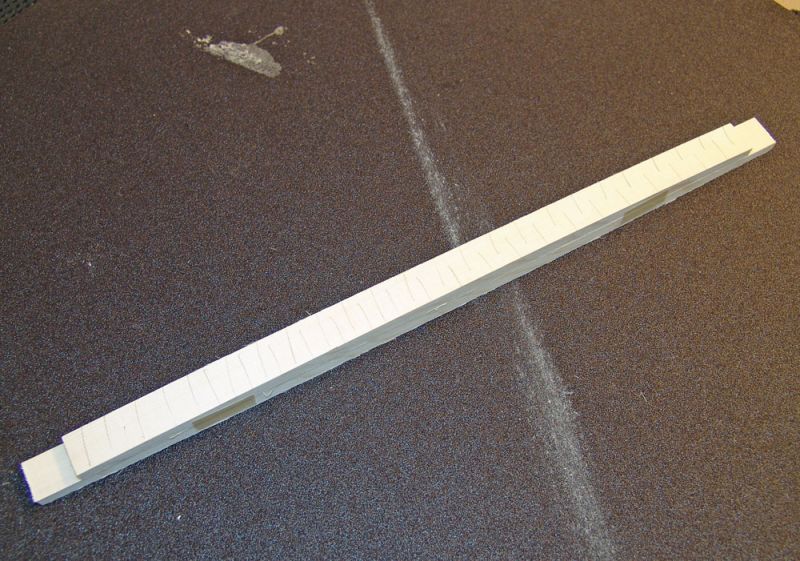
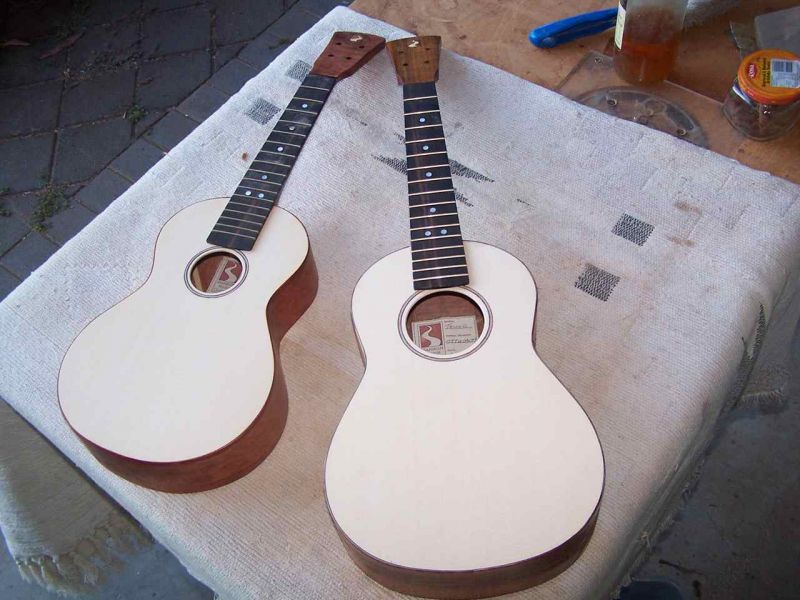
Mind you they are not my favorite guitars to play but I most certainly love all things guitar. This one will be built braced to sound like a dread with s*alloped braces... :lol: I am thinking of just going with a traditional Martin style bridge too. After all there is only so much that you can attempt to do with a d*ead without having it look like a pig with lipstick on, or a former Alaska governor.... :D

Allen bro - pictures M8, pictures?

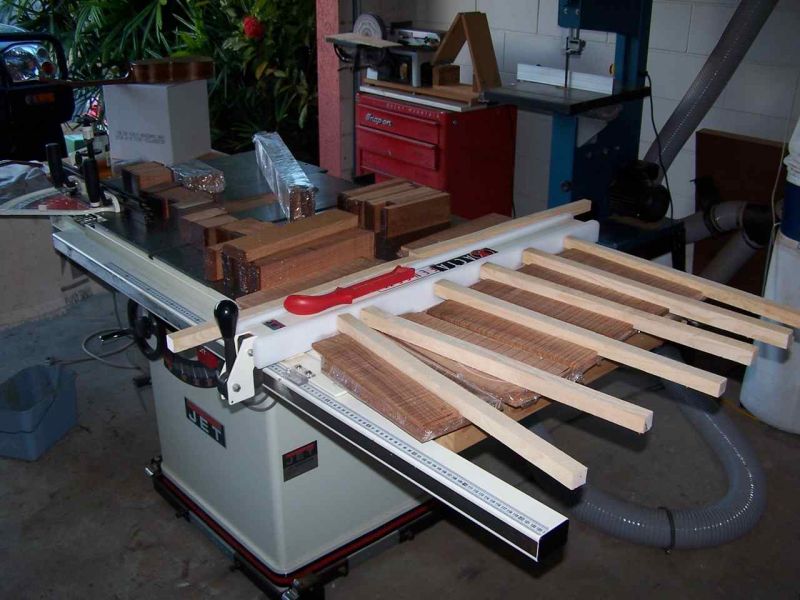
Martin show us your wood stash please?

Craig bro know that we are all thinking of you and here's wishing you a quick and complete recovery. Your archtop is looking superb!

John my friend like I said I really don't hate dread*oughts at all and in my neck of the woods players love them. I think that my original revulsion to dread*oughts stems from having done some Internet dating in the day. Someone sends you a picture of a L-OO and when you meet them in a bar they are a dread*ought.... :D

Waddy bro beautiful work, as always, and that first picture would make an excellent web site home page picture.

Allen from what I've seen of your neck of the woods it's absolutely beautiful in all respects. I'm jealous! :)

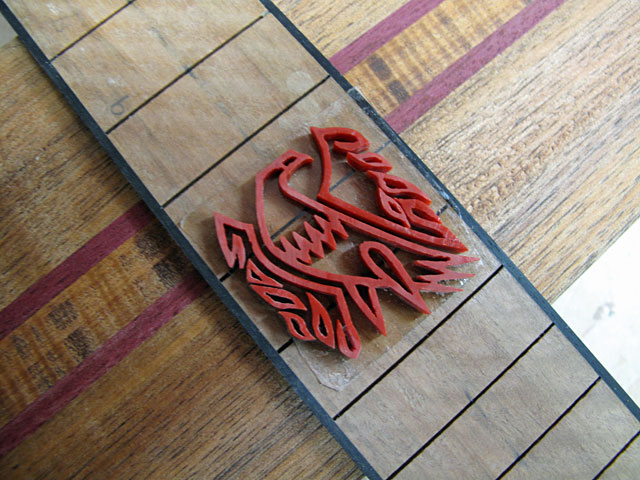
Really nice work Stu my friend and that is going to be a killer looking inlay when completed!!!

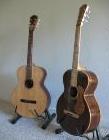
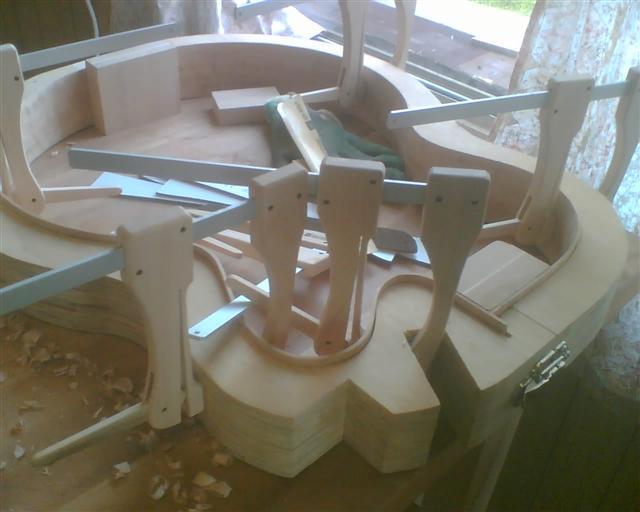
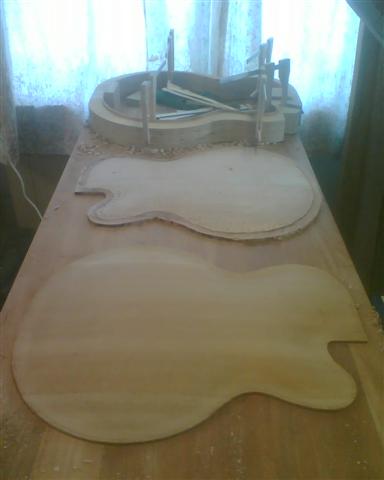
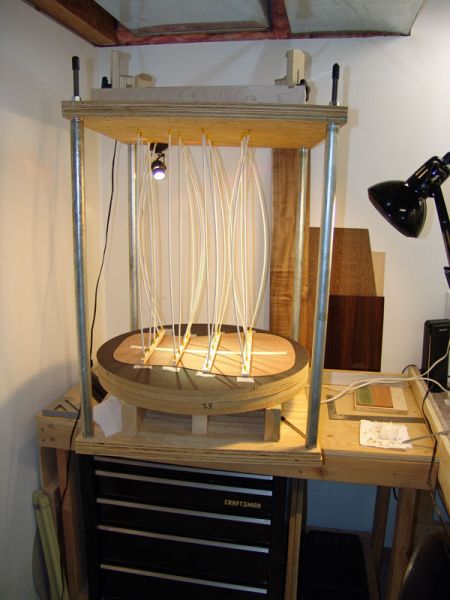
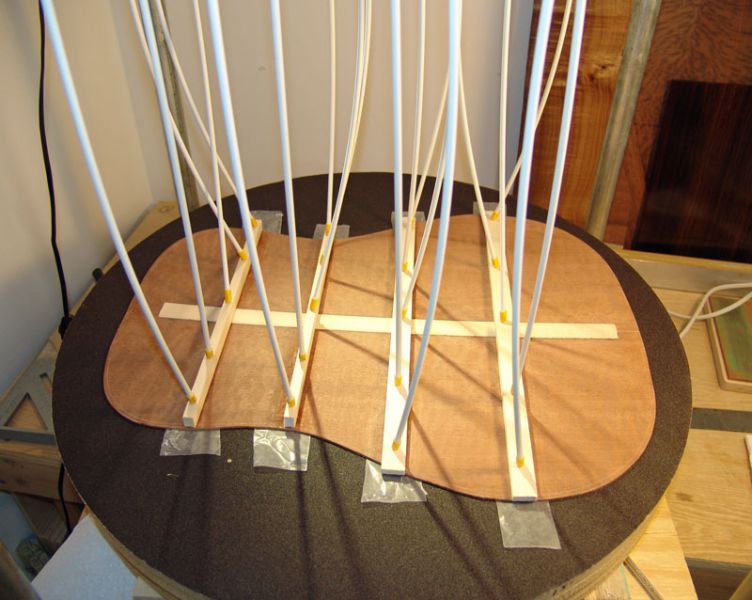
Let's see some more work-in-progress please?

Thanks!

User avatar
Lillian
Blackwood
Posts: 1705
Joined: Fri Sep 28, 2007 10:31 pm
Location: New Mexico, USA
Contact:

Post by Lillian » Mon Aug 24, 2009 1:14 am

Kim, I might actually get to spend time in the shop today. Finished the jig to cut the scarf joint. Will finish Craig's shoulder vice and maybe finish scraping the body after I glue up the neck. We're down a tech a work so my normally nasty work week is even more so at the moment. Up at 4, home after 8. Fran won't let me play in the shop when I get home at night, something about sleep being more important. Today is the first day I haven't been schedule to be somewhere else in three weeks.


Hesh, didn't you read those threads that talked about using joint compound for pore filling? Bob's just trying new techniques. As for the former gov., I have more respect for the builder of a Walmart dread than I do her.

Hesh1956
Blackwood
Posts: 1420
Joined: Thu Sep 27, 2007 9:58 am

Post by Hesh1956 » Mon Aug 24, 2009 1:16 am

I thought that I would post some more pics and share a couple of ideas.

When I am making bracing I trace the respective radius onto the designated bottom of the braces using a radius template from Tracy at Luthier's Supply. Then with some quick hits on the old belt sander the radius is roughed in.

Image

This is what I think some may find useful. I use plain old masking tape to tape two braces together with the radiused side out. The reason for this is that some brace stock may flex in the dish when sanding or pressing fairly hard and what results is something different from the radius of the dish - whatever the hell that is... :D

So when you tape two braces together prior to dish sanding there is far less flex in the brace stock and what results is a truer-to-the-dish radius - whatever the hell that is... :D

Image

Image

In addition, with taller braces sanding them in the dish it's all too easy to tip them to one side and end up with the leaning brace of Piza... :D I find it a little easier to tell if I am sanding on an angle if the brace is taller and acting as a better indicator.

Next it's the old pencil marks trick:

Image

Sand until the marks are gone:

Image

And don't laugh but it is far easier to hang onto something as slippery as brace stock if one puts on a latex glove (unless you and latex don't get along). Gloves are also great when buffing a guitar and provide me with a bit more positive grip at a time when one slip and you just smashed your new guitar all over the wall or floor or both....

Image

Anyway that's what I just did this morning in my shop... :) [/img]

Hesh1956
Blackwood
Posts: 1420
Joined: Thu Sep 27, 2007 9:58 am

Post by Hesh1956 » Mon Aug 24, 2009 1:18 am

Lillian wrote: As for the former gov., I have more respect for the builder of a Walmart dread than I do her.
:lol: Yeah me too.

Did you hear what Sarah asked her daughter when she found out that her daughter was pregnant?

Are you sure it's yours? :D

Hesh1956
Blackwood
Posts: 1420
Joined: Thu Sep 27, 2007 9:58 am

Post by Hesh1956 » Mon Aug 24, 2009 2:52 am

Well I made some progress and thought that I would throw up some more pics. The back braces are now on using HHG.

Image

Image

Thanks for looking. :)

User avatar
Bob Connor
Admin
Posts: 3132
Joined: Mon Jul 09, 2007 9:43 pm
Location: Geelong, Australia
Contact:

Post by Bob Connor » Mon Aug 24, 2009 7:55 am

No additions to the shed Allen.We've just enclosed the area where the wood stash used to be.

Lillian - no plans to do this professionally at all - I'm quite happy with the teaching gig.

Kim no extra fridge - the Kelvinator holds more than enough.

Hesh - that toolbox holds a Ramset gun. Dave bought it from a bricklayer hence the crap covering it.
Bob, Geelong
_______________________________________

Mainwaring and Connor Guitars

User avatar
Lillian
Blackwood
Posts: 1705
Joined: Fri Sep 28, 2007 10:31 pm
Location: New Mexico, USA
Contact:

Post by Lillian » Mon Aug 24, 2009 8:50 am

The shoulder vice is finished. Can't find the camera or I'd post a picture. Thank you for sharing Craig. I love it.

Tuning up my new to me Miller's Falls block plane so I can clean up my first attempt at the scarf joint. I don't think the spring clamps are enough to hold the neck blank in place.

Having tendinitis in the thumb of your dominate hand sucks. Luckily I'm almost finished with scraping the body.

User avatar
Allen
Blackwood
Posts: 5252
Joined: Thu Oct 11, 2007 5:39 pm
Location: Cairns, Australia
Contact:

Post by Allen » Mon Aug 24, 2009 5:17 pm

Well, been bloody hectic here, and I've got no end in sight to the stuff I need to get done in the next couple of weeks.

Got the concert uke sanded out and a coat of shellac on it. The Tenor still needs the pore filling sanded back, but that will have to wait until Wednesday, as I've got to spray some clear on an English style rocking horse for the Woodworkers Guild's Christmas Raffle tomorrow after work. Then I just recieved part of the wood for the Uke Class I'm putting together in 2 weeks. This is some of it laid out on my table saw.

Image

And the pair of ukes.

Image

And not in the picture is the box of truss rods from Allied that I had to run and pick of from the post office before they closed today. Now to pack them up and get them out the door as well.
Allen R. McFarlen
https://www.brguitars.com
Facebook
Cairns, Australia

Post Reply

Who is online

Users browsing this forum: No registered users and 227 guests