This guitar has been haunting me for years. It's been sitting around jumping up every now and again like some hideous jack-in-the-box so it came time to either ditch it in the ebay as a train wreck, or do something with it.
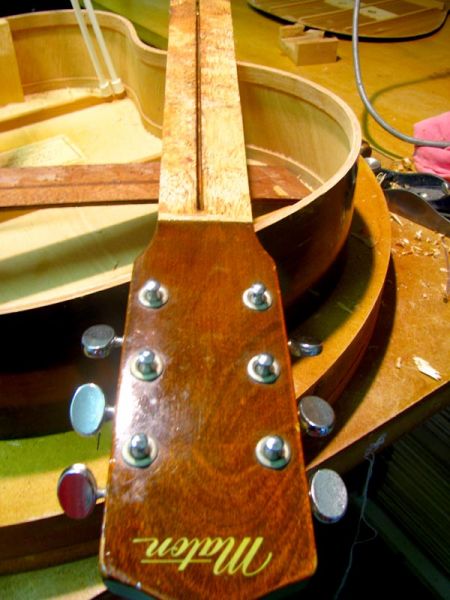
The Maker
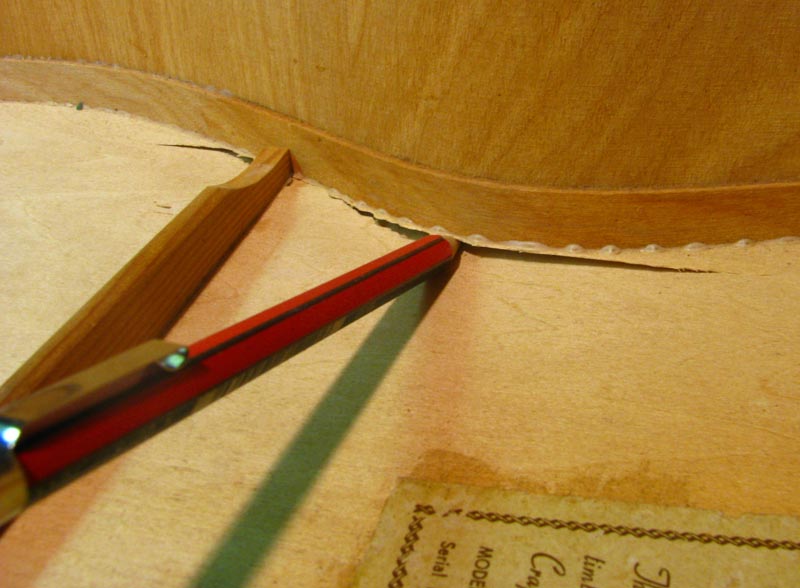
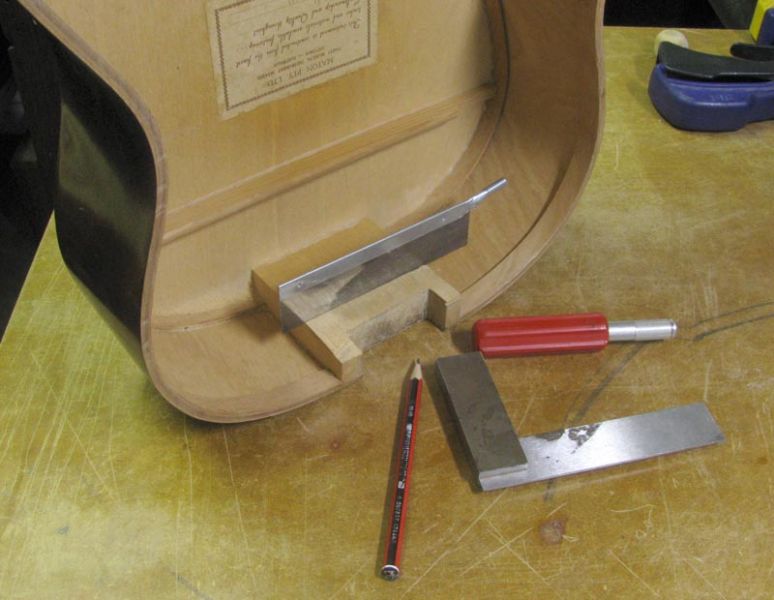
The label
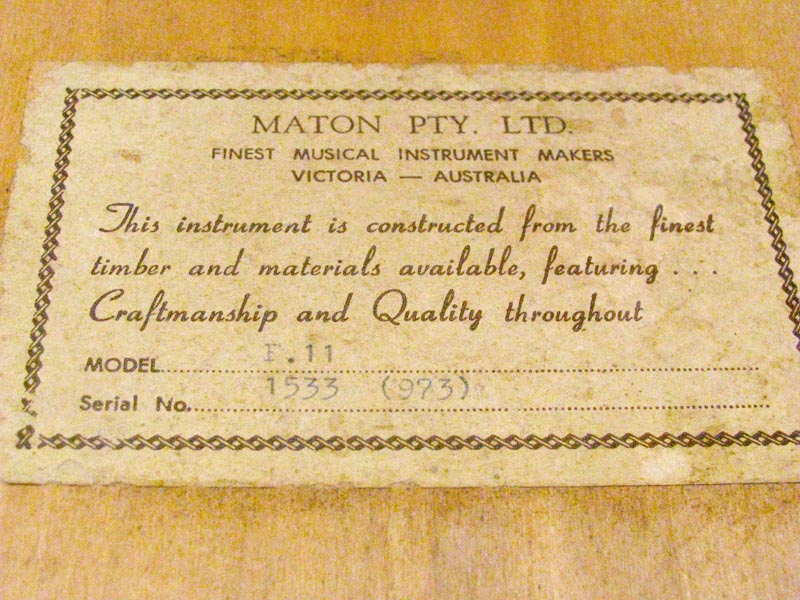
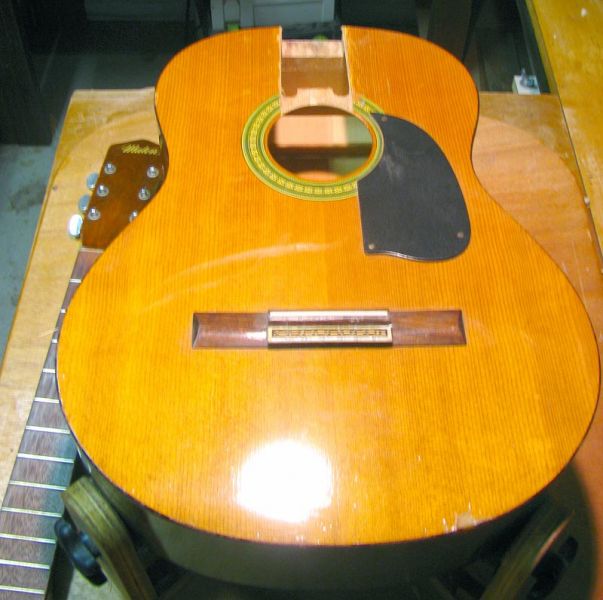
(Best available?) I suppose so just as long as you didn't go looking around too hard) as you can see the model is a Maton F11, which was an instrument marketed as a steel string folk guitar.
Between 1971 and 73, Maton released a total of 1665 of these most of which would probably have ended up in land fill by now. I say this because the F11 looks to be no more than a cheaply converted Maton F10 and these guitars with their 'heelless', 12 fret to the body neck and all 'acoustic' plywood construction, were Maton's cheapest student grade classical guitar at the time.
No doubt the F11 was only ever intended to be a low end grab at the then very popular 'folk' guitar market, but IMHO, Maton really should have done a little more to support their otherwise good reputation. Simply exchanging the neck of their cheapest classical for one fitted with steel string tuners and not even bothering to visit the bracing was lazy and perhaps a little deceptive because it should have been clearly understood that these things where never going to hold up for very long under the tension of steel strings.
Having said that, we do need to be fair and keep in mind that the F11 was made to a price point of just $70.00 and I guess in the early 70's, when even Japan was fairly new to the guitar market, $70.00 was cheap even for a plywood guitar. Anyhow back to the patient. The serial number on the label tells us that this guitar was No 1533 of the total 1665 that were made and "(973)" tells us that the guitar was manufactured some time in September of 1973.
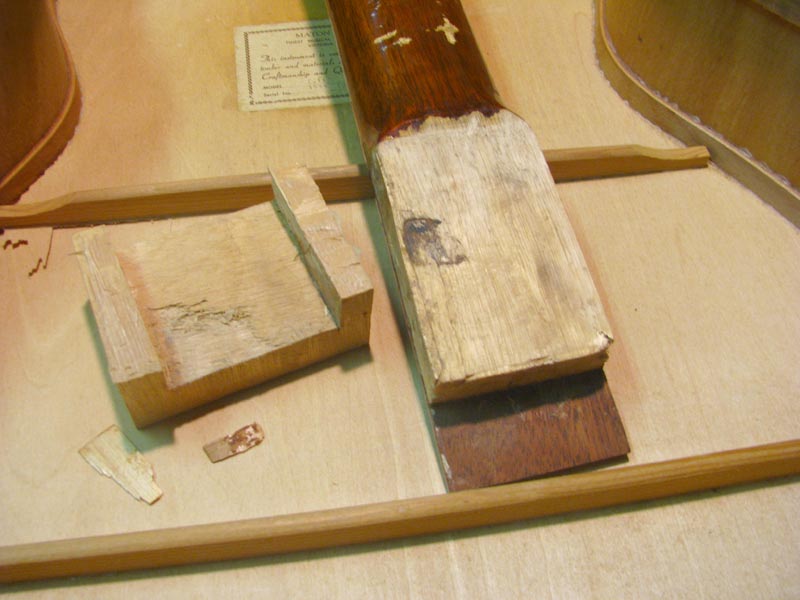
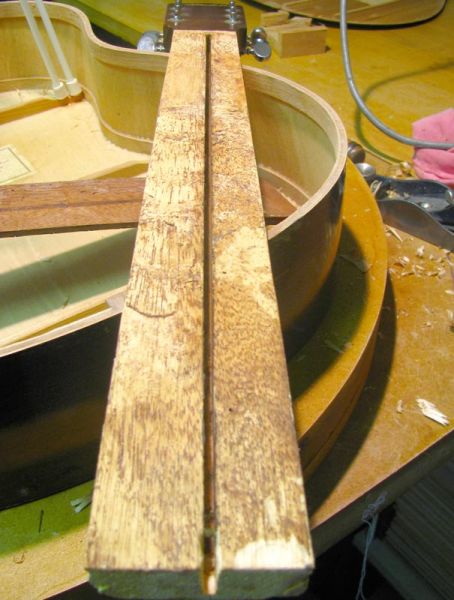
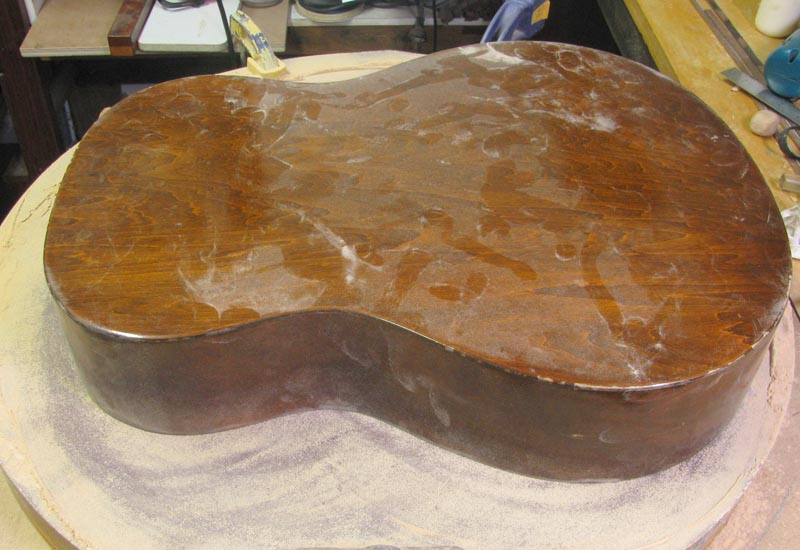
I picked this guitar up at a swapmeet many years ago, way before I ever had anything to do with repairing them. I had found it piled into a box of junk with the 'dog chewed neck' separated from the body and bent like a banana. A glob of epoxy filled a hole in the top at the back end of the lower bout and a couple of popped braces and splits through the painted on bindings at the seam of the waist and back where someone had sat on it gave some idea of how this guitar had been treated and to complete the picture, the finished looked like it had road rash after being thrown from a speeding motorcycle. So all in all, for an F11, she was in pretty good shape.
As you would imagine, I paid very little for it and only bothered because I knew Maton was an Australian brand and thought it would make an interesting wall hanging. As it turned out my wife later expressed an interest in learning guitar, but the steel string I was using was too hard on her fingers. So I gave the F11 to a repairer with instructions to only secure the neck and make the guitar playable and that's what he did all be it with a very high action.
By the time I got the guitar back in about 2 weeks, my wife had lost interest in learning so the F11 then spent a short time as a jamming axe strung up with extra light Thomastics. Each time I pulled the guitar out of the cupboard when ever a mate would drop in for a beer and a jam, I would notice how the action was getting a little higher and over the course of a couple of short years, the guitar had once again become unplayable (see what I mean about land fill
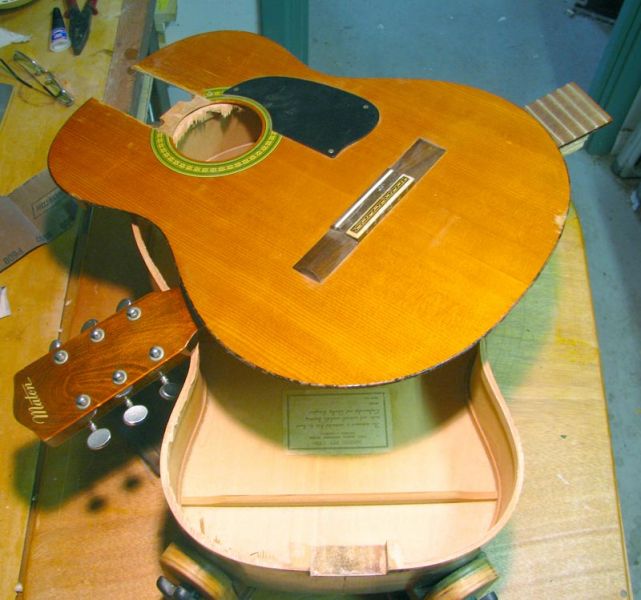
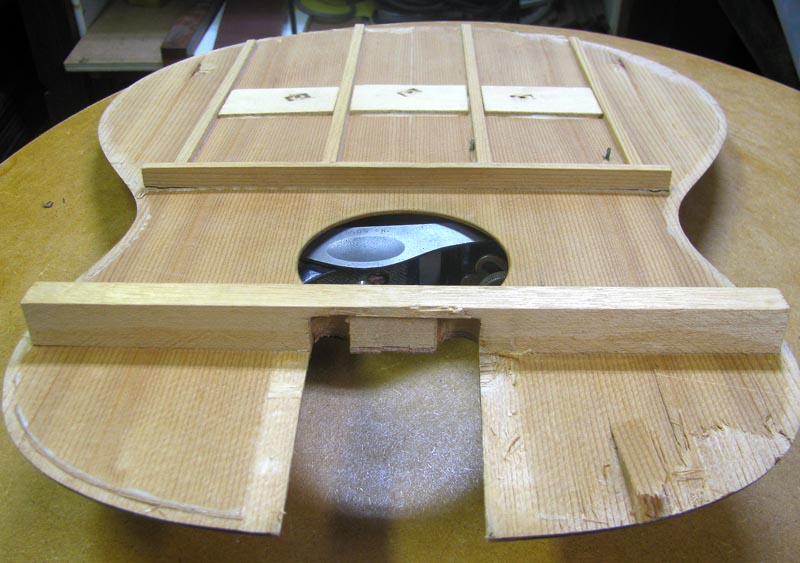
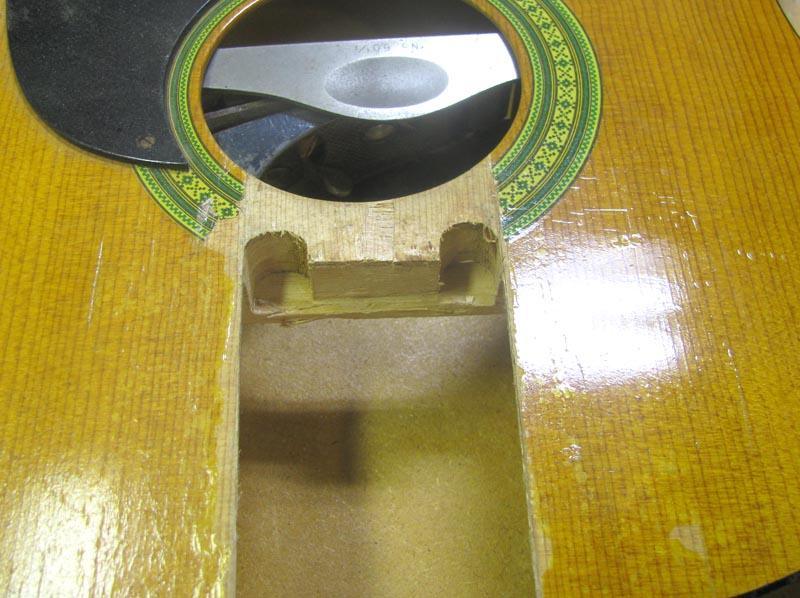
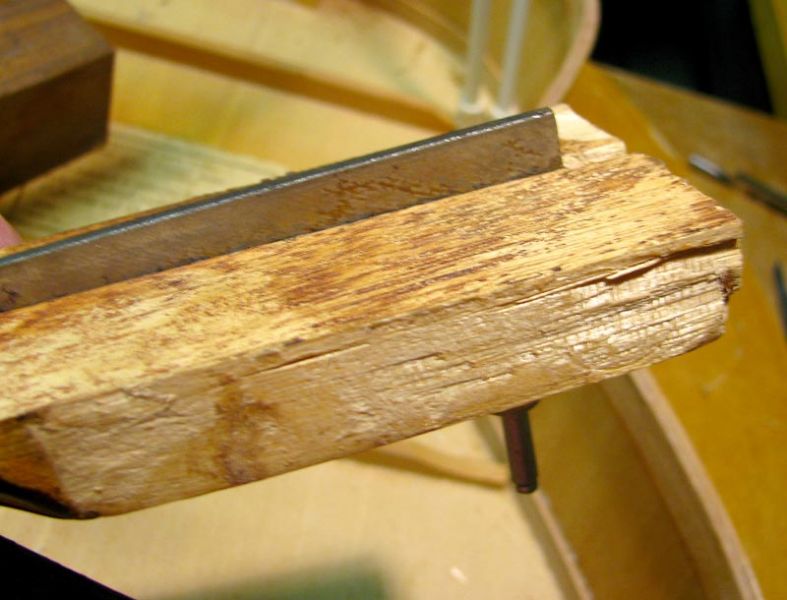
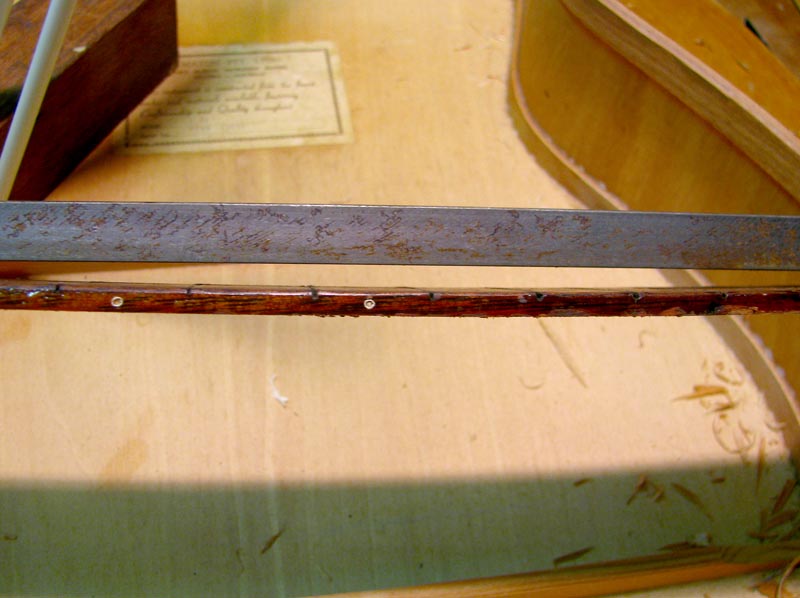
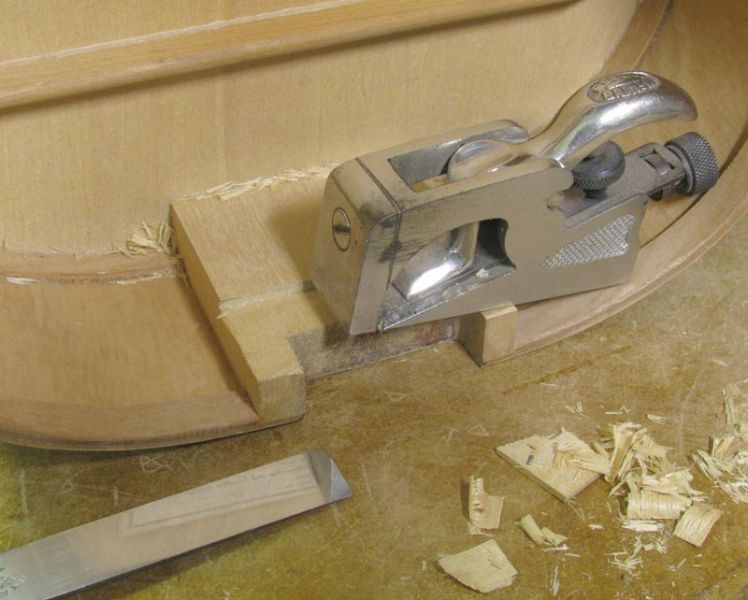
Forward a few years and by this time I had undertaken a few basic repairs on electric guitars for friends. One day whilst fooling around in the shed I came across the old F11. Not wanting to spend money on it again just to watch it fold up I was none the less curious whether or not it could be made into a player. I figured that I may as well pull it apart and have a look to see for myself if it can be fixed properly. I removed the 'glued in' neck tenon from the mortise (no easy task) and cut the ply top off being careful not to damage the sides. I then took one quick look inside, decided it was a pile of crap not worth of the effort, and put the whole mess away. But, that little investigation did spark an interest in me to learn more about acoustic guitars.
Forward a couple more years and by this time I had a few more repairs under my belt and a better understanding of acoustic guitar construction. Every now and then I would catch sight of the old F11 and sometimes even fiddle around with the bits toying with the idea of putting it back together. Then I would quickly come to my senses and throw the lot back in the box and walking away shaking my head and thinking how wise I had been to do that last time. I kept doing that same thing for a few more years every time it caught my eye and finally, here we are today.
This little guitar has gotten to me for long enough, so I have finally decided I'm going to put the little bastard back together and hopefully, make a reliable player of it for the first time in its 36 years. Why? Because I reckon it will be an interesting challenge even though it probably will end up being more work than just building a guitar from scratch. Besides I figure so many of these $70.00 beaters have been smashed to bits in frustration by young rock wannabies that out of the 1665 that were made, it is very likely that this is one of the only F11 left in existence. But on that point, lets not get too caught up in any historical value debate, this was always a clunker and there is just no point in restoring it to be the lemon it had been from the day it was conceived. So the plan is simple, to keep the 'general' look and feel of an F11, but at the same time make it worth while picking up to play.
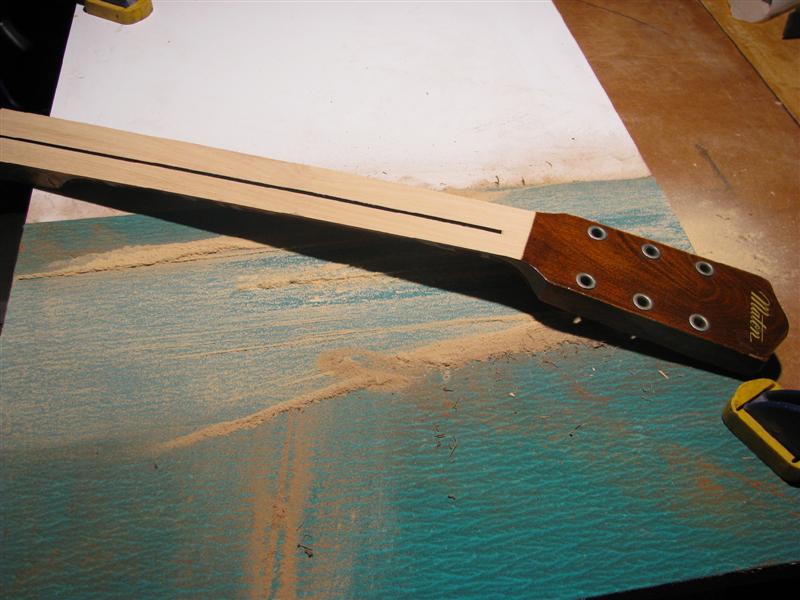
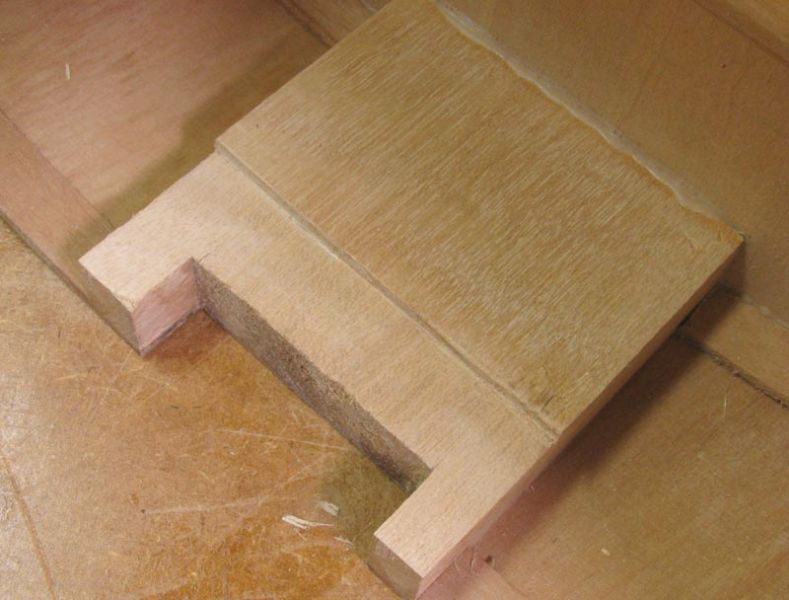
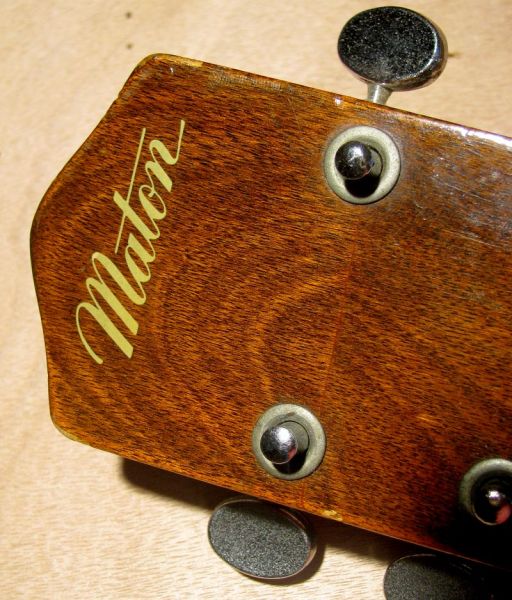
Despite the fact the most 'simple' fix would probably be to add a heel to the neck shaft and then bolt the neck to the body through a modified neck block so it goes together much like a standard acoustic M&T joint, if I am to retain that F11 look, then certain key elements of the original will need to be retained. So the 'heelless' neck construction will need to stay and this coupled with the original headstock, logo, label and back bracing should be enough to achieve what I am after.
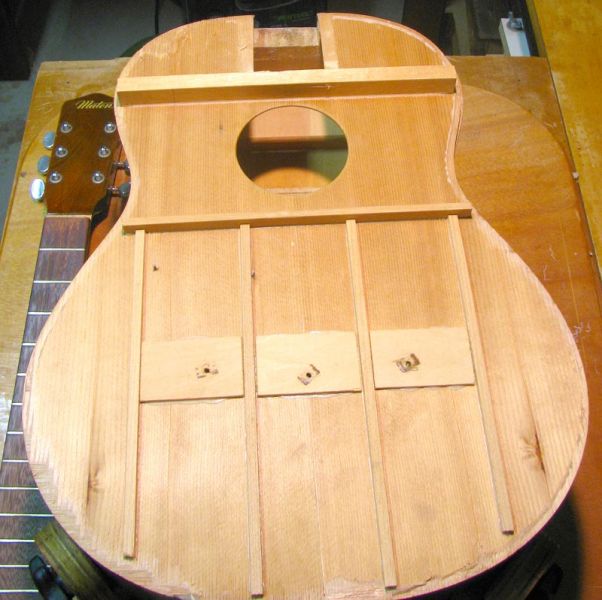
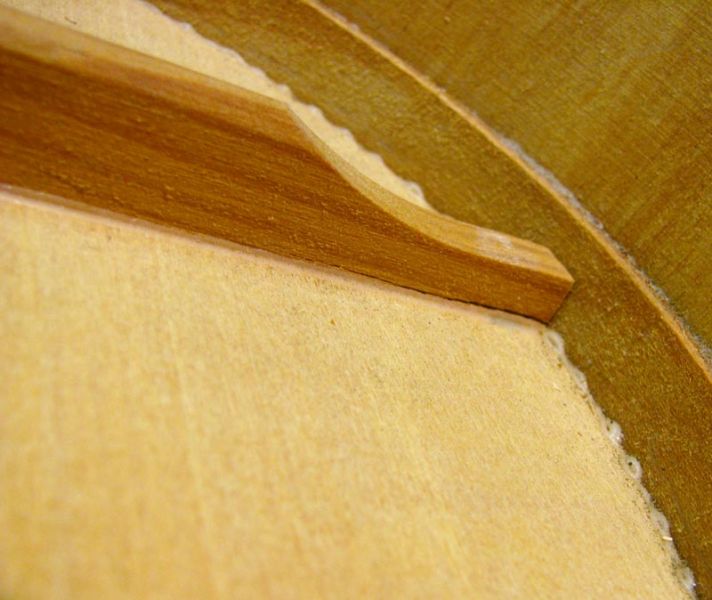
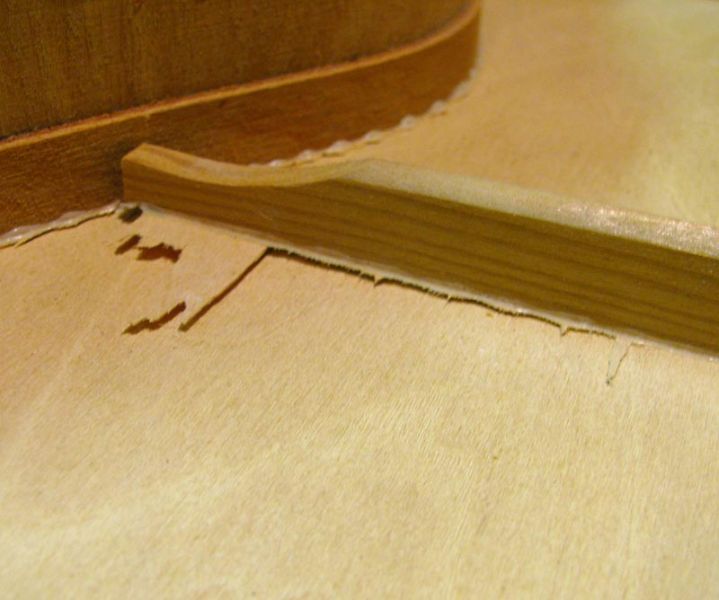
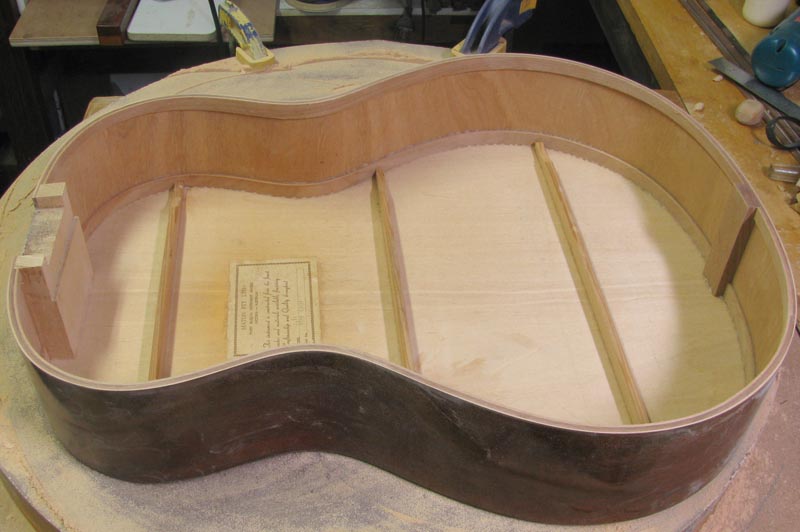
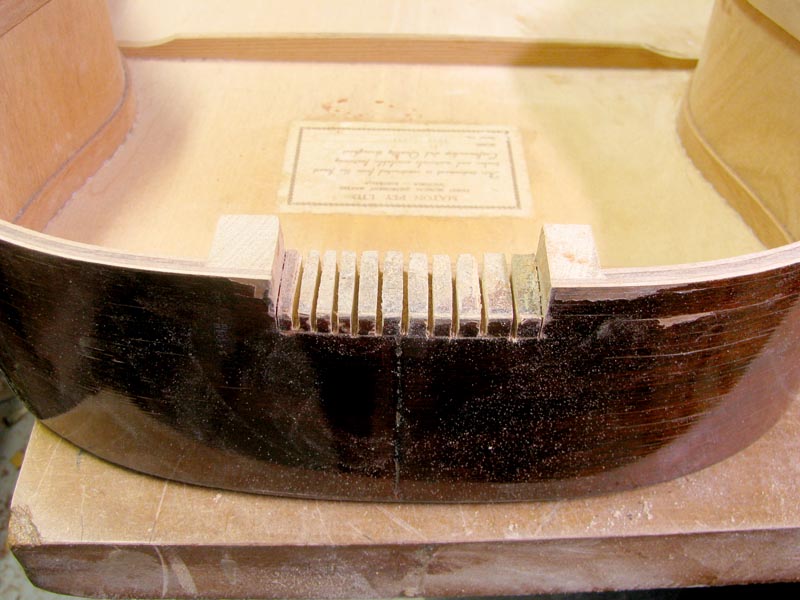
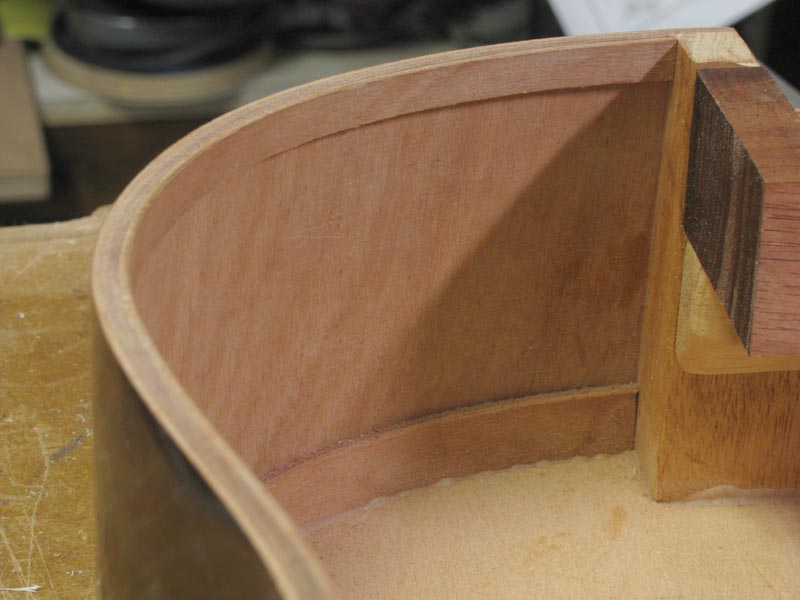
First problem is that the original design relied heavily on the strength and resilience of the plywood top to hold things together and yet it still failed when fitted with steel strings. I will be replacing the ply with acoustically superior, yet structurally inferior solid spruce. To address this problem a few internal design elements will need to be changed. As I see it, in order to compensate for the loss of strength once offered by the ply and increase the structural integrity sufficiently to overcome the original design short comings, I will need to increase the strength and stiffness around the neck block, upper bout and UTB area, but would need to do so without building in too much extra weight.
With this in mind, I plan to use carbon fibre in this old guitar. This is a material closely associated with formular1 (F1) and aerospace technology, so this little project guitar is a hybrid (F1) of sorts and shall be named in honour of the aging fighter jet now almost retired from the RAAF, the F1-11 which, in a strange coincidence is fondly known throughout the defence department as 'The Pig'.