Ok, things are moving along steadily so here's a few more pics to document progress.
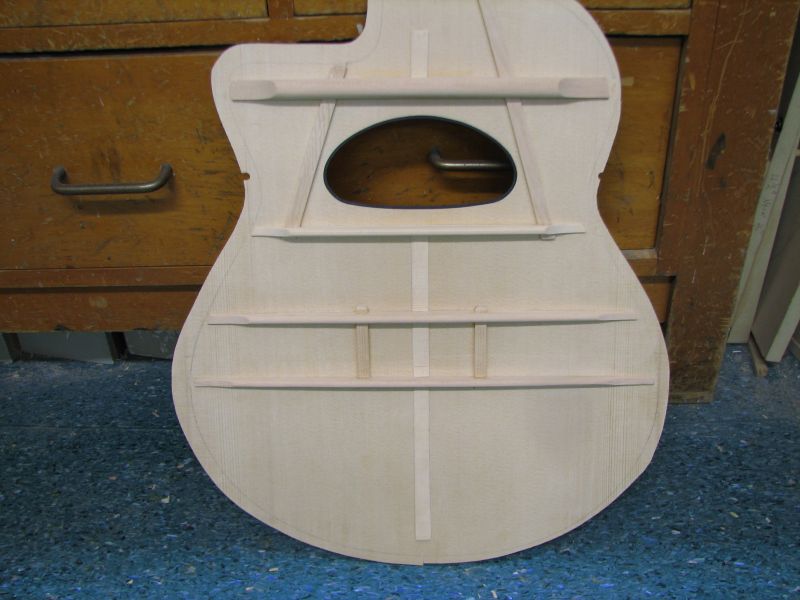
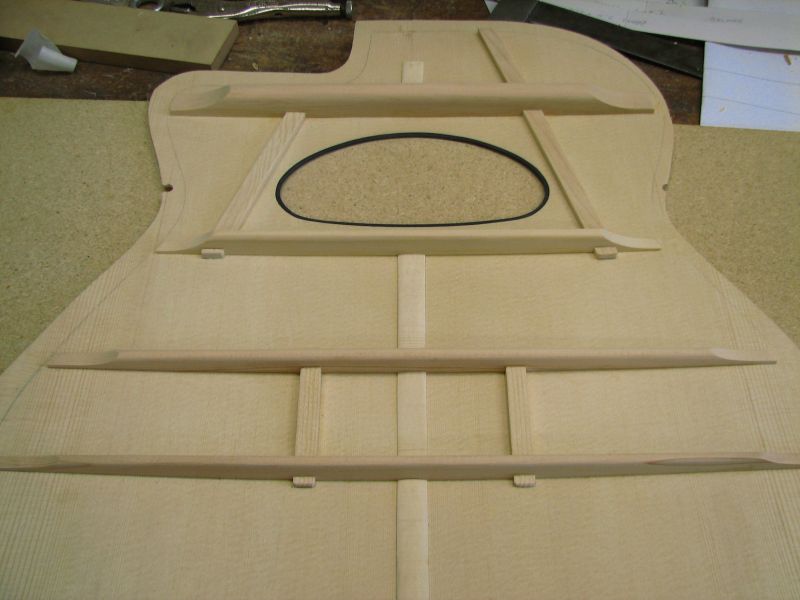
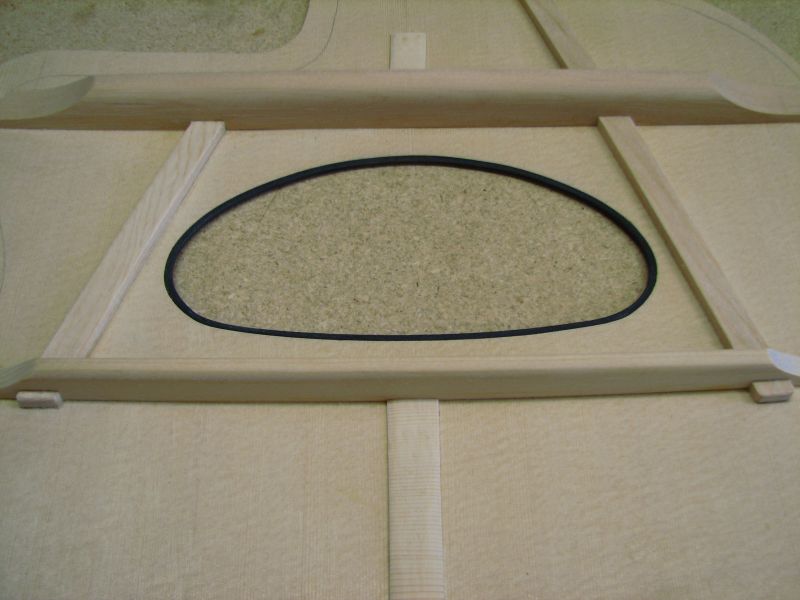
Just one more final shot of the inside before it's lost to the world

a couple of coats of sealing shellac colours things up nicely although the nice honey gold colour the maple's taken on hasn't quite come up in the pic.
Top and back plates are glued on using a ring of coarse chip board and a high density foam on the face that sits against the plate. Good thing about using the coarse flooring grade chipboard is that it's remarkably flexable when in a thin ring form, so conforms to the '3D' nature of the top easily.
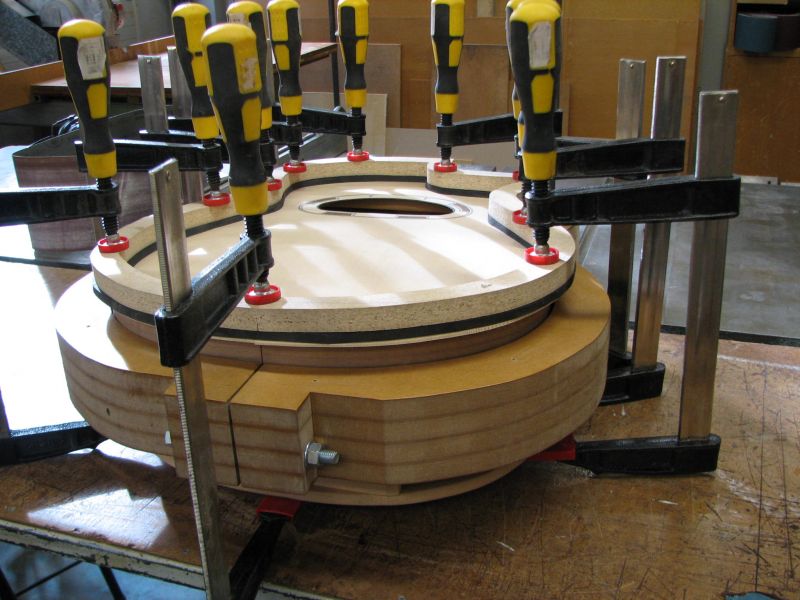
Top glued on and roughly trimmed to the rims.
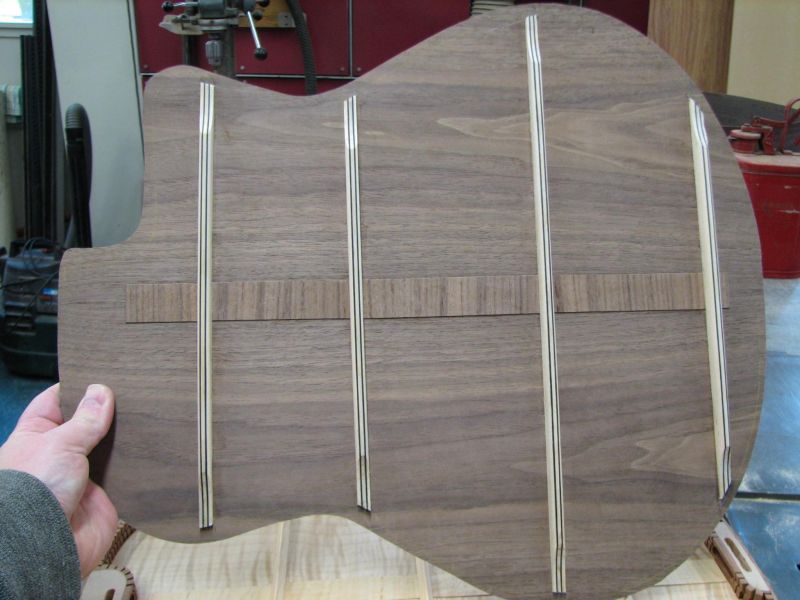
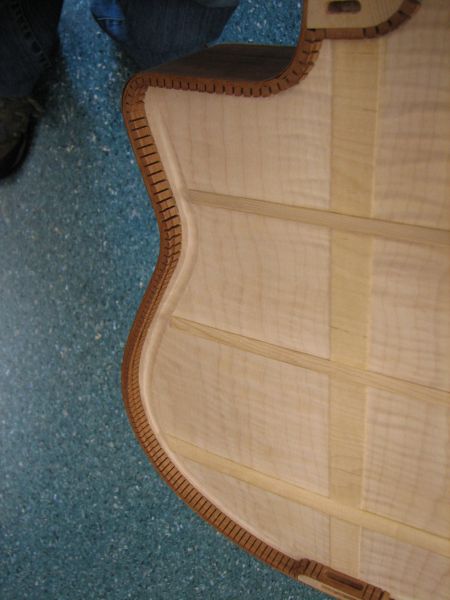
Here's also a couple of pictures to illustrate the pliage and shape of one of
my tops.I actually
overbend the pliage slightly (whilst it is still on a straight plane as described earlier) so that when glued down to the sides it creates a very slight upwards curve toward the pliage line (You may be able to see it in the following pic) from the tailblock rather than a straight line, to my warped way of thinking this also makes the soundboard more receptive as it will be more sprung loaded from the get-go and more 'reactive' & quicker to react to any vibrations from the bridge. May work, it may not? without doing a side by side with another maker's Selmer Maccaferri it's hard to tell if my thinking is any good or not.
From the side:
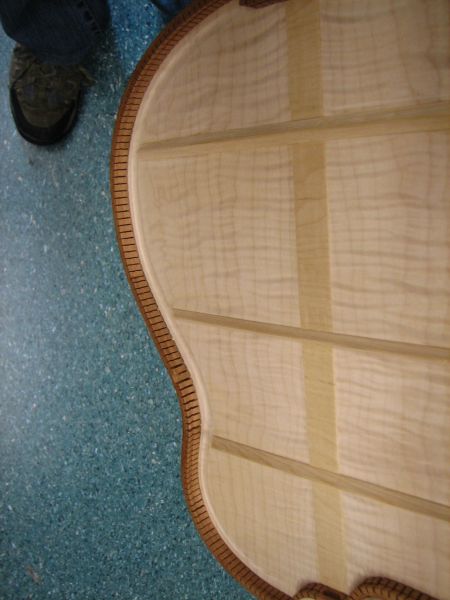
Then from the end:
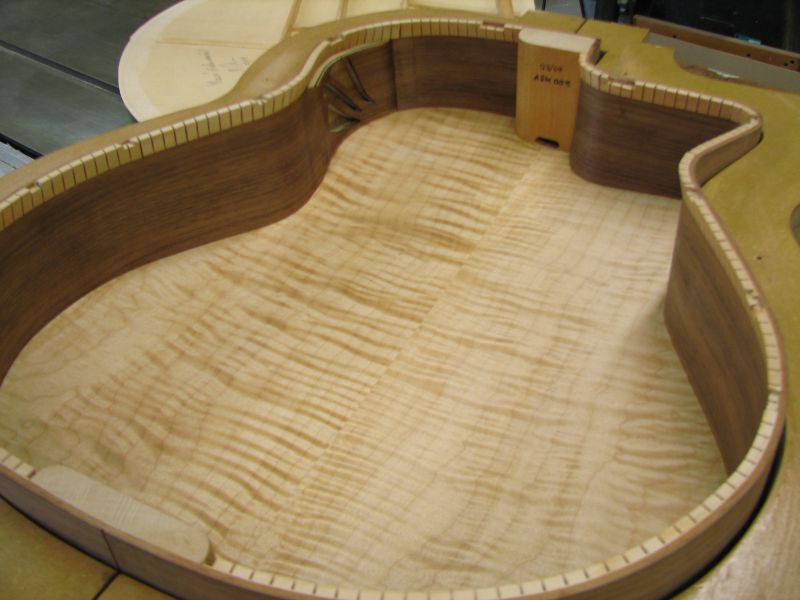
Next up was 'tuning' the inner back. I have scraped a recurve similar to what is seen on archtop style instruments. To anybody unfamiliar with this technique (forgive me if you already know!!),basically while you have the guitar sitting upright on a towel (to isolate it from the benchtop), you tap the soundboard at the bridge position while
lightly touching the back with your fingertips. Starting at the center you feel the amount the plate vibrates as you tap then, lightly again, drag your fingertips across the back plate toward the rims, comparing the amount of vibration. You scrape in a recurve at the edge until the whole of the back plate vibrates evenly across it's width (normally near the rim is 'dead' and doesn't vibrate at all). With this 'experiment' though I felt that because the inner back will be 'free floating' if the plate was too loose that when playing fast passages some of the notes would get muddy as the plate "over resonated" & merged in with the following notes, I'm aiming for more volume not an unplayable instrument! So my recurve isn't quite as deep as it could be, I tuned it so that it is still vibrating out near the rim but not as much as at the centre.
Hopefully you can see the recurve in the next couple of pics.
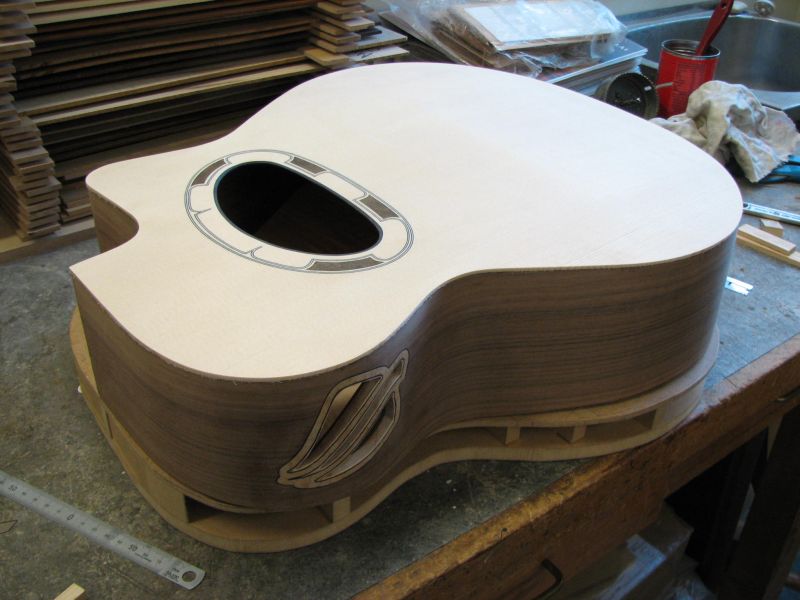
Well that's where I'm at so far so now it's onto bracing and fitting the outer back plate.