Xavier BARON wrote:Thank you Nick !!
I checked your website and noticed that you build Maccafferi guitars. Do you have a link to step-by-step pictures of the process? Will you agree to help me with your advices when it will be time for me to do that?
Thank you,
Xavier
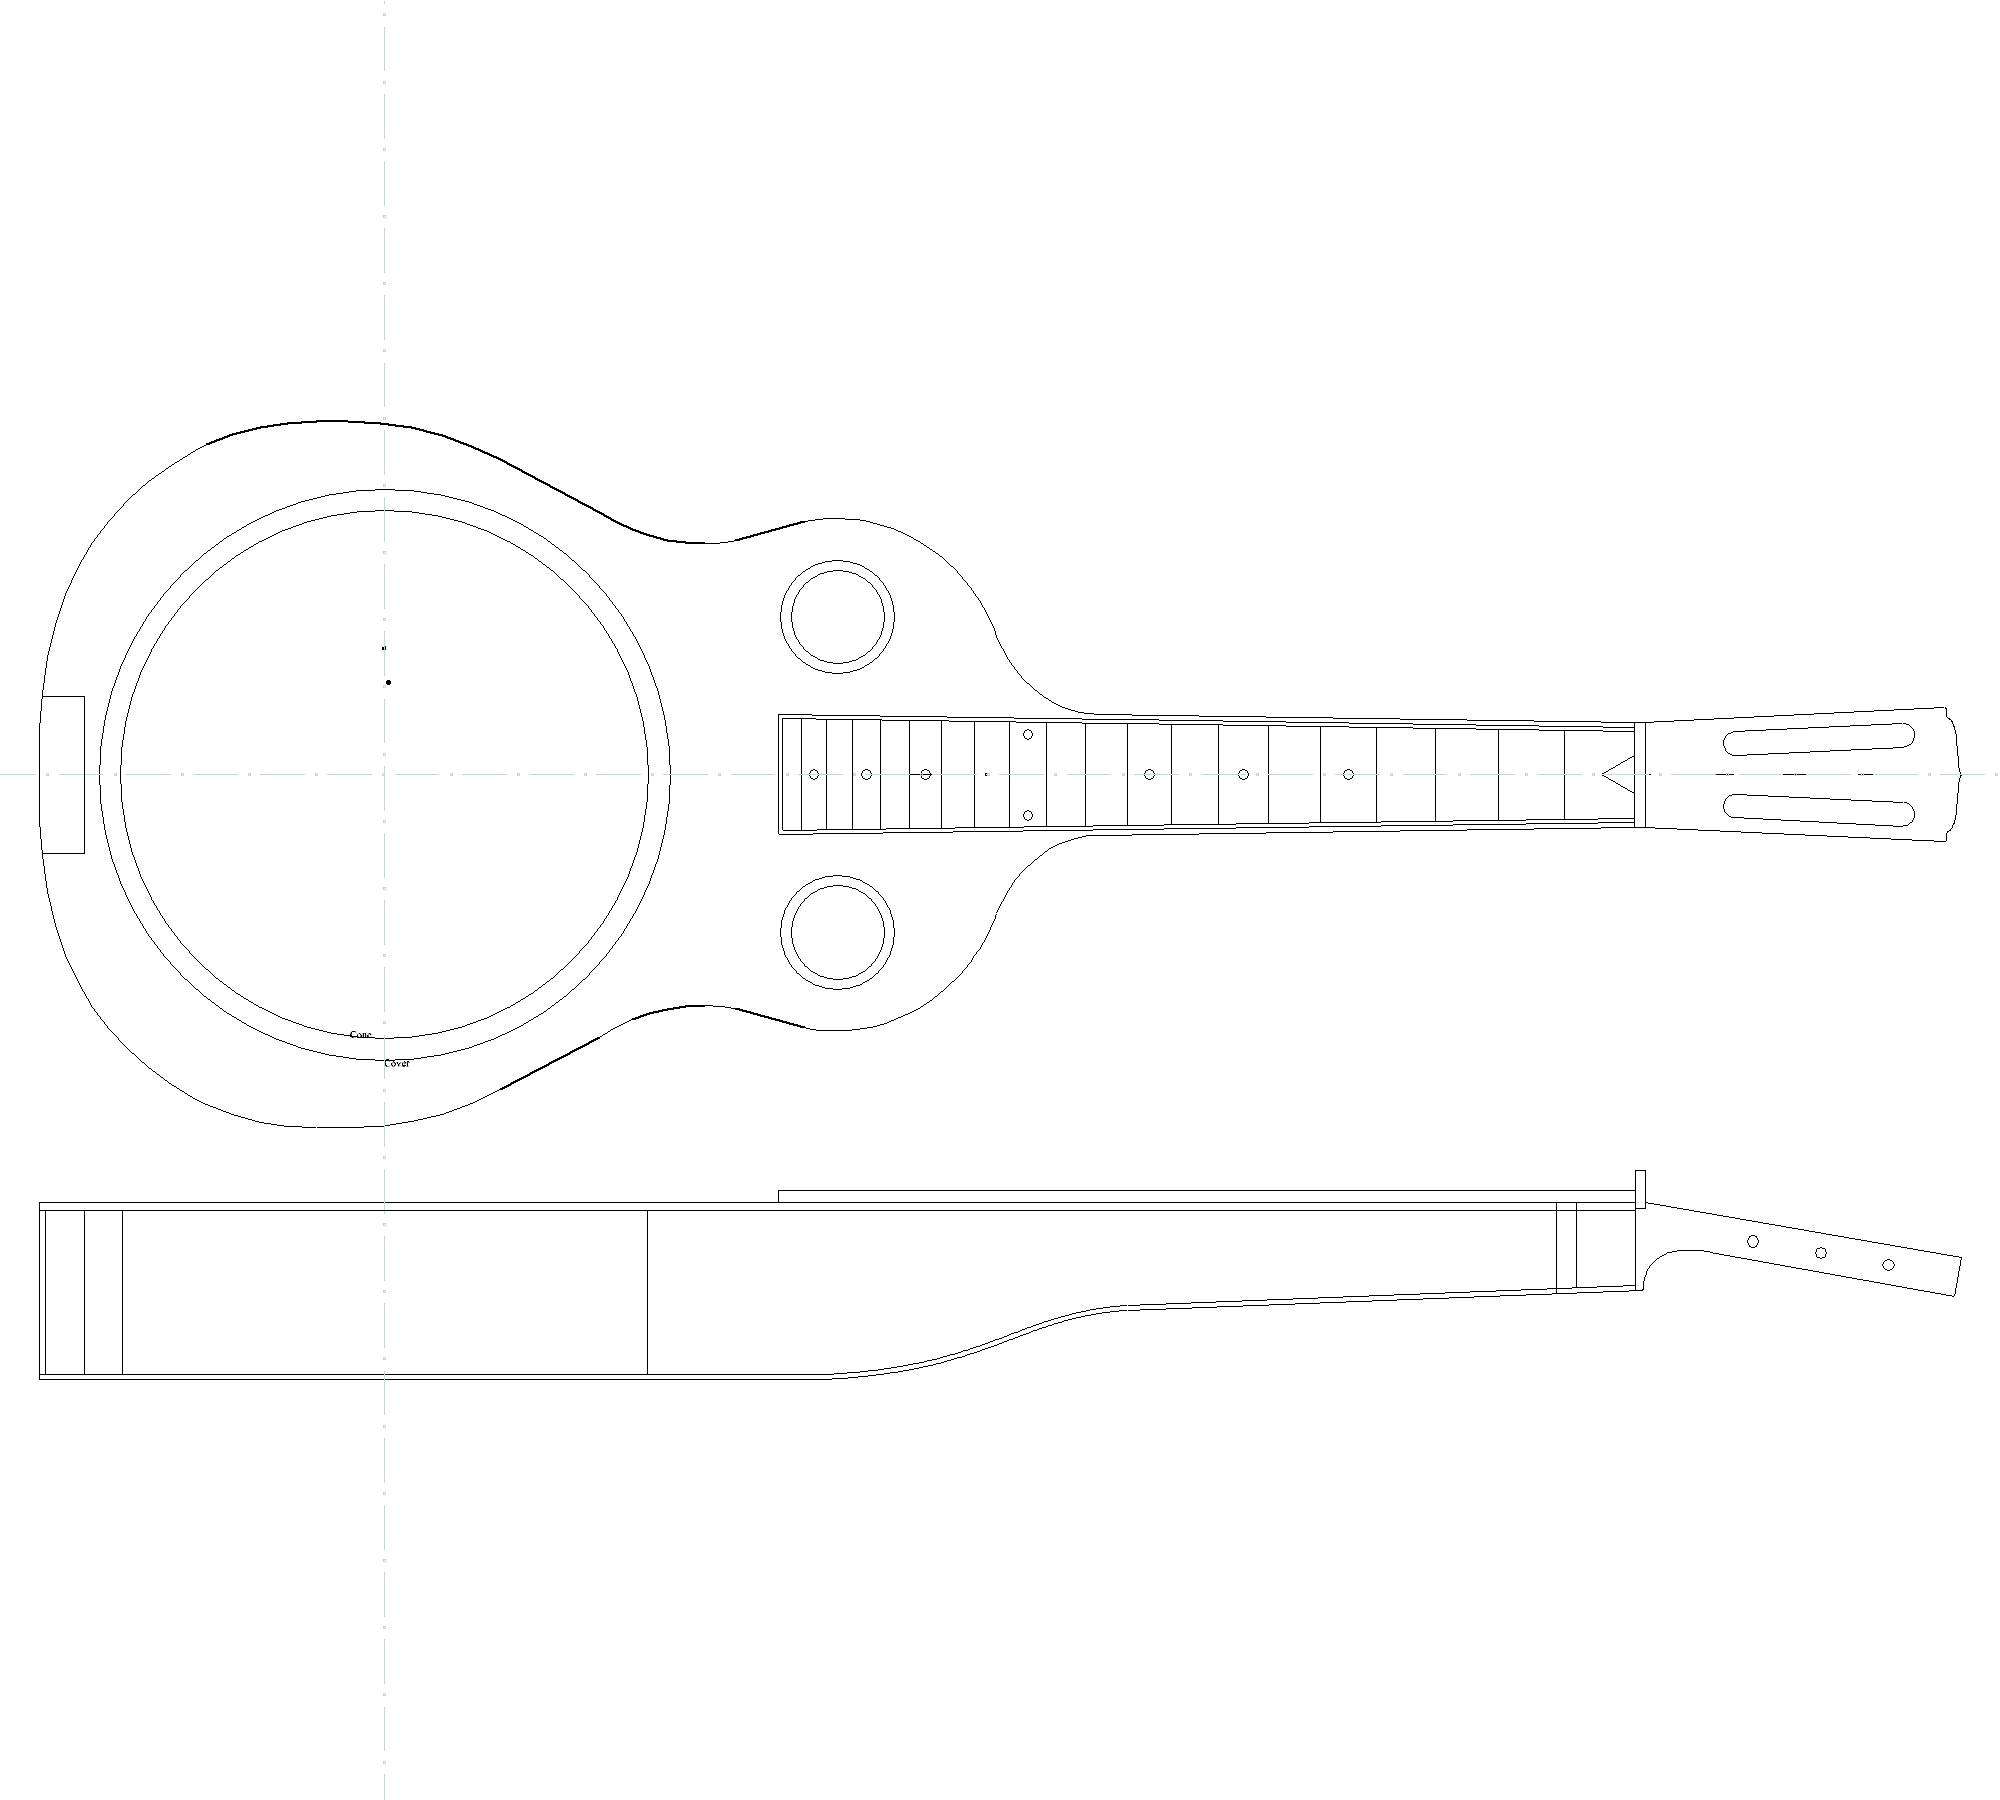
I don't have a step by step pictorial Xavier but it's a fairly simple process if you have your wits about you. Do you bend sides using an iron or a 'heat lamp form' ? Because you'll need to employ the same techniques on those two back bends. If you use a bending iron then you need to draw out the shape you'll need by copying the pattern/profile you have there. If heat lamps, then you'll just need to make a form with that rear profile in it and bend the same as you do your sides.
Thickness down your back set bringing each individual half to within hand sanding thickness of final thickness. You can at this stage, if you like, roughly cut out the outside shapes onto their respective halves leaving 5-8mm outside your finished shape to be cleaned up later.
Personally I leave the halves rectangular at this stage and cut the shape out once the halves have been joined, that way if my bends aren't
exactly in the right place it won't matter as my final shape hasn't been cut yet. Shoot the center seam joint edges but you won't have to get them spot on at this stage because you'll need to shoot them again once they're bent, just get them close. Place the two halves side by side and pencil in where the bends go across the plates. Bend the left side plate first (when looking from the rear of the guitar) and get the bends to match up with your plan profile after that it's just a simple matter of bending the right side plate to match up with the left.
Once you've bent them you'll go back and shoot the center seam, I made a 'form' (Just a 70-90mm wide piece of scrap wood) with the back profile bandsawn out of it, make sure your cut is, or at least cleaned up after bandsawing, to be perfectly square with the sides and parallel with the back,flat face otherwise your shot edges won't be square with each other! You can then hold the back halves down on this form and shoot the final joint as you would normally with a shooting board.
I then use the tape method to hold the center seam whilst the glue dries. Once glued you can tidy up the joint by hand sanding down to final thickness.
Sorry if this explanation isn't very clear (Especially as English is a second language for you) but it's hard to put into words, clearly and concisely, what I can see in my head in a way that anybody that hasn't done it before, can understand. Let me know if it isn't and I'll try to expand on areas that aren't very clear.
