Shaping on the belt sander

Talk about musical instrument construction, setup and repair.

Moderators: kiwigeo, Jeremy D

Post Reply
User avatar
Taffy Evans
Blackwood
Posts: 1067
Joined: Wed Apr 30, 2008 6:54 pm
Location: Charters Towers North Queensland

Shaping on the belt sander

Post by Taffy Evans » Sun Oct 26, 2008 2:26 pm

After seeing Bobs Tutorial on braces and preshaping I thought I would give it a go, and as I mentioned then it took all of ten minutes to set up my sander and do a couple of trial runs. I said I'd post some pics so here they are.
Image

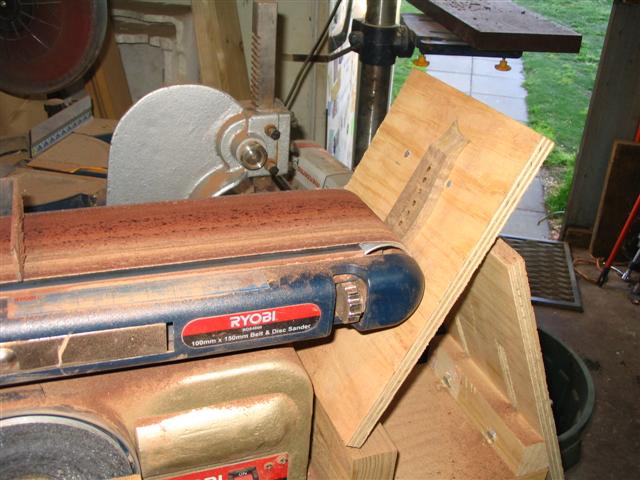
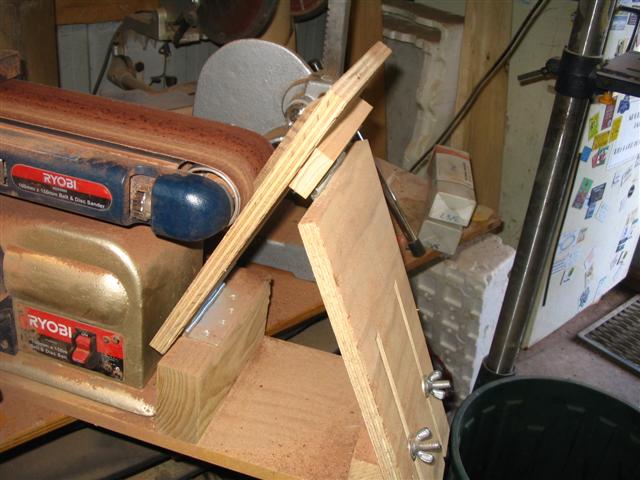
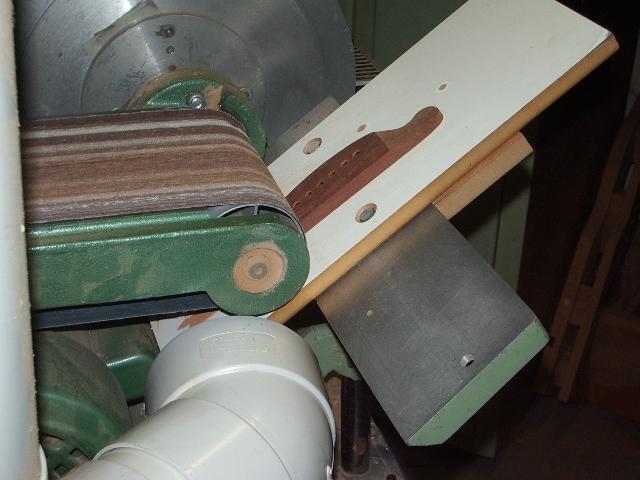
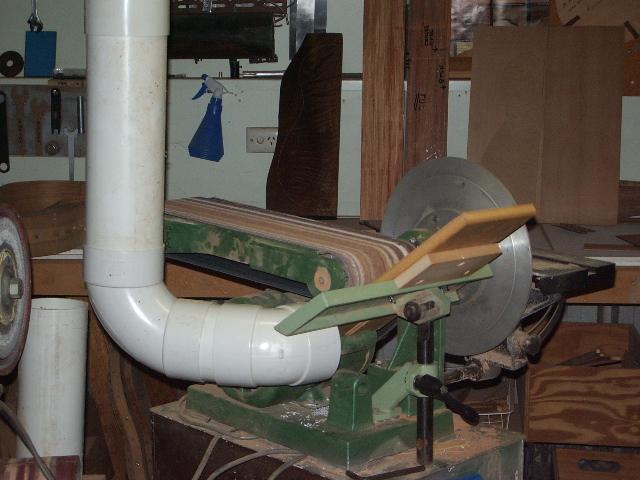
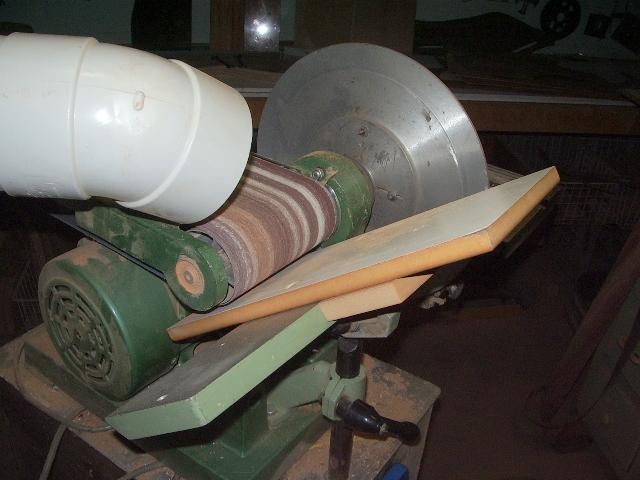
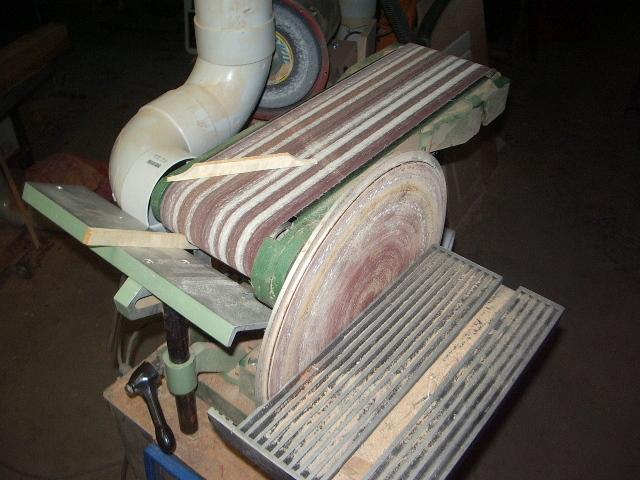
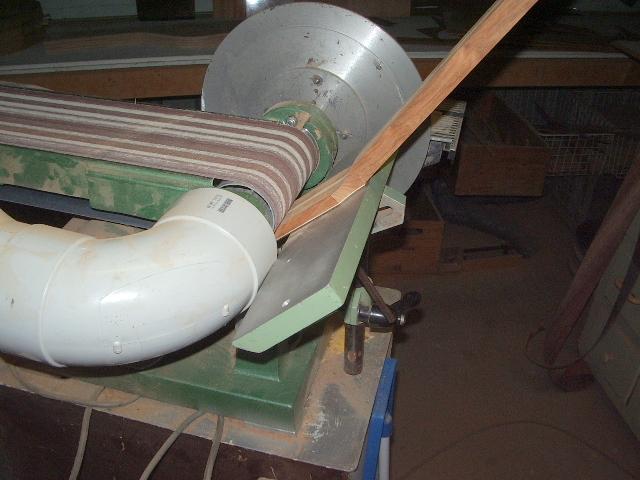
This is my take on shaping contours on the belt sander After Bobs tutorial on pre shaping braces I tried it for myself, and like I said I’m sold. I’ve posted photos of the before and after configuration. I will be modifying the table further

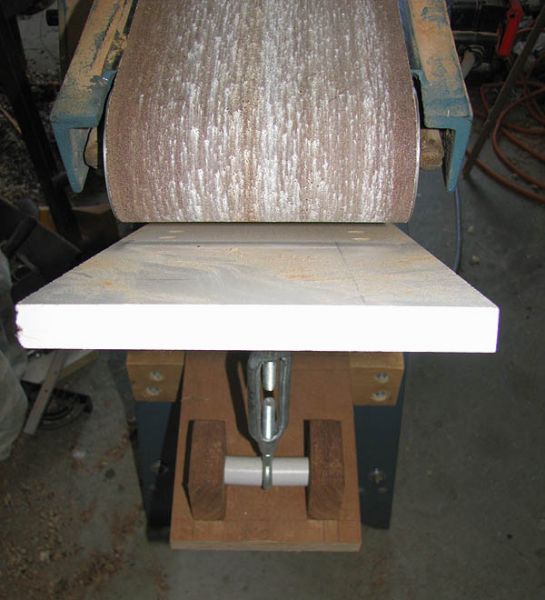
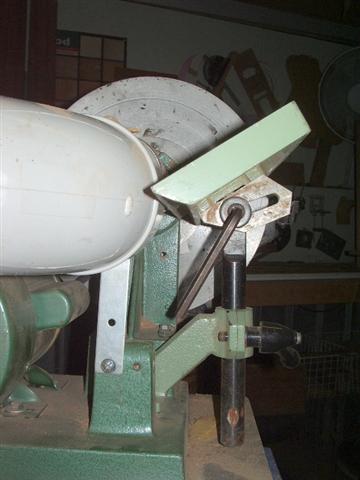
I find it more suitable to use the sander vertically for the many different sanding tasks used in doing my repairs and some building procedures, now I have a quick change machine.

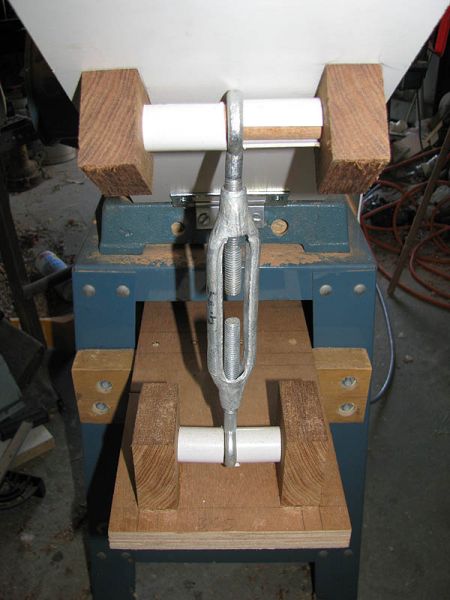
The table shown came from a much larger machine [as did the sanding disc] and adapted for this machine possibly 15 years ago or so, and it’s the first time it’s been used like this. It’s adjustable up, down, in, out and can be angled. Maybe others will get some ideas from these photos.

Image

Image

Image

Image
Thanks for looking
Taff

User avatar
Kim
Admin
Posts: 4372
Joined: Wed Sep 26, 2007 8:32 pm
Location: South of Perth WA

Post by Kim » Sun Oct 26, 2008 2:58 pm

I really like that Taffy, it's just perfect. You must surely be the Emperor of making useful things from what is at hand.

I have another take on a similar theme. As you will see I have used dowel I sized down by drilling a large bit into the end grain and then spinning in the drill press. The dowels are fed through the islets of a large turn buckle which I had laying around, and the ends are fitted into holes drilled with a close fitting forstner bit into blocks which in turn fastened to the platform and table.

Image


Image


I used PVC pipe which I slotted to slip over the dowel to act as spacers to keep the turnbuckle centralised. It has all worked out very well and cheap too. :D

Cheers

Kim

User avatar
Bob Connor
Admin
Posts: 3126
Joined: Mon Jul 09, 2007 9:43 pm
Location: Geelong, Australia
Contact:

Post by Bob Connor » Sun Oct 26, 2008 3:11 pm

Mines a small Ryobi belt sander.

I like the look of your adjustment better Kim. The two wing nuts I use aren't that accurate.

Image

Image
Bob, Geelong
_______________________________________

Mainwaring and Connor Guitars

User avatar
Allen
Blackwood
Posts: 5259
Joined: Thu Oct 11, 2007 5:39 pm
Location: Cairns, Australia
Contact:

Post by Allen » Sun Oct 26, 2008 5:35 pm

Mine is a blatant rip off of Bob's design, as his was the only one I'd ever seen set up like that. I really need to work out something for dust extraction other than opening the front and back door to the shed and letting the wind carry it away though.

I've been pre-shaping the ends of my braces for the last year. I set it up so they are all consistently 3 mm thick where they meet the rims. It sure makes fitting the brace ends into the linings much more accurate and easy to do. Plus saves a lot of time.
Allen R. McFarlen
https://www.brguitars.com
Facebook
Cairns, Australia

User avatar
Taffy Evans
Blackwood
Posts: 1067
Joined: Wed Apr 30, 2008 6:54 pm
Location: Charters Towers North Queensland

Post by Taffy Evans » Sun Oct 26, 2008 6:16 pm

Kim and Bob
Here’s my finished effort with the table extended and held on with two bolts and wing nuts. I don’t know if I’m entirely happy with feeding in the work piece in the same direction as the belt, think I’d sooner push against it. It works OK but I’ll see if I can reverse the motor direction, if it could be switch operated, hmmmmm, wishful thinking.

Yes the table extension was also recycled material. I salvaged about thirty doors from my daughters kitchen upgrade. Good usable MDF bound for the tip, I’ve been living off of it [or dying from it] for about two years now. I peal the decorated plastic film off and use the hard laminate on the other side for the work surface.

Allen, heres two versions of the dust sytsem I'll be using

Image

Image

Image
Taff

Post Reply

Who is online

Users browsing this forum: No registered users and 213 guests